
views
With a Balloon
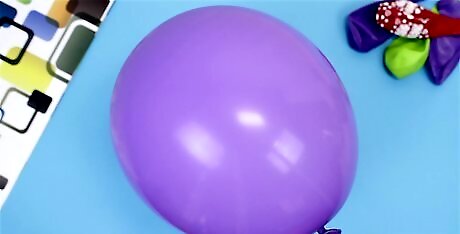
Inflate a balloon. Avoid blowing it up too much or else it may pop. The size of the balloon will be the size of your mask. For smaller children, a smaller balloon will be easier to work with.
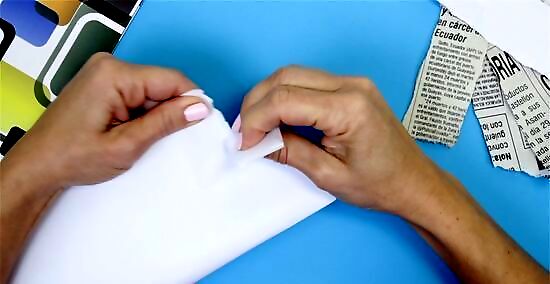
Gather and create the materials needed for your papier mâché. It's fine if you just have newspaper, but it's even better if you have newspaper and a solid paper, like printer paper. Grab a whole bunch of sheets and some flour and water for your paste. Rip the papers into strips or squares, depending on the size of your balloon. You'll need enough for at least three layers and whatever molding you may want to do. Create a paste with 2 cups (220 g) flour and 1 cup (200 ml) water. If you don't have flour, you can use two parts white glue and 1 part water. Mix it well. The paste will be easiest to use if it's in a shallow tray or wide brimmed bowl.
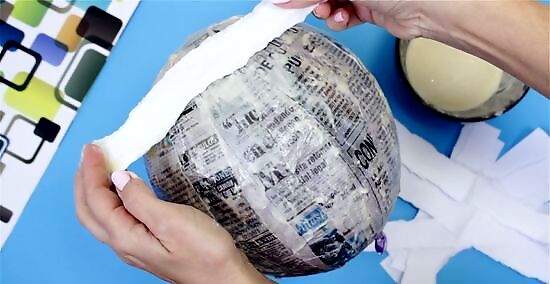
Cover the balloon with papier mâché. Dip a piece of paper into the paste and let the paper soak in the paste. Get the excess off the paper by scraping it along the side, if necessary. You may want to lay down extra newspaper to clean up the mess easily later. The first layer should be placed vertically, the second horizontally, and so forth. Use the blank paper in between newspaper layers to make it easy to see where you've already gone. If you'd like to mold on features, do so now. The beauty of papier mâché is that the strips can mold into virtually any shape. You can form eyebrows, cheekbones, or lips rather easily. Leave it on the side to dry. Make sure that the paper is secured on the balloon or else your mask may come apart. This may take several hours.
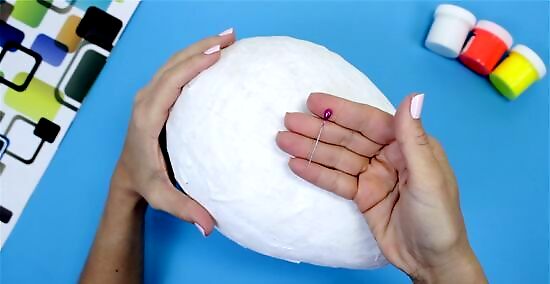
Pop the balloon with a needle. For safety reasons, be sure to pop it away from your face. You've now got the base of your mask!
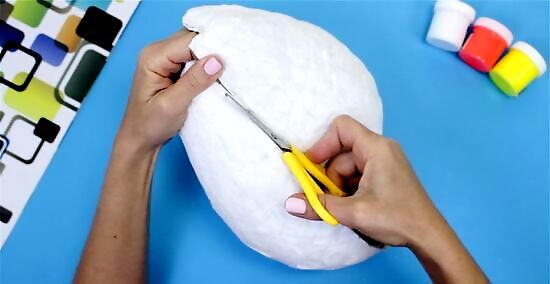
Use scissors to cut the newspaper ball in half. Depending on how much of the balloon you covered, you may end up with two separate masks, one large mask, or a mask that you want to shave down to size. If you want a slightly different shape, by all means! Cut off a lower forehead, cut off the chin to be able to speak, or make any style choices you see fit.
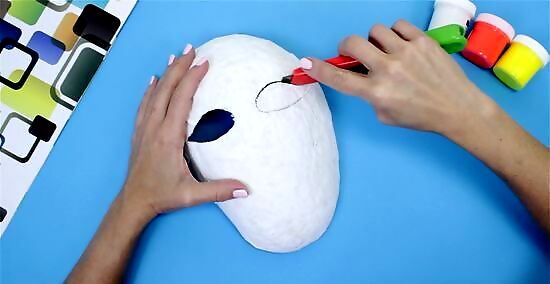
Start cutting holes. You'll want two for eyes, at least one for the nose, and possibly one for the mouth. If you're going to wear it, make sure the holes line up! In addition, poke two holes on the side to hold the band that will keep the mask on your face. Push a rubber band (cut in half) through the holes and make a knot on each side. If you don't have a rubber band, you may use string, ribbon or a long piece of elastic.

Paint the mask. This is where your (or your child's) creativity really gets to shine. It's all up to you. And if paint isn't enough, add hair, googly eyes, glitter, or any other embellishment you have handy. Let dry overnight. The last thing you want is a perfect mask that is ruined by touch. Come back to it the next day and marvel at your work.
With a Gallon Jug
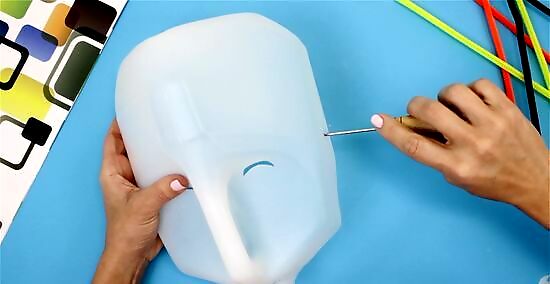
Clean out a gallon jug. It must have a handle as this will be used for the nose. Make sure it's clean! You don't want any old milk stench wafting around. Cut it in half, keeping the handle in tact. That means you'll be cutting it in half the long way. Cut out holes for the eyes and mouth, as big or as small as you'd like. Also cut holes near the ears to be used to attach the headband later on.
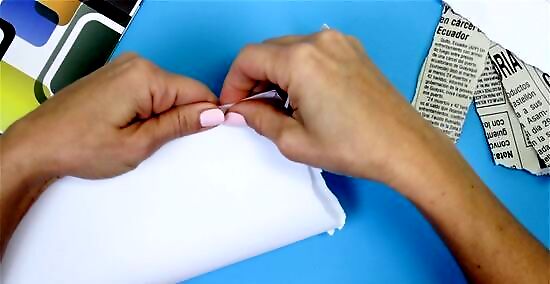
Prepare your papier mâché materials. You'll need enough strips (about 1 inch (2.5 cm) wide and 6 inches (15 cm) long) of newspaper and printer paper to cover at least three layers. Grab some flour and water and you're set. You'll need two layers of newspaper and one of printer paper -- the printer paper is best for the top layer. The pieces don't have to be perfect, so just rip them yourself. Whisk two cups (220 g) of flour and 1 cup (200 ml) of water in a bowl to make your paste. Add a bit more of either if it's too runny or too thick. Lay down newspapers now before the mess accumulates! You can use white glue thinned out with water, if that's more accessible.
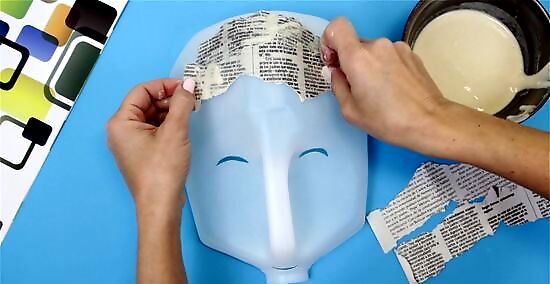
Start covering your jug. One by one, grab a strip of newspaper, dip it in the mixture, shake off any excess, and lay it on your jug. Start horizontally for the first layer -- then switch to vertically for your second. Don't cover the holes! Let the first layer dry completely before you start your second. Do this with each layer. Once you're done with all your newspaper layers, start molding features (also with newspaper). You can make ears, cheekbones, eyebrows, mustaches -- anything you can imagine. When you're done with the features, papier mâché the last layer (vertically) from your torn computer paper. The white paper gives you a blank canvas to start creating. Allow it to completely dry before you go any further.
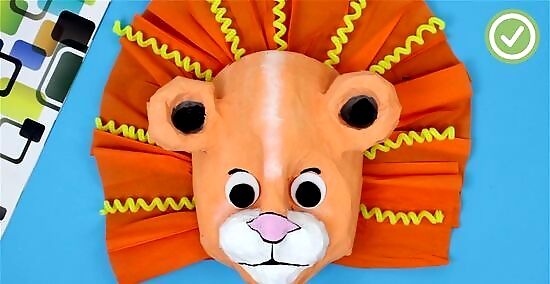
Start decorating. This is the fun part! The sky is the limit here. Use whatever you have in the craft closet or the kitchen to complete your mask's look. Use ribbon, feathers, faux hair, pipe cleaners, or even macaroni if it floats your boat. Let it dry and then your children can go off and start their adventure. Attach a ribbon, string or rubber band through the holes near the ears to create a headband, if the mask is to be worn.





Comments
0 comment