views
Tap and Slide Method
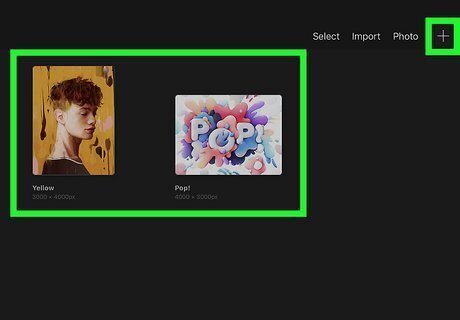
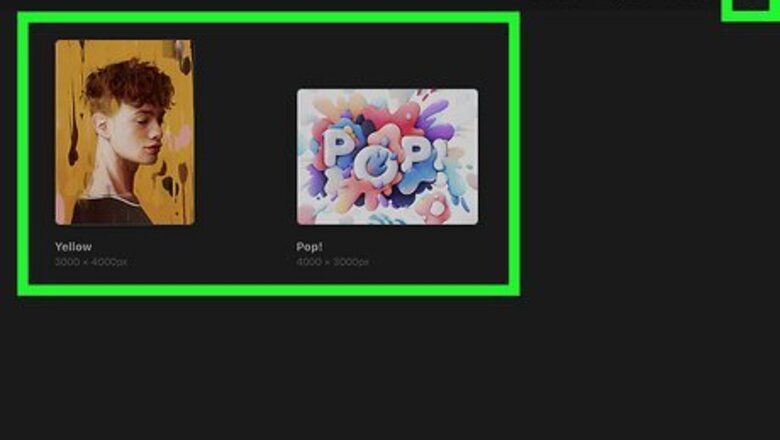
Open up the project you want to adjust. Once the app is open (it has an icon resembling a multi-colored brush stroke), simply tap on the image of the project you want to work on since the app usually opens to the main Gallery screen. If it’s already on a different project, tap “Gallery” in the upper-left corner of the screen and then proceed to select the project you want. To create a new art project, tap “Gallery” and then tap the plus icon (+) in the upper-right corner of the screen. From there, select a canvas size, and a new file will be created.
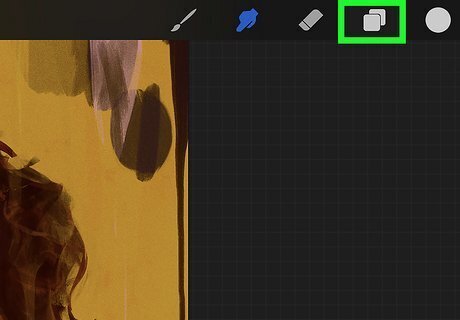
Select the “Layers” panel for your project. The “Layers” icon resembles two white sheets of paper (or rectangles with rounded edges) stacked on top of one another, and it’s located in the upper-right corner of the app screen. When you tap on it, you’ll see all the different layers in your project.
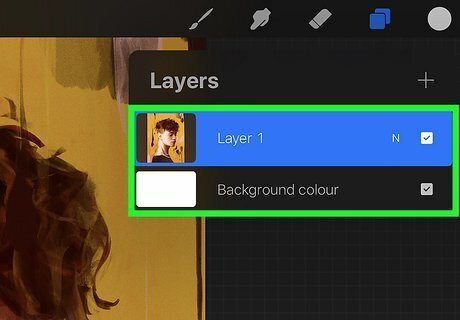
Double-tap the layer you want to alter with 2 fingers. An opacity bar will appear at the top of the screen, with the layer’s current opacity level displayed above it. By default, every layer's opacity level in Procreate is 100%, meaning it’s fully opaque. To create a new layer, tap the plus icon (+) in the upper-right corner of the Layers menu.
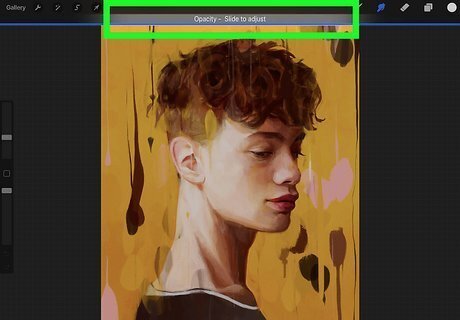
Slide your finger to reduce or increase the layer’s opacity. Swipe left along the opacity bar to lower the layer’s opacity or right to raise it. You can use your finger, an Apple Pencil, or a third-party drawing stylus to do this. The lower the opacity, the more transparent the layer will become.
Layers Menu Method
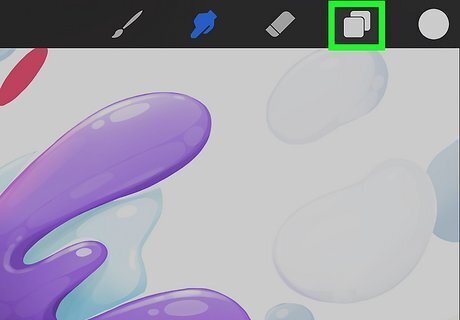
Open the “Layers” menu in the project. After opening up Procreate and the project you want to adjust, tap the layers icon in the upper-right corner of the project screen. It looks like two white sheets of paper stacked on top of one another. When the “Layers” panel opens, you’ll see every layer currently in the project with small images of whatever is in each layer.
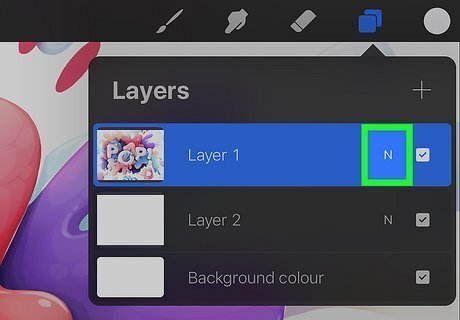
Select the “N” icon next to the layer you want to adjust. With the “Layers” panel open, look for small “N” icons located to the right of the layer’s name and image. When you tap “N” for the layer you want to adjust, you’ll see the layer’s entire blend mode panel with an opacity adjustment option (as well as different blend modes like darken, lighten, color burn, and linear burn). You’ll only see an “N” icon If the layer’s blend mode is currently set to “normal.” For example, if the layer’s blend mode is set to darken color, you’ll see the icon “Dc” next to the layer instead of “N.” If it’s set to color burn, you’ll see “Cb.” You can still change the opacity of a layer with a blend mode other than “normal.” Simply look for the abbreviated icon matching the layer’s blend mode (instead of “N”).
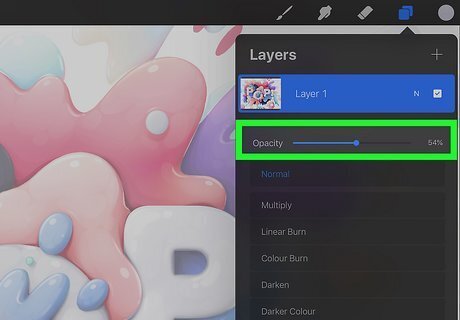
Move your finger along the slider to change the layer’s opacity. Tap on the slider bar below “Opacity” at the top of the blend mode panel and dragon he slider bar to lower or raise the layer’s opacity. Drag the slider bar to the right to raise the layer’s opacity, or drag it to the left to lower it. When you’re satisfied with your adjustment, tap outside the panel to close it (and the new setting will save automatically).
Adjusting Opacity on Procreate Pocket
Find the “Modify” tab in the app’s top menu. Procreate Pocket is the iPhone version of Procreate—so if you’re on an iPhone, accessing the app’s opacity feature works a little differently. Tap the “Modify” tab and look for the magic wand symbol. Selecting the wand will open up a drop-down menu similar to “Adjustments” in the main iPad version of Procreate.
Select “Opacity” from the drop-down menu. Depending on the version of Procreate Pocket you’re using, you may see “Effects” on the drop-down menu instead of “Opacity.” If that’s the case, select “Effects” first before selecting “Opacity”—or simply click on “Opacity” if it’s the first option you see.
Slide your finger to adjust the layer’s opacity to your desired level. When you click on “Opacity,” you’ll see a slider; simply slide your finger to the left to reduce the layer’s opacity or slide it to the right to increase its opacity until you find your preferred level. Then, tap the “Adjustments” icon at the top left of the screen to finalize your new setting.
Common Issues
There’s no way to change the opacity of multiple layers simultaneously. If you want to adjust the opacity of multiple layers, there are two options: change each layer one at a time or merge them into a single layer before adjusting it. Remember that if you merge the layers, you must set them at the same opacity level. To merge layers: Tap on one of the layers you want to merge; you’ll see it highlighted in blue. Then, move to another layer you want to merge and slide your finger to the right to highlight it in blue as well. Repeat this for every layer you want to merge until they’re all highlighted, and tap on the “Group” option on the top right of the screen. Double-tap on the group you created, and you’ll see a small menu open up. Tap “Flatten” to merge the entire group into a single layer.
If a layer seems to have disappeared, check its opacity. Sometimes, you may decrease the opacity of a layer (either accidentally or on purpose and forget to change it back). So, if you’re wondering why a previously filled layer seems to be totally empty, check its opacity to see if it’s really empty or just transparent at the moment. If its opacity is at 0%, that means it’s fully transparent. Instead of decreasing the opacity for a layer when you need it to be temporarily transparent, deselect it in the “Layers” menu by unchecking the box to the right of the layer’s name. Deselecting a layer will make it vanish, and you can always make it re-appear by checking the box in the “Layers” menu again.






Comments
0 comment