views
Cleaning the Metal
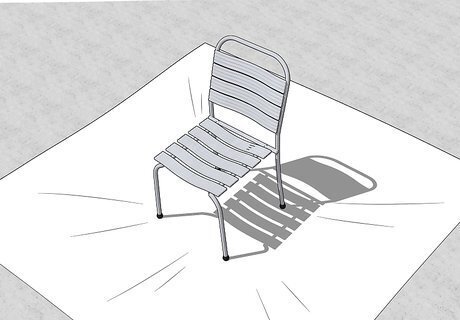
Set the chair on a drop cloth outside or in a well-ventilated area. It's best to work in an open, outdoor area, such as your driveway or lawn, while you clean and apply the paint so there isn't a buildup of fumes. Otherwise, work in a room that has multiple windows that you can keep open to ventilate the space. Set a drop cloth down on the floor so your paint doesn't drip or stain anything. Don't work in a room that isn't ventilated since the paint fumes could build up and be harmful to breathe in.
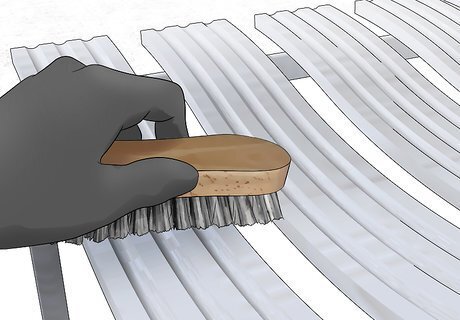
Scrub the chair with a wire brush to remove all of the old paint and any rust. Apply a firm amount of pressure as you scrub the chair with the brush. Be sure to work in any tight corners or decoration on the chair so the rust or paint flakes off. Continue working across the entire surface of the chair until it feels smooth and you've removed as much rust and paint as you can. You can buy wire brushes from your local hardware store. New paint does not adhere well to rust so it could cause drips or chipping if left untreated.Warning: Existing paint on older chairs may contain lead, so wear a face mask and safety glasses if you're unsure.
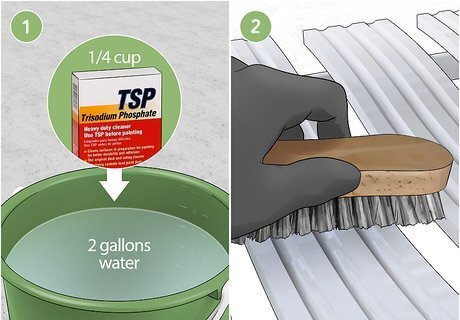
Wash your chair with TSP cleaner and a scrub brush to remove dirt. TSP, or tri-sodium phosphate, is a heavy-duty cleaner you can buy from hardware stores. Wear gloves, a face mask, and safety glasses while handling TSP since it could cause irritation. Combine ¼ cup (56 g) of TSP cleaner with 2 gallons (7.6 L) of water and stir it together thoroughly. Dip the bristles of a scrub brush into the TSP solution and then use it to scour the surface of the metal to remove any dirt or residual paint. Work over the entire chair to clean it as well as possible. Wear long sleeves and pants while working with a TSP cleaner so you don't accidentally get any on your skin. If the solution still doesn't clean the chair well, mix another ¼ cup (56 g) of TSP into your solution.
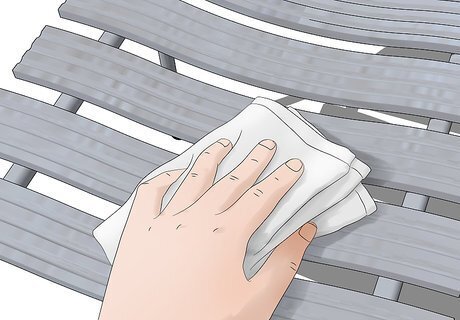
Wipe down your furniture with a wet cleaning rag and let it dry. Wet a cleaning rag in warm or cold water, and rub the entire surface of the chair to wipe off any cleaner. Make sure to focus on any tight corners or small crannies since the cleaner could get stuck there. Keep the chair in a well-ventilated area or outside to let it dry completely before applying any paint, or else it could rust after the paint's been applied. You can also spray the chair with a hose to rinse it off. Avoid using a pressure washer attachment since it could damage the metal if the pressure is too high.
Spray-Painting Your Chair
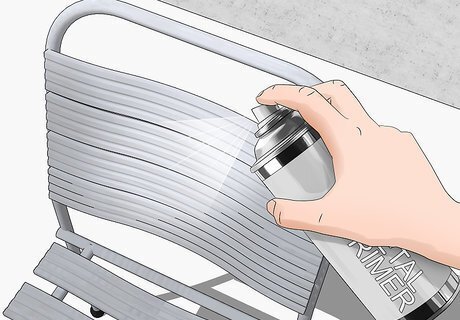
Apply a thin coat of spray metal primer onto the chair. Wear a face mask so you don't inhale any of the paint fumes. Get a spray can of metal primer to use on your chair since it adheres best to the surface. Hold the can of primer 6 inches (15 cm) from the chair and press the trigger to apply it. Work in straight, back and forth strokes, using short bursts of the primer so you don't overspray it. Start near the top of the chair and work down toward the legs so you can get an even application. You can get metal primer from your local paint or hardware stores. Primer helps preserve the color of your paint and makes it easier to adhere to the chair.
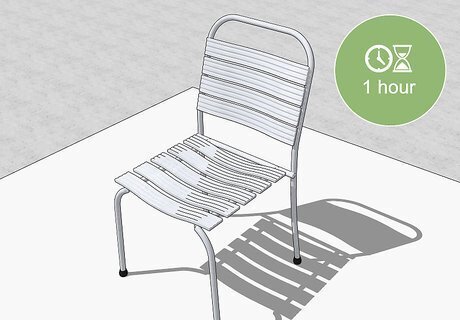
Let the first coat of primer dry for 1 hour. Leave the chair in a well-ventilated area or outdoors while the first coat of primer dries. While the primer will be dry to the touch within about 15 minutes, wait for 1 hour before handling the chair so the primer has time to set. After an hour has passed, you can continue working. It's okay if you can still see some of the metal surface through the first coat of primer since you'll need to apply another coat.
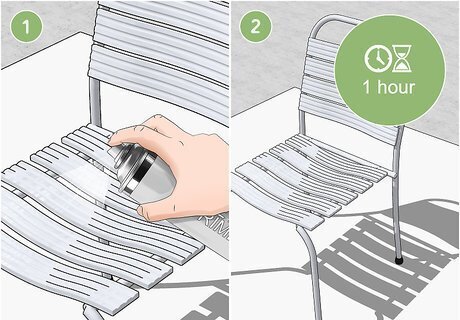
Spray another coat of primer onto the chair and let it dry for another hour. Apply the second coat of primer in the opposite direction as your first coat so you get even coverage. For example, if you used horizontal strokes first, then spray the primer in vertical strokes for the second coat. Put another thin layer of the primer on the chair until it covers the metal surface entirely. Let the primer dry for another hour after you finish your second coat. If you can still see the metal underneath the second coat, then you may need to apply a third coat of primer after the second one is dry.
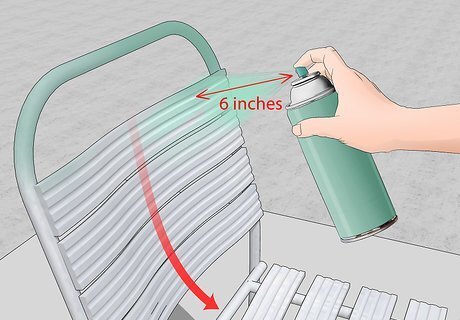
Coat the metal with your spray paint in straight, even strokes. Shake the can of spray paint thoroughly before you start applying it so it comes out smoothly. Hold the can about 6 inches (15 cm) from the chair and press the button on top to spray it. Work in straight, back and forth strokes across the chair to get an even application, starting from the top of the chair and working toward the bottom. When you reach the edge of the chair, let go of the button so you don't overapply the paint. Choose a color that matches the rest of your furniture pieces or pick a unique shade to make your chair stand out from the rest. Test the spray paint on a piece of cardboard before spraying your chair to make sure there are no clogs and that it has an even application.Tip: If you're painting metal outdoor furniture, make sure you use a spray paint meant for exterior use, or else it may chip or fade in harsh weather conditions.
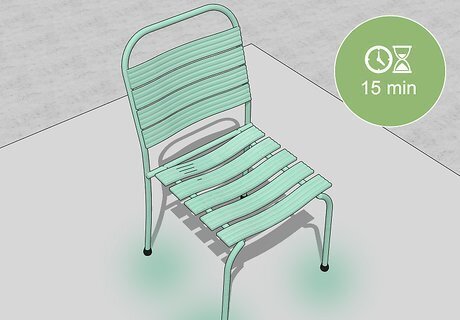
Let the paint dry for 15 minutes. Spray paint dries quickly so you're able to apply multiple coats in a short amount of time. After you complete the first coat, allow it to sit for at least 15 minutes or until it's dry to the touch. Once the first coat is dry, you can handle the chair so you can apply your second coat.
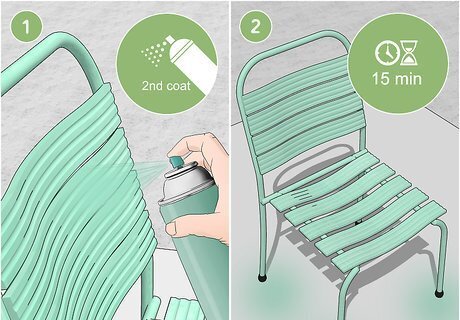
Apply a second coat of paint to finish your chair and let it dry for 24 hours. Once the first coat is dry, apply a second coat of spray paint in the opposite direction. For example, if you did horizontal strokes the first time, use vertical strokes for the second. Work from one side of the chair to the other, making sure to focus on any nooks or crannies that still have exposed primer. Once you finish the second coat, let the paint dry for 24 hours so it has time to completely set. You can apply additional layers of spray paint if you need to as long as you allow the paint to dry completely in between coats.
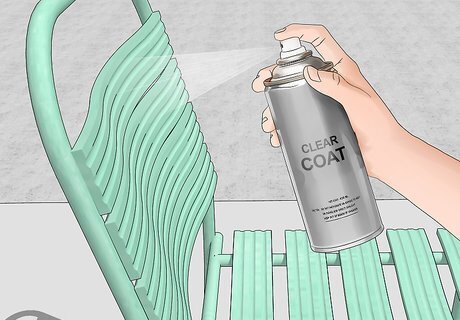
Spray a layer of clear coat on the chair to protect it. Get a can of spray clear coat and shake it so it's thoroughly mixed before you apply it. Hold the can at least 6 inches (15 cm) away from the chair and work from the top to the bottom, using short, back and forth bursts from the can. Let the clear coat dry for at least 1 day before using the furniture so the clear coat has time to set. Make sure you get clear coat for interior or exterior furniture depending on where you're using your chair.
Distressing Furniture with Chalk Paint
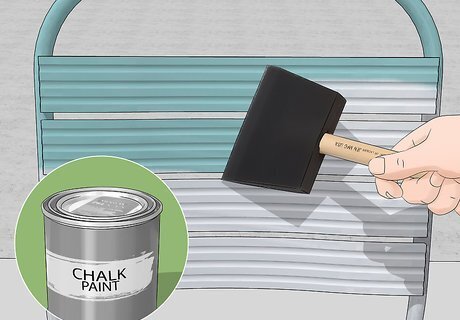
Apply a thin layer of your chalk paint with a bristle or foam brush. Mix your can of chalk paint with a stirring stick before applying it to make sure it's thoroughly combined. Dip the end of a 2 in (5.1 cm) round-bristle brush or a flat foam brush in the chalk paint and spread it in a thin layer on your chair. It's okay if you can see the brushstrokes or the metal through the paint since it will be covered after the second coat. You can buy chalk paint from your local paint supply store or online. You do not need to apply any primer on your chair if you're using chalk paint. Choose a color that matches or complements the area where you're putting it. You can also use an accent color to make your chair stand out from the rest of your furniture.
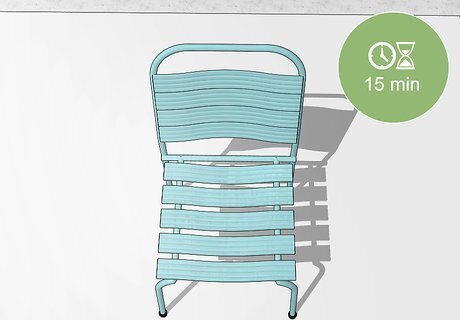
Let the first coat dry for at least 15 minutes. Chalk paint dries quickly after it's been applied, so you can usually apply your second coat after about 15 minutes. Check that the paint is dry to the touch after 15 minutes, and if it's still sticky, wait another 15-30 minutes before checking again. Once the first coat is dry, then you can continue painting the second coat.Tip: The drying time may also be affected by the weather. If it's warm or humid, the paint may take longer to dry than usual.
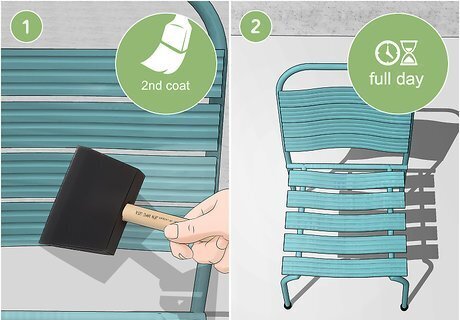
Coat the chair with another layer of the chalk paint and let it dry for a full day. Apply another thin layer of paint to your chair, working your brush in the opposite direction as your first coat. Cover the entire surface so you can't see the metal underneath and so the chalk paint appears matte. Work the paint into tight nooks and crannies so you don't miss any areas. After you apply the second coat, let it dry for at least 1 day before moving on. If can still see the metal underneath the chalk paint, you can apply another coat of paint after the second coat is dry. Make sure you don't apply a thick layer of paint for the second coat, or else it will form drips and ruin the finish on your chair.
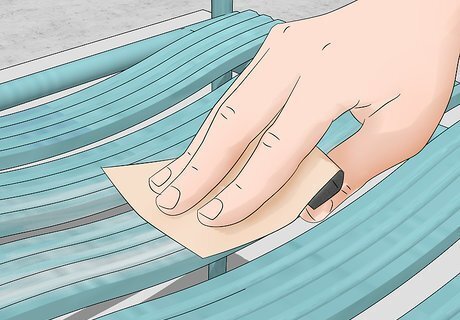
Sand areas where you want the metal finish to come through the paint. Chalk paint easily comes off of the chair if you want to distress certain areas. Use a sheet of 220-grit sandpaper or a scouring pad, and gently apply pressure on the spots where you want to remove the paint. Work in areas where the paint would naturally wear off over time, like corners, legs, and ornate details the chair may have. You don't need to distress the furniture if you don't want to.
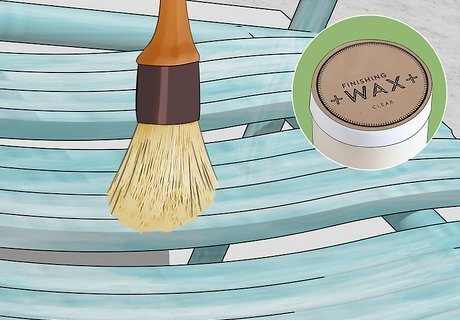
Seal the chalk paint with finishing wax. Get a finishing wax made to use over chalk paint from a paint supply store or online. The paint on your chair can easily chip off or peel if it's left untreated. Dip a 2 in (5.1 cm) bristle or foam brush in your container of finishing wax and stir it so it's thoroughly mixed. Apply a small amount onto your chair and paint it onto the surface in a thin layer. Spread the wax out on the surface until it's clear and has an even application. Let the wax set for 24 hours before using the chair. You don't need to use finishing wax if you don't want to, but your paint may not last as long.




Comments
0 comment