
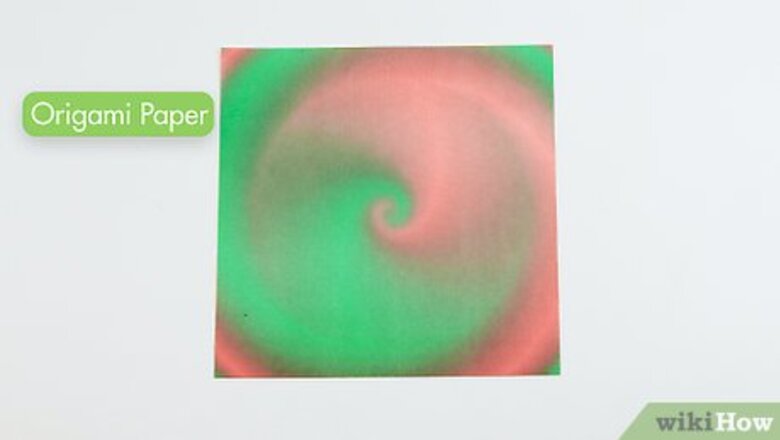
- Use traditional origami paper in the shape of a square for the best results. Choose paper with a color or design you enjoy to make your paper crane pop.
- Make all of your folds slowly and carefully. Line up corners or edges as perfectly to each other as you can for the sharpest looking crane.
- Display your crane on a tabletop or shelf, give it as a gift, or make 999 more and string them together to make your own senbazuru!
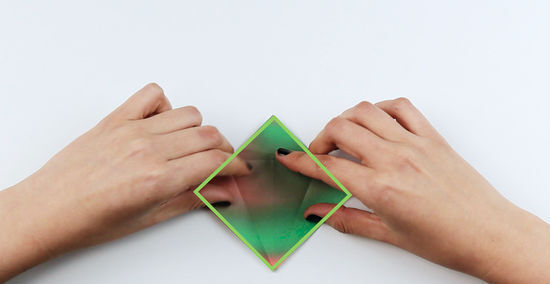
Lay down your origami paper color-side-up.
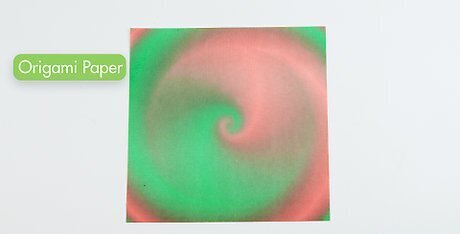
Choose square origami paper with a design you enjoy. Then, lay your paper flat with the colored side facing up. Traditional origami paper is thin but durable and measures 6 in by 6 in (15 cm by 15 cm), but 3 in (7.6 cm) and 10 inches (25 cm) are common too. In a pinch, cut any rectangular piece of paper into a square if you don’t have origami paper.
Make two diagonal folds.
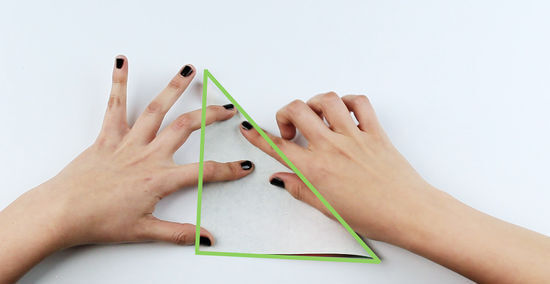
Fold the top right corner down to meet the bottom left corner. Then, crease the fold. Unfold the paper and then repeat on the other side, bringing the top left corner down to meet the bottom right corner. Crease the fold, then unfold the paper. Now you have a large X-shaped crease in your paper. Use your fingers, a ruler, or a bone folder tool to make neat, crisp creases. Making these kinds of folds is called making a valley fold.
Fold the paper into rectangles.
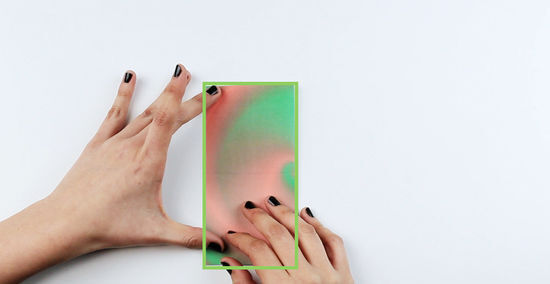
Flip the paper over and fold the right edge over to meet the left edge. Then, crease the fold. This will look like a vertical rectangle. Unfold the paper, then fold the top edge down to meet the bottom edge, forming a horizontal rectangle. Crease the fold, then unfold the paper without flattening it out. You now have creases in the shape of an “X” and a “+” spanning your paper, dividing it into 8 triangles.
Make an accordion fold.
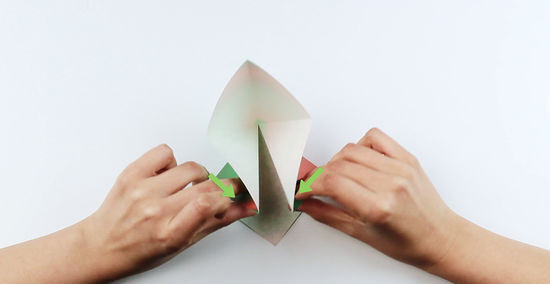
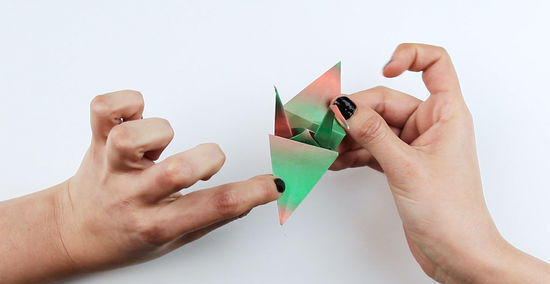
Bring all 4 corners together along the creases to form a square. First, angle the paper so one corner is facing you (like a diamond shape). Bring the side corners inward to meet the bottom corner. Because of your earlier creases, the top corner will also fold neatly and meet at the same point as the side and bottom corners. Let the paper fold naturally along the creases you made earlier. The resulting square has an open end where all 4 corners of the paper come together (facing you). It also has 2 flaps on the right and 2 flaps on the left.
Create a squash fold.

Fold the left and right corners of the square to meet the center crease. Work with the top layers only (not the bottom flaps on the left or right). Crease the folds. You now have a kite shape on top of your square base. Finish the squash fold by folding the triangular tip of the kite shape down.
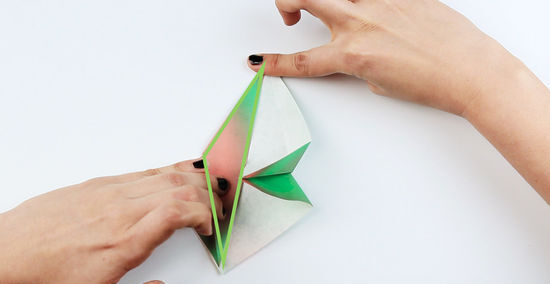
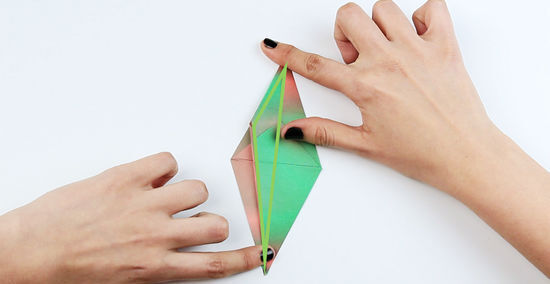
Undo and open the squash fold.
Unfold the top and side corners to return to your square base shape. Then, grab the bottom corner (top layer only) and lift it up and back (toward the top corner). The crease from when you folded the top of the kite shape down will act like a “hinge” for the fold, and the side corners will fold in to meet at the center. The resulting shape looks like a thin, vertical diamond (top layer) on top of your square base (bottom layer). Once you’ve gotten the diamond shape, flatten all of the folds and creases.
Repeat the squash fold on the backside of the paper.
Turn over your paper, then make a new squash fold. Fold the left and right corners (top layer only) in to meet the vertical center crease, then fold the triangular tip of the resulting kite shape down. Then, unfold the top and side corners and open up the squash fold like you did on the other side of the paper. Flatten the second squash fold as well. The paper now looks like a 2-layer diamond with 2 “legs” at the bottom.
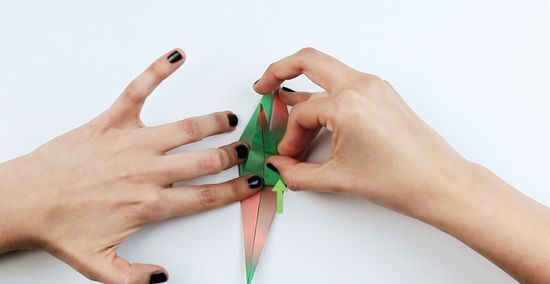
Taper the legs of the diamond.
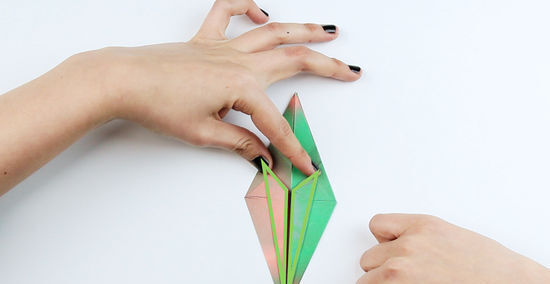
Fold the left and right corners in to meet the center crease. Work with the top layer only, starting on either side of the paper. Crease the folds. Flip the paper over and do the same on the other side. The paper now resembles a skinny kite.
Make a book fold on both sides of the paper.
Fold the right half of the kite (top layer) over the center crease. Make sure the right corner of the kite is now touching the left corner. This fold is like turning the page of a book (hence the name “book fold”). Flip the paper over and repeat on the back side—fold the top layer of the right side of the kite over the center crease.
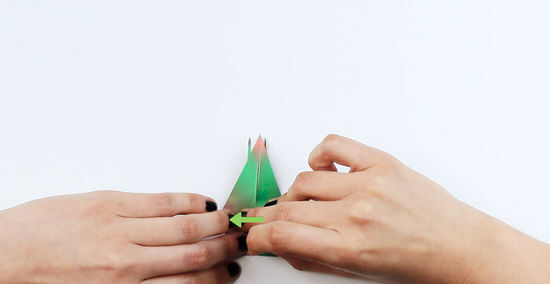
Fold the bottom corners up.
Lift the bottom corner of the kite (top layer) up to meet the top corner. Make a crease along the fold. Then, flip the paper over and repeat on the backside—lift the bottom corner up to meet the top corner, then crease.
Do another book fold on both sides of the paper.
Start on one side of the paper and fold the right corner over the center. Make sure to only fold the top layer so the right corner is lined up perfectly with the left corner, then crease the fold. Flip the paper over and repeat—fold the right corner over the vertical center crease and line it up with the left corner.
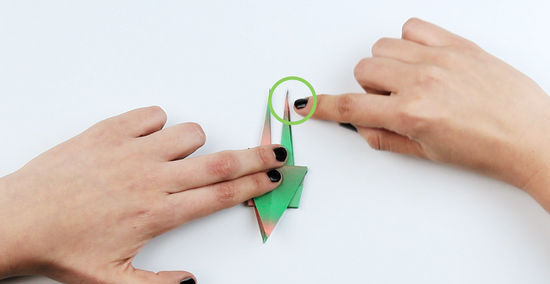
Pull out the pointed tabs beneath the top layer.

Look for the 2 points on either side of the topmost corner. Pull the left point out to the left and down until it’s aligned vertically with the leftmost corner below it. Then, pinch the base of the paper on the left side to crease and hold the tab in place. Repeat on the right side of the paper. One of these pointed tabs will be the tail and one will become the head. Choose one to fold into the head (either one will work).
Fold the head of the crane.
Bend one of the side points down to resemble a beak. Then, use your thumbnail to reverse the crease in the head (this is called an inside-reverse fold). Pinch the head to secure the crease and form the beak. For the best look, fold the head down about 1 in (2.5 cm) from the tip. Leave the pointed tab on the other side untouched (it will be the tail).
Fold the wings down.
Grab the top corner of one layer and fold it down, then crease the fold. Repeat on the other side of the paper to create the second wing. Turn the crane upside down and use your fingers to “fluff” the body of the crane to give it some 3-dimensional shape so it can stand. Once the wings are folded and the body is fluffed up, your crane is ready for display! Display your crane on a flat surface, like a coffee table or shelf, give it as a gift, or make 999 more and string them together to make a senbazuru.


Comments
0 comment