
- Open an MP3 file in Audacity, then export it as a WAV file to complete the conversion.
- To convert in iTunes for Windows, enable the WAV Encoder under Edit > Preferences first.
- Upload an MP3 file to OnlineConvert and click Convert file to convert it into a WAV file.
Using Audacity
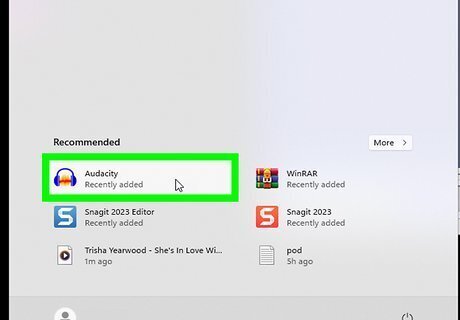
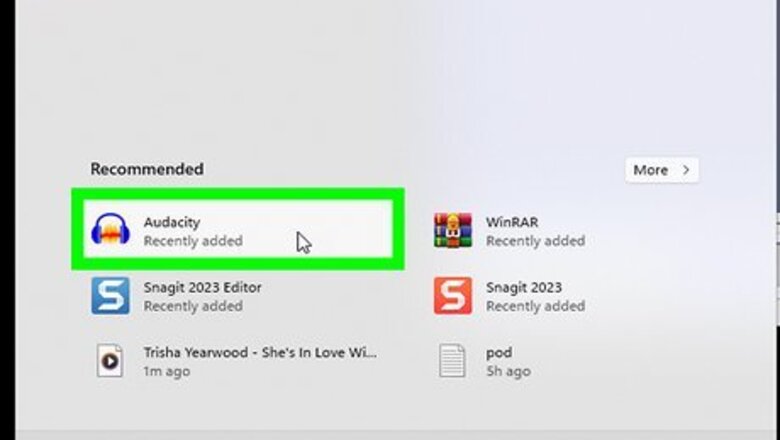
Open Audacity on your PC or Mac. Click or double-click the Audacity app icon, which resembles a pair of blue headphones on top of an orange sound wave. Audacity will open to a blank project. If you don't have Audacity, first download and install it for your Windows or Mac computer from the following site: https://www.audacityteam.org/download/

Click File. It's in the upper-left corner of the Audacity window (Windows) or the top-left corner of your Mac's screen (Mac). A drop-down menu will appear. On Mac, you may instead need to click the Audacity menu item in the top-left corner of the screen.
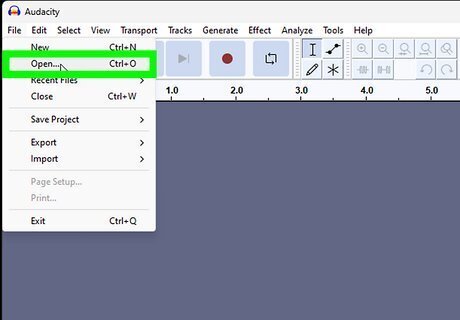
Click Open…. It's in the drop-down menu. Doing so opens a window for you to select music.

Select a song. Click a song that you would like to convert from MP3 to WAV format. You may first have to select your music folder from the left-hand side of the window, or double-click a song's folder in the main part of the window.
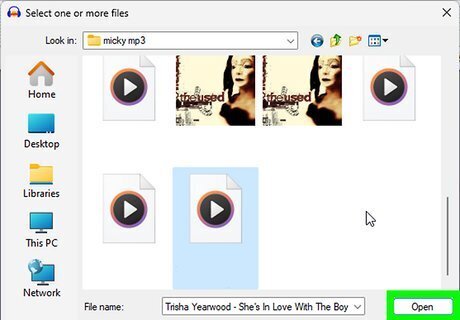
Click Open. Doing so will begin importing the music file into Audacity. This can take a couple of minutes. Once the music file is open, you'll see a blue sound wave in the middle of the Audacity window.
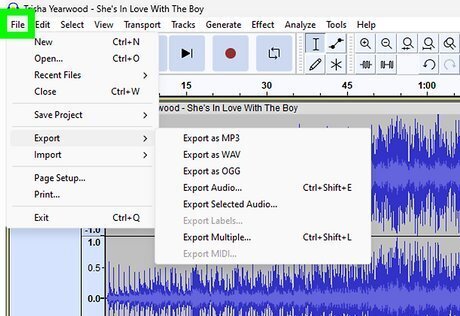
Click File or Audacity menu again. The drop-down menu will re-appear.
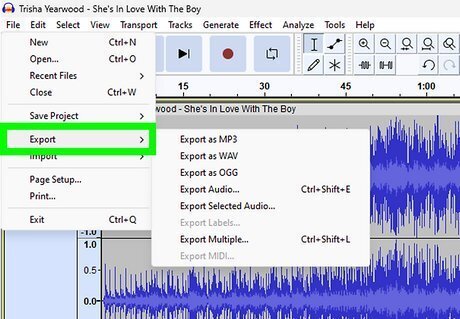
Select Export. It's in the middle of the drop-down menu. Doing so prompts a pop-out menu. If your File menu has Export Audio... as an option instead, click it and then skip the next step.
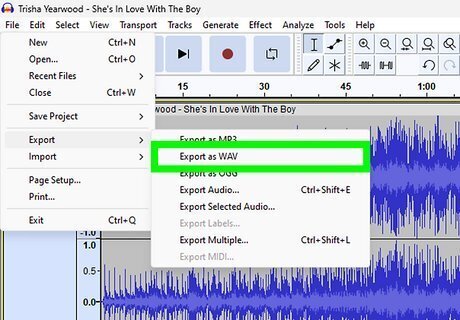
Click Export as WAV. This is in the pop-out menu.
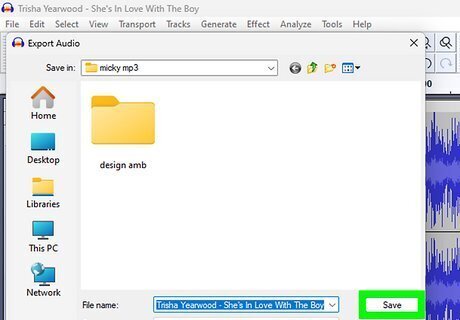
Select a save location and click Save. Select a folder to save your new MP3 file to, then click Save. If you clicked Export Audio..., you'll also need to click the "Save as type" (Windows) or "File type" (Mac) drop-down box and select the WAV (16-bit or 32-bit are both fine) option.
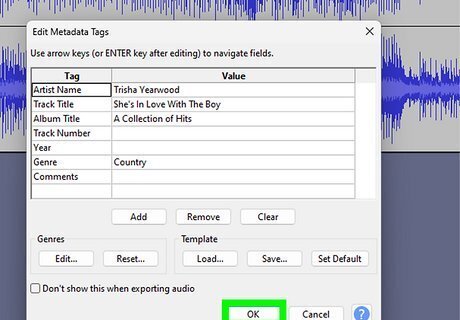
Click OK when prompted. This will save the music file in your selected WAV format to your specified folder.
Using iTunes
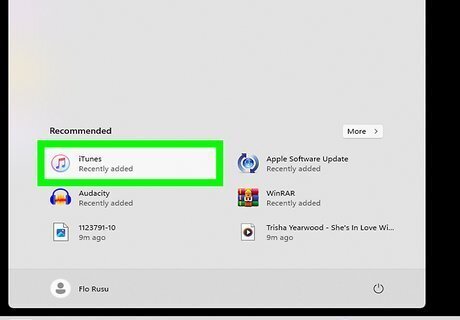
Open iTunes on your Windows PC. Click or double-click the iTunes icon, which resembles a white icon with a multicolored musical note on it. The iTunes window will open. Note that iTunes for macOS has been discontinued. Mac users should refer to the instructions for Apple Music, as only Windows users can access the latest versions of iTunes.
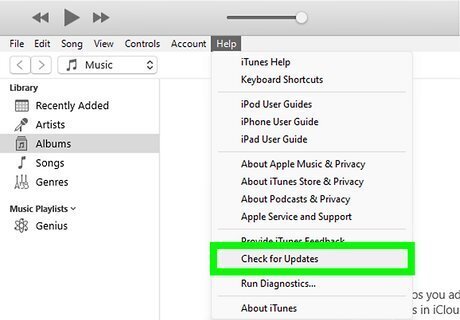
Make sure iTunes is up to date. Some older versions of iTunes may not allow you to convert an MP3 file into a WAV file, but modern versions of iTunes do. iTunes should automatically check for updates when it starts up, but you can manually check by clicking Help and then clicking Check for Updates. If prompted to update, click Download iTunes and follow any instructions. You may have to restart your computer before proceeding.

Enable WAV encoding. By default, iTunes won't convert files into the WAV format on request. You can change this by doing the following: Click Edit in the upper-left corner. Click Preferences... in the drop-down menu, then click the General tab if it doesn't open. Click Import Settings.... Click the "Import Using" drop-down box, then click WAV Encoder in the menu. Click OK at the bottom of the Import Settings window, then click OK at the bottom of the Preferences window.
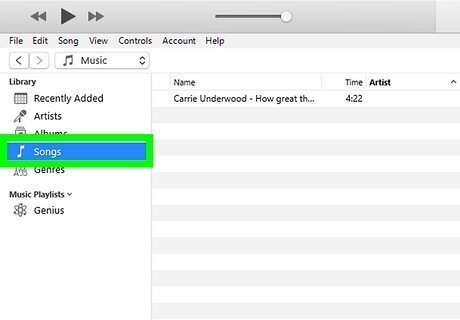
Click Songs. This tab is below the "Library" heading in the upper-left side of the iTunes window. Your iTunes songs will be displayed.
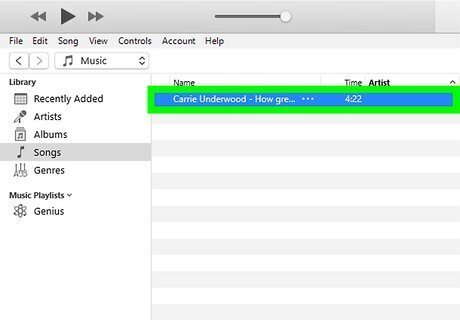
Select songs to convert. Click a single song to select it. You can also hold down Ctrl and click individual songs to select them independently. To select a block of songs, click a song at the top of the list to select it, then hold ⇧ Shift and click the bottom song in the list. The whole list will be selected.
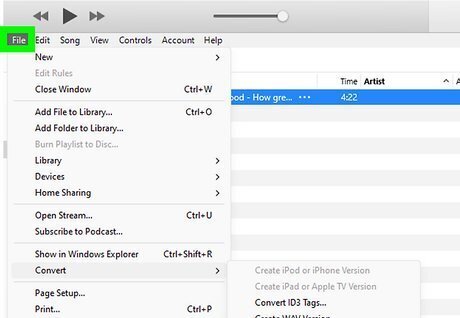
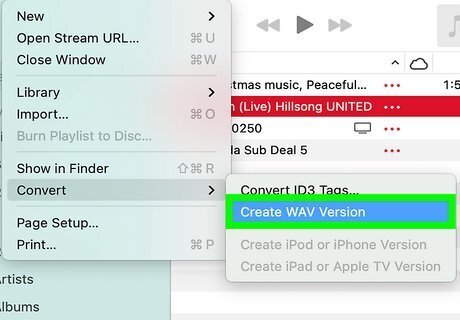
Click File. It's in the upper-left corner of the iTunes window. A drop-down menu will appear.
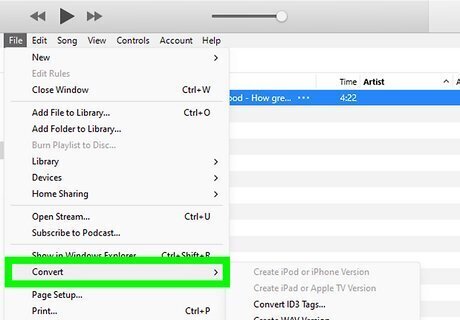
Select Convert. This option is near the bottom of the drop-down menu. You'll see a pop-out menu emerge with a few file conversion options.
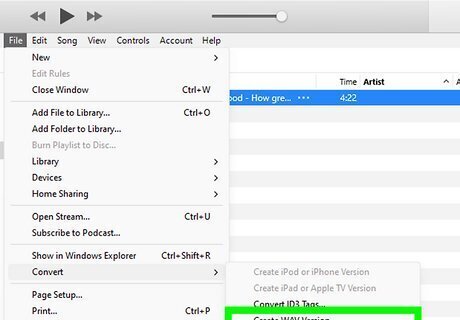
Click Create WAV Version. It's in the pop-out menu. Doing so will create WAV copies of your selected songs. Once the WAV copies are created, you can delete the original songs from your library. To go to the location of a converted WAV file, right-click the WAV version of the song, then click Show in Windows Explorer.
Using Apple Music
Open the Music app on your Mac. It is represented by a musical note against a red square.
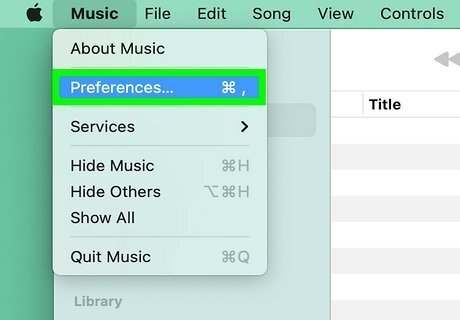
Navigate to the Files menu. Click Music, then Settings, and select Files to open the appropriate menu.
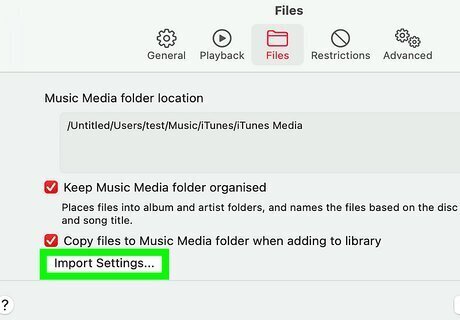
Click Import Settings. This will open a new pop-up.
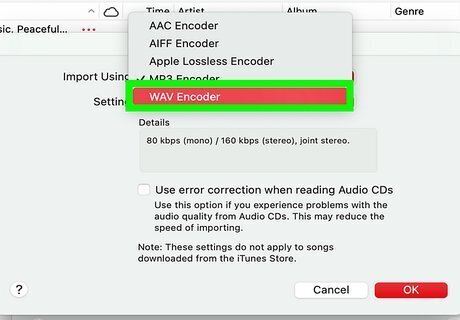
Select WAV as the desired format. This pop-up menu is where you can determine which format you want to convert songs to. Select WAV, then click OK to save your changes. Unlike iTunes, Apple Music does not require you to enable WAV encoding, so you should be able to select the file type without any additional work necessary.
Select a song in your library. Click to select and highlight an MP3 file in your Apple Music library. Hold Command and click multiple MP3 files to convert them all at once.
Convert the MP3 files into WAV files. Click File > Convert > Create WAV version. Apple Music will begin converting your selected files. The WAV files will not replace the original MP3 files. Both the originals and the copies will be saved to your system.
Using OnlineConvert
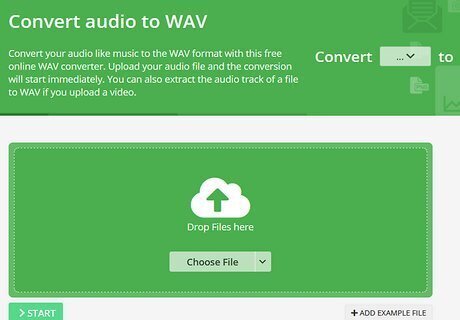
Open the OnlineConvert page. Go to https://audio.online-convert.com/convert-to-wav in your computer's web browser.
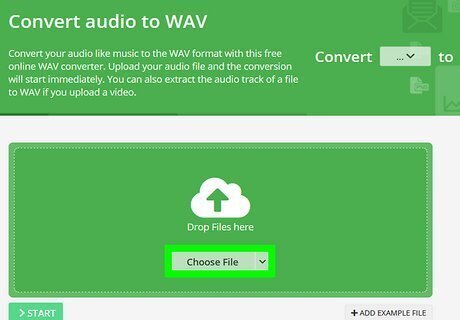
Click Choose file. It's a grey button near the top of the page. Doing so opens your computer's File Explorer (Windows) or Finder (Mac).

Select your MP3 file. Go to the location of the MP3 file that you want to convert, then click it once.

Click Open. It's in the bottom-right corner of the window. Doing so uploads your MP3 file to OnlineConvert. On a Mac, you may click Choose instead.

Scroll down and click Convert file. You'll find this grey button at the bottom of the page. OnlineConvert will begin converting your MP3 file into a WAV file.
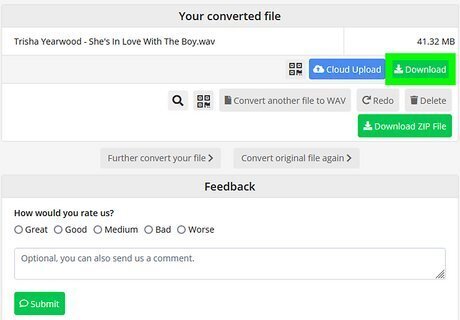
Click Download. It's a light-green button across from your converted WAV file's name. Doing so prompts the converted file to download onto your computer. Depending on your browser settings, you may have to confirm the download or select a save location before the file will download. Your file may automatically download once its conversion is complete.


Comments
0 comment