views
Determining Ideal Materials
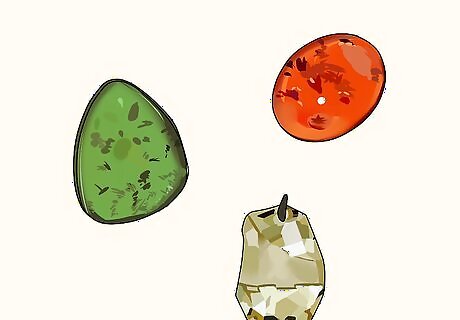
Choose your centerpiece. You might have found a beautiful piece of sea glass while walking the beach, or maybe you have a semi-precious stone that you think is just breathtaking, but either can make a beautiful piece of wire wrap art. Symmetrical shapes can give your wire wrap a more professional look, but sometimes interesting shapes can further accentuate the centerpiece around which you will wrap your wire. For the purposes of this example, a round, polished stone bead will be used. However, the principles of wire wrapping described can be applied to many differently shaped centerpieces. Remember that every stone is a different shape and contours differently to wrapping around.
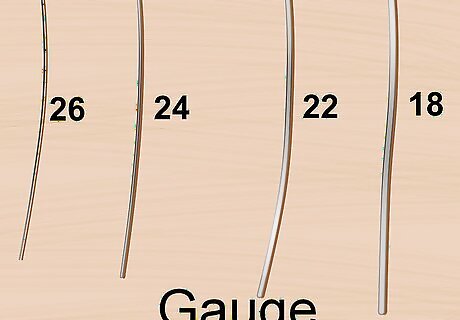
Decide which wire best suits your centerpiece. Wire comes in many different varieties, both in terms of the material it's made and its thickness, which is commonly referred to as the "gauge" of the wire. Larger and heavier centerpieces will require a thicker gauge of wire. All wire used in this example is either 20 or 22-gauge, which is frequently recommended for beginners. The lower gauge your wire, the thicker it is. For example, 8-gauge wire is very thick, while 26-gauge wire is quite thin. You might consider using copper jewelry wire for your first wire wrap. Copper has a lovely color that compliments many different kinds of centerpiece, and is also relatively cheap. Once you feel comfortable with your wire wrapping skills, you might use fine silver, sterling silver, gold plated, or gold filled jewelry wire.
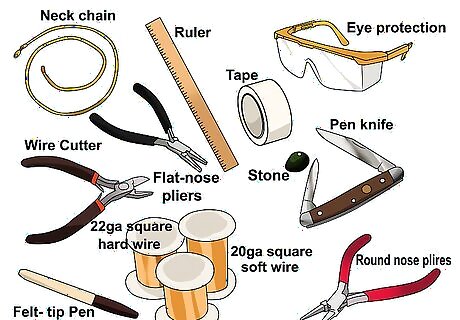
Gather your wire wrapping supplies. In this example of wire wrapping, a round, polished stone bead is used as the centerpiece and is wrapped in an inexpensive brass wire. Most of these supplies should be available at your local hardware or craft store, or even online. For this project, you'll need: 20-gauge square soft wire (4' (1.2 m)) 22-gauge half-round hard wire (1' (30 cm)) 22-gauge square hard wire (4½" (11.5 cm)) A faceted stone Eye protection Felt-tip pen Flat-nose pliers Neck chain (or other fastener) Penknife (or comparably thin knife) Round-nose pliers Ruler Tape Wire cutter
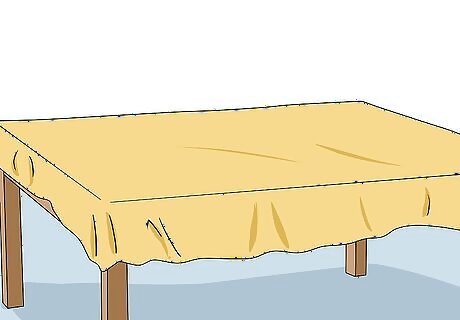
Prepare your work space. You'll want to clear any obstacles that might get in your way and make working with your wire difficult. Clear a broad area; while you are trying to cut or bend a longer piece of wire, you don't want to accidentally knock something over with the loose end. Consider making use of a workbench, craft table, or laying down a drop cloth where you are working. While shaping and cutting the metal wire, sharp pieces can fly or flake off. A drop cloth will make cleanup much easier.
Forming the Wire Frame for Your Centerpiece
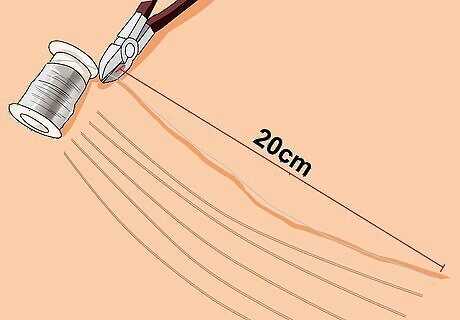
Cut your frame wires an equal length. Take your 20-gauge square soft wire and clip six pieces eight inches (20 cm) long free. For centerpieces that are bulky or larger, you might need to measure out more wire. The central frame of your wire wrap should be: Long enough to warp around the perimeter of your centerpiece. Thick enough to hold your centerpiece. Heavy/bulky centerpieces might require you to use more than six pieces of wire.
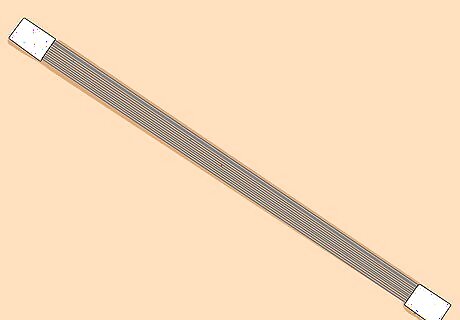
Collect your newly cut wires together. Line up the wires and draw them tightly together, making sure each is parallel to the others. Then you should use your tape to bind the ends. This will keep your bundle in shape while you work with the wire. Depending on the contour of your centerpiece, you may find a rounded wire frame works best. In this example, the wire frame has been flattened to better contain the polished bead centerpiece.
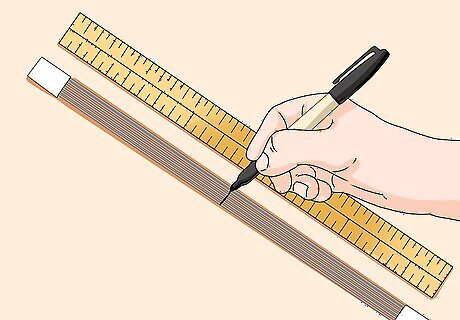
Draw a line to mark the middle of your bundled wire. Lay out your bundled wire flat on your work space and, with your ruler, find the center of the bundle. Now, with your felt-tip pen, you should mark this point.
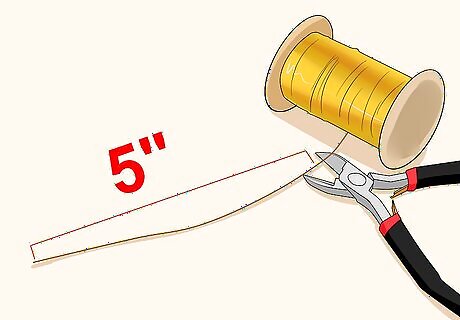
Cut your first piece of binding wire. This wire will be used to decoratively wrap around the middle mark you have just made on your bundle. Use your wire cutters to snip free a five inch (13 cm) piece of 22-gauge half-round hard wire.
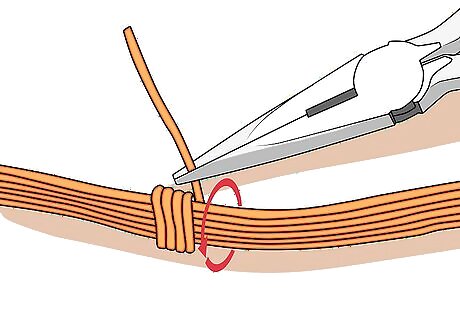
Bind your six-wire bundle at its middle mark. Use your flat-nosed pliers to grasp the piece of 22-gauge wire you cut free, then bend the wire around the bundle. After each winding, pull the wire tight while holding it against your bundle with your free hand. The bundle should be wrapped so there are no gaps in its twinnings, and should be equal length on both sides of your middle mark. Grasping your wire close to its end with your pliers can make shaping it easier. After you finish your bundling, your middle mark should not be visible. This bundle will eventually make up the bottom of your wrap. The width of the finished binding should be approximately ¼" (6 mm) for a 12-carat stone, like the one used in this example.
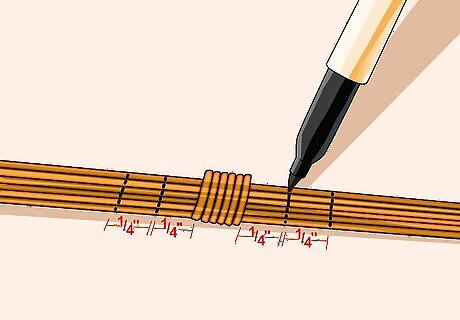
Mark the next binding sites for your six-wire frame bundle. Use your ruler and felt tip marker to draw a line a ¼" (6 mm) from each edge of your center binding. Then make another mark a ¼" (6 mm) outward from each of your previous marks. These double marks on either side of your middle binding define the width of your next bindings.
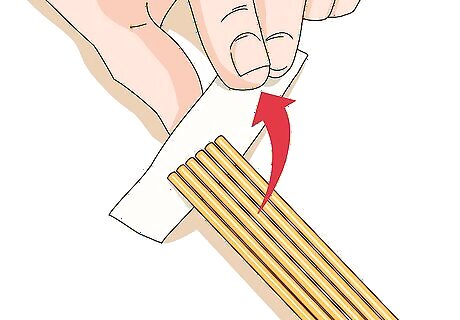
Remove the tape from the ends of the wire bundle. Now that you've got your middle binding in place and your lines drawn on each piece your six-wire bundle, you can remove your tape, as it is no longer needed to keep your bundle collected together.
Shaping the Cradle for Your Centerpiece
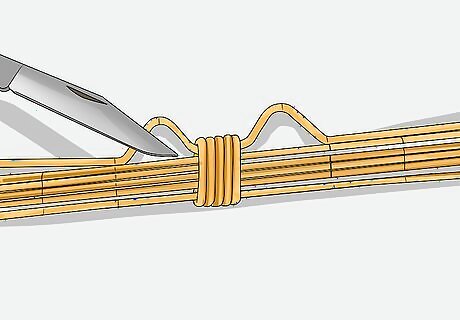
Bend the cradle for your centerpiece. Slip your penknife between the bottom of your topmost wire and the wire immediately below it. Then, use your penknife to pry the topmost wire into the shape of an outward-pointing V. This V-shape should point away from the outer wires of your frame. Repeat this process until you have four Vs, one on each side of the top and bottom of your center binding. Four V shaped twists on all sides of your center binding will create the sturdiest seating for your centerpiece. However, in this example, the polished stone bead is small and light, only requiring two V bends. Each outer wire should have two V's on either side of the middle binding. Each V begins at the edge of the binding, pointing out from the main bundle until the tip is in line with the first ¼" (6 mm) mark. Then bend the wire to meet the second ¼" (6 mm) mark. After making your V bend seating, allow the remaining wire run parallel to the main bundle.
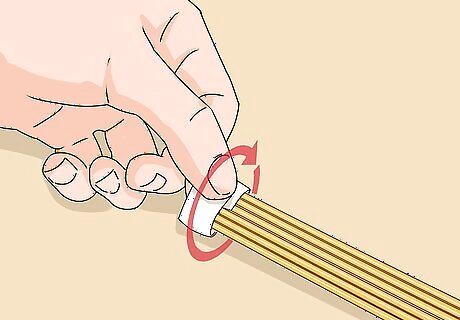
Re-tape the ends of the bundle. This will ensure that your V bends stay on the outside of your bundle, which will create the most stable seating for your centerpiece. It will also keep your wire frame bundle together while doing the next bindings.
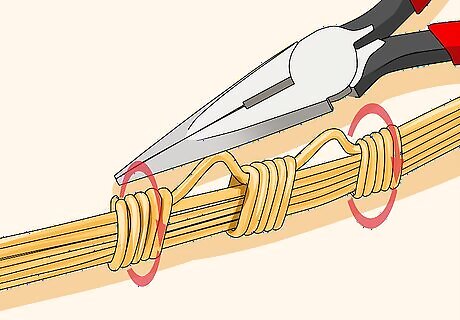
Bind your six-wire bundle with more 22-gauge half-round wire. Wrap the wire around your wire frame bundle with your pliers, starting at the outer part of your V's where the V returns to join the rest of the bundle. Do this for both sides of your six-wire bundle. While wrapping your second and third bindings, be sure you keep the wraps tight, neat, and equal in length. A few turns on either side should be sufficient.
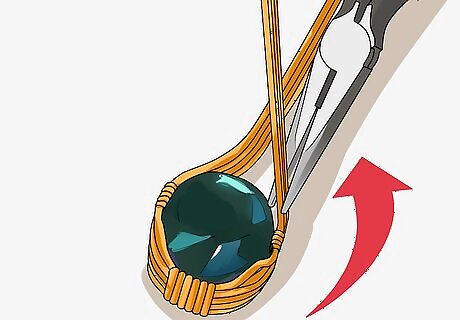
Complete the seating for your centerpiece and its wire frame. Take your pliers and, carefully but firmly, bend your six-wire bundle around your centerpiece so that it wraps along the centerpiece's edges. Let both side of your six-wire bundle cross at the center-top of the stone.
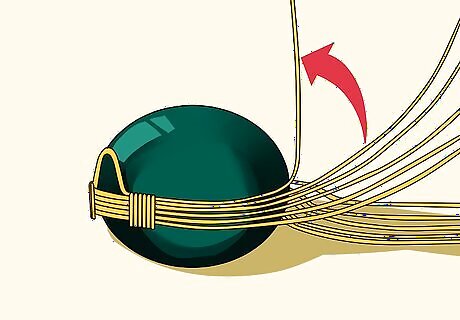
Prepare your front seating for your centerpiece. Bend one of the outermost strands of your six-wire bundle from either side with flat-nose pliers. Shape the wire so that it sticks upward and away from the rest of the wires.
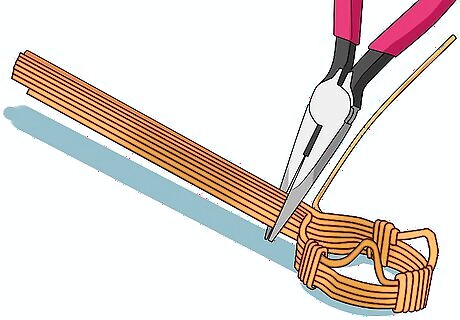
Combine both ends of your wire frame together. Where both sides of your wire frame meet at the top of your design, align all strands so each faces the opposite direction of your first middle binding. The middle binding will form the bottom of your design, and the combined ends of your six-wire bundle will form the top.
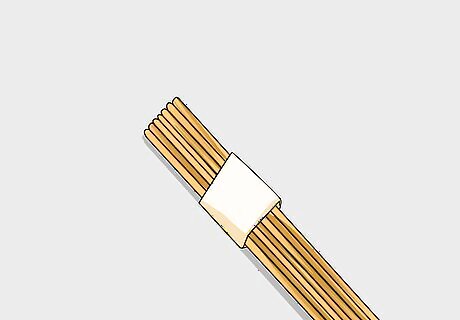
Tape the strands together. This will prevent your wires from becoming bent out of the intended shape of your design when making your final binding. Tape toward the end of your combined six-wire bundle.
Completing Your Wire Wrap
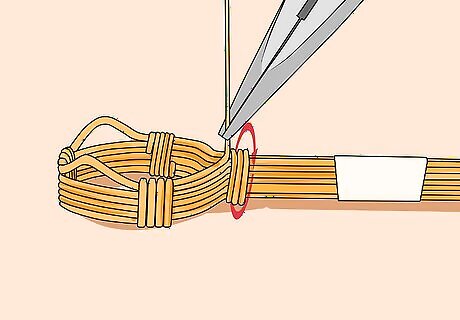
Make your final binding at the top of your design. Choose either the topmost or bottom-most wire of your combined bundle and wrap all wires together in a binding that tightly twines the top of your design together. A few wraps of 22-gauge square hard wire at the top should do. Once you have finished this binding, you may remove the tape.
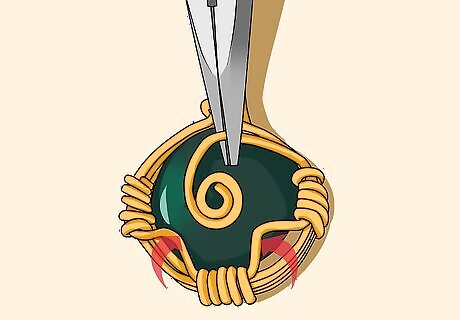
Seat your centerpiece in your wire wrap design. Use pliers to bend the front and back Vs so as to form a secure seating in which the centerpiece sits. Once the centerpiece is in its cradle, take the final wire that has been pointing away from the bundle and wrap it around your centerpiece in a spiral design to further secure it. The spiral design of your wire wrap will give a professional appearance to your jewelry. If you notice your centerpiece is loose in its V and front settings, you may want to take another piece from your bundle and add another spiral wrap to the back for support. Consider adding wavy designs, or spirals at the top of your wire wrap where you have extra wire to add your personal touch.
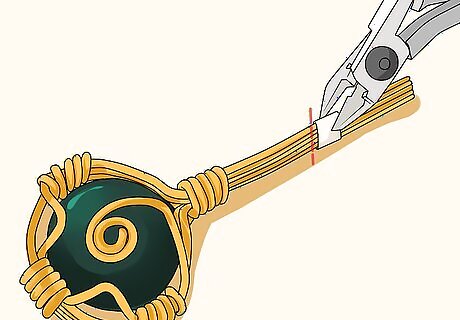
Cut off excess wire. Keep in mind while trimming excess wire that you'll need enough leftover at the top to make a loop of wire. You'll need this loop to thread a neck chain or some other kind of fastener, like a thin strip of leather.
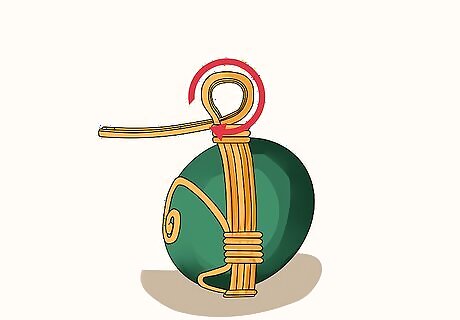
Bend one or two wires at the top of your design to make a loop. This O-shape will form the eyelet through which you will thread your neck fastener. Depending on the gauge of wire you have used, you may want to from your fastener eyelet with either one wire or two.




Comments
0 comment