

Steps

Open your QuickBooks program and sign in.
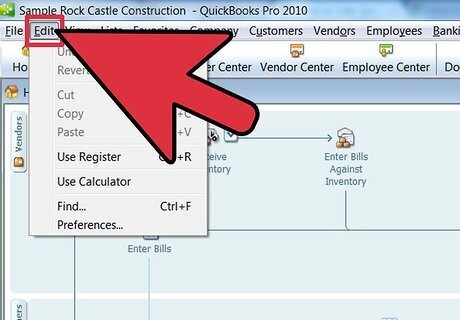
Choose "Edit" from the menu on the home page (main menu).
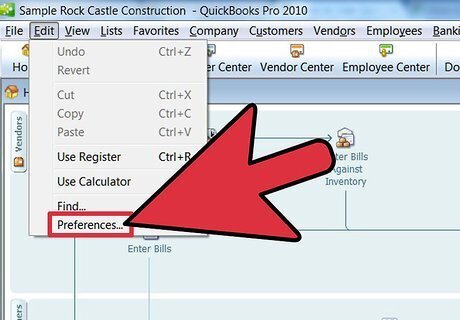
Choose "Preferences" from the drop-down list that opens.
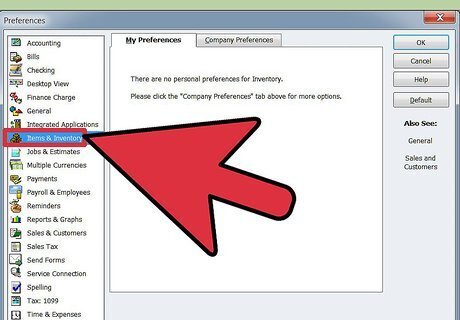
Choose "Items and Inventory," which appears on the left side.
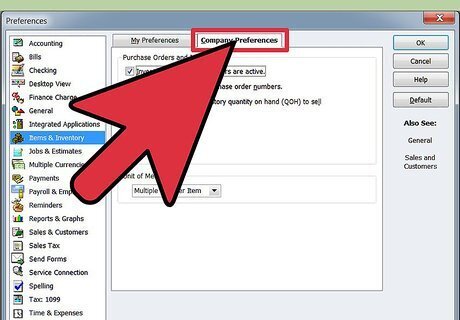
Choose the tab titled, "Company Preferences."
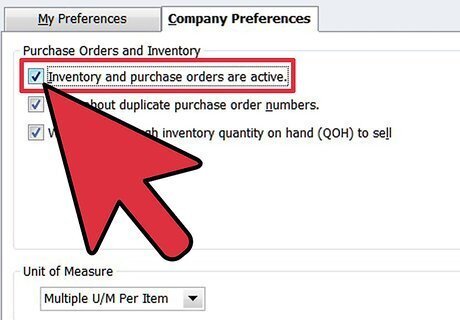
Check the option titled, "Inventory and purchase orders are active."
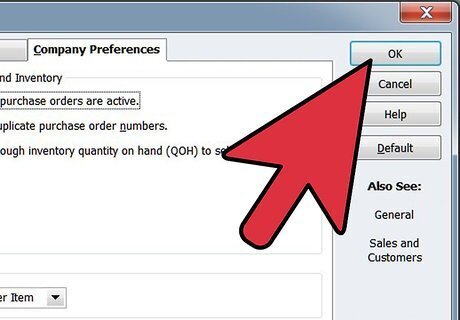
Click on "OK" when finished.
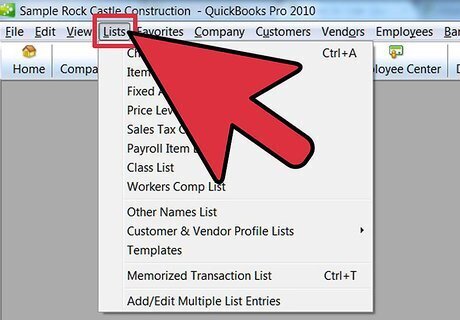
Choose "List" from the main menu at the top.
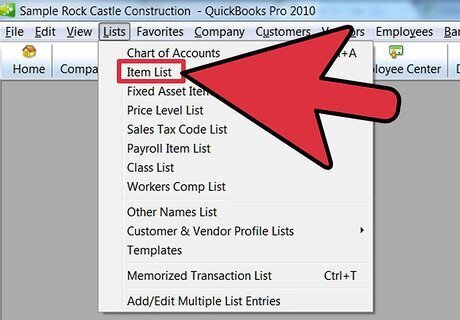
Select "Item List" that appears in the second menu.
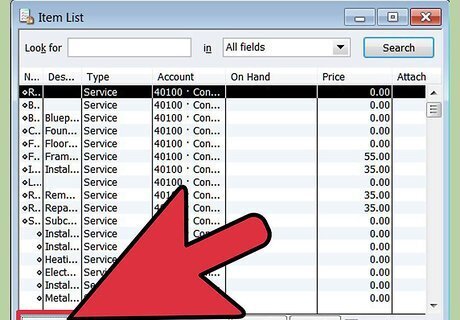
Choose "Item," which appears at the bottom of the box.

Select "New" for any inventory record to be added.
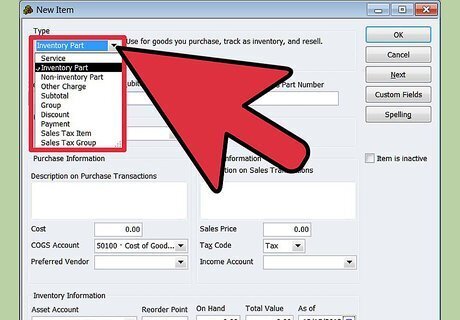
Choose "Inventory Part" and enter in the information requested for that part.
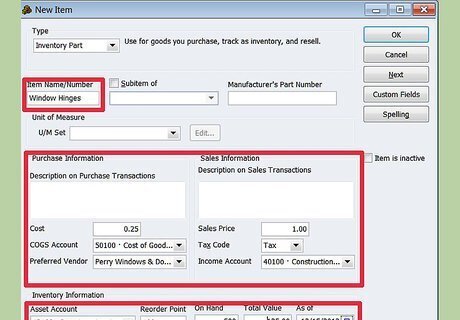
Continue this process until you have finished entering all your inventory parts.
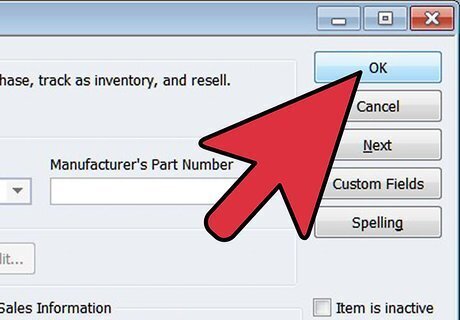
Click on "OK" when finished.
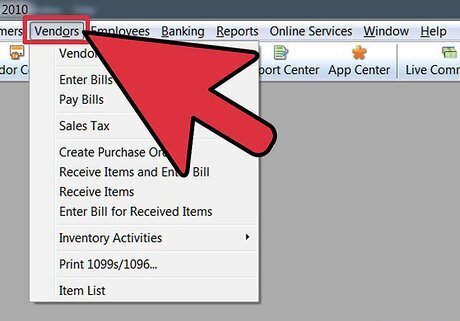
Click on "Vendors" from the home menu.
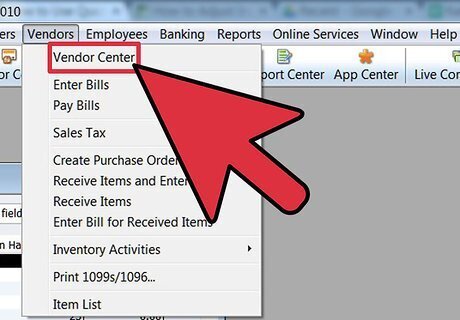
Click on "Vendor Center."
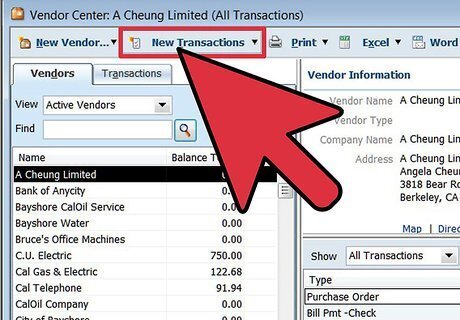
Select "New Transactions."
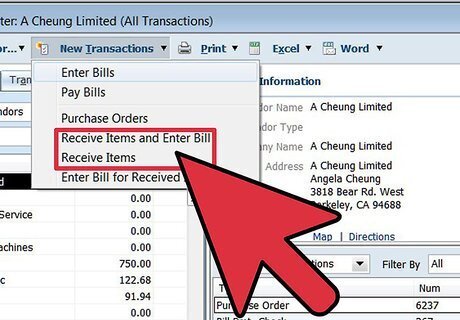
Select "Receive Items" to list items in inventory for which you have already paid or select "Receive Items and Enter Bill" for those not already paid.

Enter the information requested.
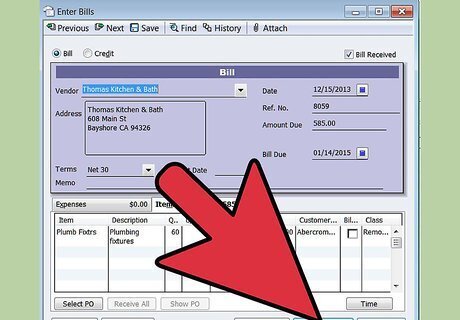
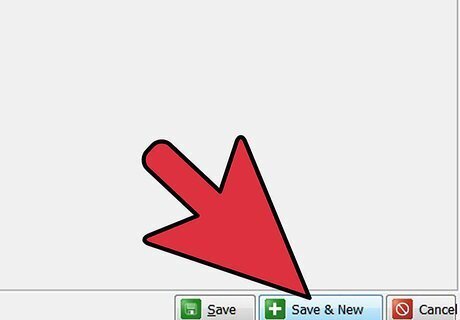
Click on "Save and Close" when finished or "Save and New" to add more items.
Inventory Reports
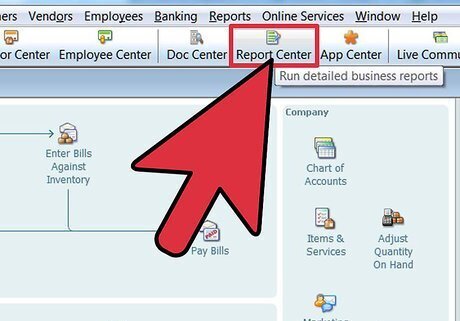
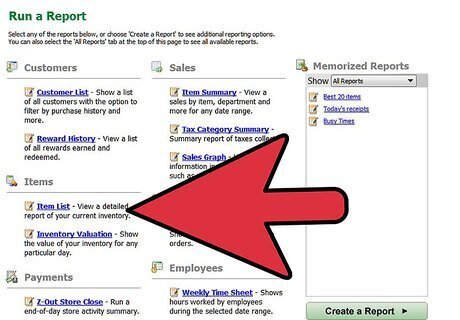
Go to the "Report Center" from the main menu.
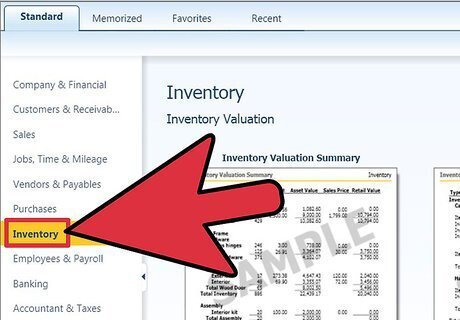
Find the "Standard" tab and choose "Inventory" to see a list of the types of reports that can be generated.
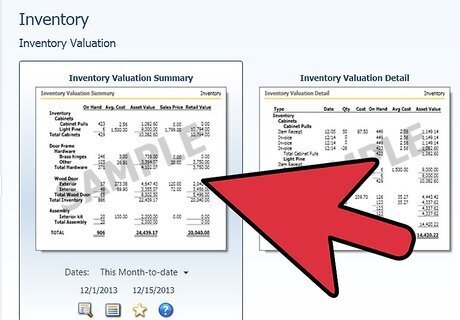
Select the report you would like to generate, save and/or print.
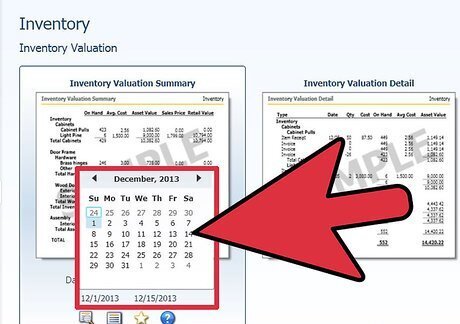
Choose the date range you would like to display, such as the current or past fiscal year or a specific date range.
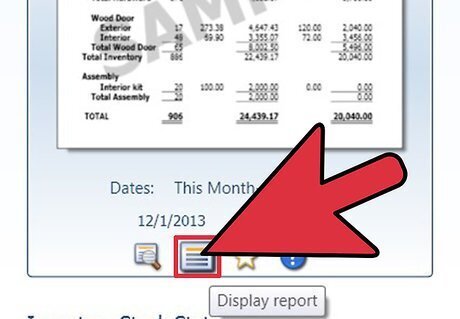
Choose "Display Report" to create the report you would like.
Point-of-Sale Inventory
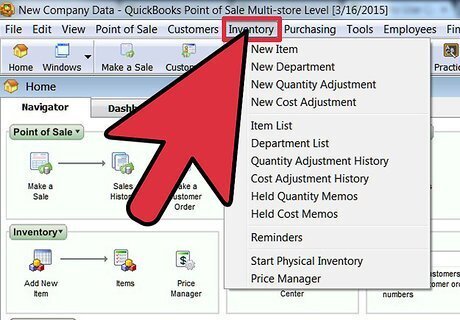
Choose the "Inventory" tab from the home menu.
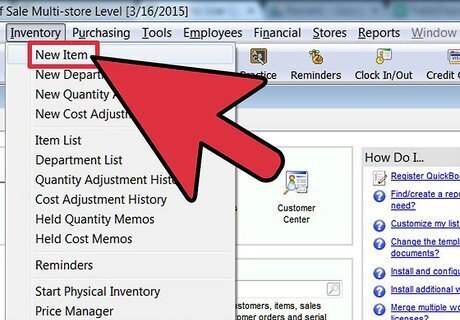
Select "New Item."
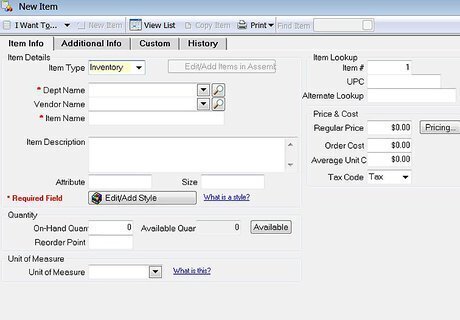
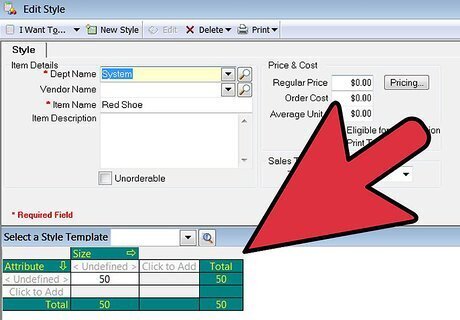
Enter all the information for that item that you would like to track.
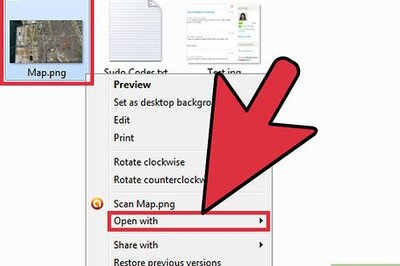
Upload an item image (optional).
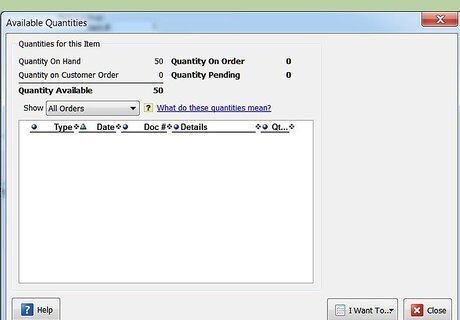
Type in the item quantity that is in stock (QuickBooks will automatically update the item after each sale and remind you when you are running low on an item).
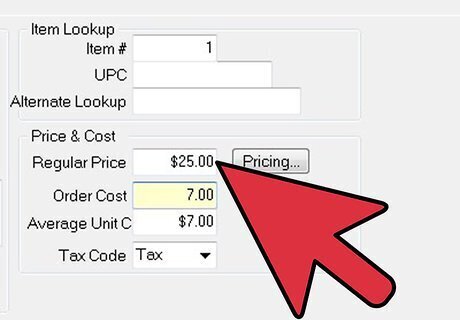
Enter the information on the item's price and cost to you (these will track automatically for you and apply the price to your sales information and the cost to your profit and loss report).
Save when finished entering all information.
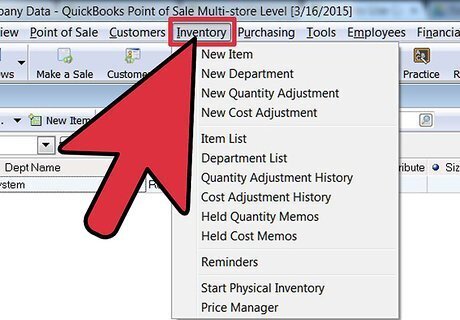
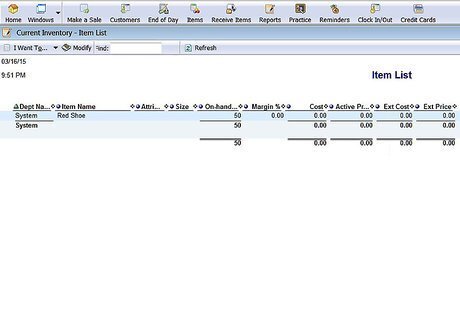
Choose "Inventory" in the main menu.
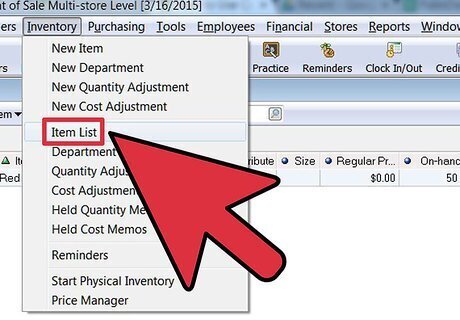
Choose "Item List" to see a complete list of everything that you have entered into your inventory.
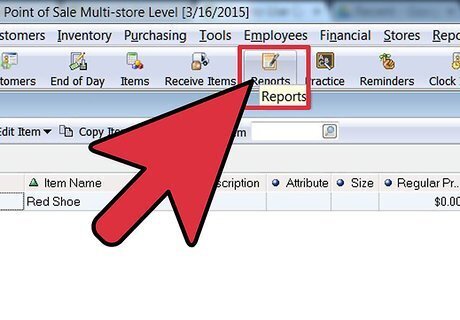
Select the "Reports" tab on the main menu.
Choose "Inventory" to look at the inventory reports.

Choose the report you would like to review.
Adjust any date ranges by choosing "Modify Report" and viewing again.


Comments
0 comment