views
Using Blonde Hair Dye
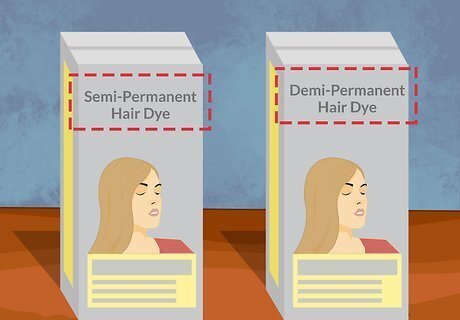
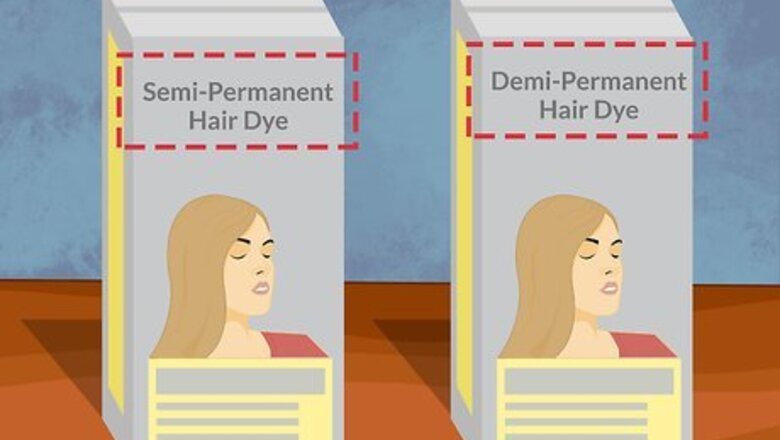
Use semi- or demi-permanent dye if your natural blonde hair is 20-25% gray. Semi- and demi-permanent hair dyes deposit color without using ammonia, which prevents unnecessary damage to your hair. Semi-permanent dyes last through 6-12 shampoos and demi-permanent dyes last for 12-24 shampoos. Semi- and demi-permanent dyes provide limited coverage, so they work best if you have minimal gray or need to touch up gray roots on dyed blonde hair. These dyes are great options if want to experiment with color without commitment. They can be invaluable tools as you begin your gray-to-blonde journey!
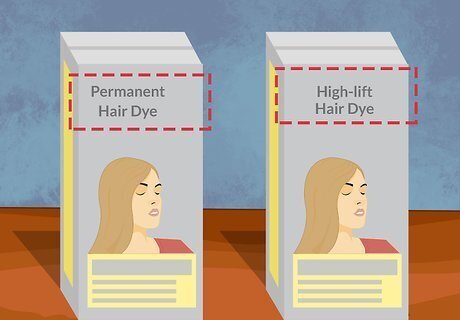
Select permanent or high-lift dye if you need more than 25% gray coverage. For the longest lasting and best coverage with the least amount of damage, permanent hair dye is the way to go. It’s the best choice if you need to dye your full head rather than touch up your roots. You can also go with high-lift dye, which is a type of permanent dye that includes additional boosters and ammonia to strip out stubborn or dark gray. High-lift dyes lighten and deposit new color simultaneously so that you don't have to bleach your hair. Gray hair is fragile so it's best to avoid bleach if you can. High-lift dyes are more damaging than the other options, but they're still a lot less damaging than bleach. Once your gray roots start growing in after using permanent or high-lift dye, you can use a gentler demi- or semi-permanent dye to cover them with minimal damage to your hair.Tip: If your hair is naturally medium to dark brown, auburn, or black and you haven't gone completely gray, you'll need to strip the natural color out of your hair with bleach first. Buy a bleaching kit at a beauty supply store and apply the product to your hair following the package instructions. After rinsing out the bleach mixture, apply a permanent blonde dye or use a purple toning shampoo to achieve the blonde shade that you want.
Choose a blonde shade of dye that flatters your skin's undertones. If your skin has warm undertones, a golden blonde shade will flatter your skin and blend well with the gray. If you’re mostly gray, a cool or ashy blonde shade works great because it blends well for all-over coverage and flatters most skin tones. If you aren’t sure what to choose, consider a neutral blonde shade, which includes a mix of warm and cool tones and tends to flatter everyone's skin tone. Neutral blonde shades might have names like "iced latte" or "pearl copper." Most dyes state warm, cool, or neutral on the box, though. If you’re dyeing your roots, choose a blonde shade that matches your lengths or go 1 shade lighter to create a natural-looking blend with your lengths. If you aren’t using a box kit, you’ll need to buy dye and developer separately at a beauty supply store.
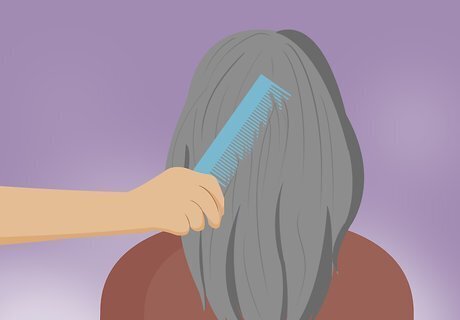
Brush out your dry, unwashed hair to remove any tangles. Gently run a paddle brush through your lengths to get rid of any knots. Keep in mind that freshly washed hair doesn’t absorb the dye well because it makes the hair slippery. Hair that hasn’t been washed in 24-48 hours is ideal for applying hair dye. If your hair is dirtier than that, the oils and product buildup may prevent the dye from adhering to the hair shaft and you could end up with patchy results. If you have thick, curly hair, use a wide-tooth comb instead of a paddle brush to work through any tangles.
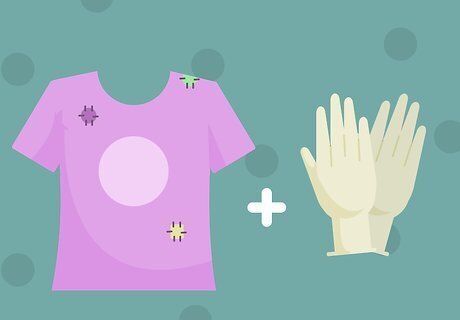
Put on an old T-shirt and plastic gloves to protect your skin and hands. Dyeing your hair can be a messy job, so be sure to wear clothing that you don’t mind staining and pull on a pair of plastic gloves before you start working with the dye so you don’t stain your skin. You may also want to cover your work surface with plastic garbage bags or newspaper.
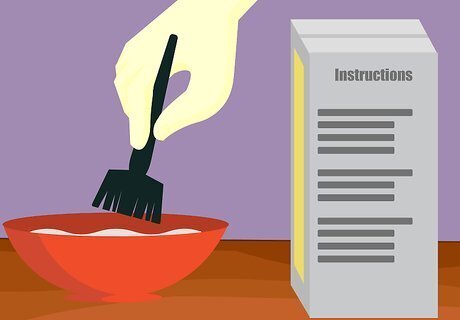
Mix the dye and developer according to the package instructions. If you’re using a kit, follow the provided instructions to mix the developer and dye in a plastic applicator bottle. You don’t need to do any measuring. If you bought your items separately, mix the developer and dye in a medium-sized plastic bowl. Stir the ingredients together until they’re fully combined. Measurements for separate products will vary, but the ratio is typically 1:1. Your dye kit will include the plastic applicator bottle.
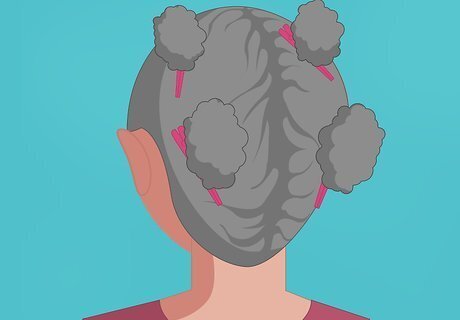
Separate your hair into 4 quadrants and clip up 3 of them. Run the pointed end of a rat tooth comb across your hair from ear to ear to create 2 sections of hair. Then, run the end of the comb from the center of your forehead back to the crown of your head to create 4 sections. Twist and clip up 3 of the sections with plastic hair clips. If you’re touching up regrowth, use a hair clip to secure the lengths of your hair away from your face. You only need to apply dye mixture to your hairline and visible roots. Be gentle with your hair as you section and clip it up! Gray hair tends to be on the dry side and manipulating it roughly can cause breakage.
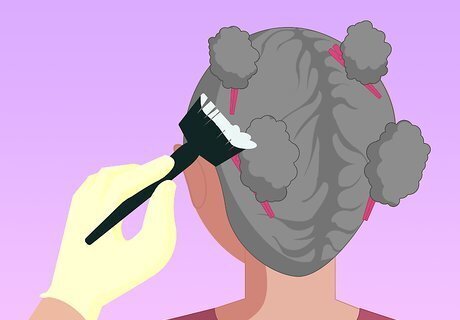
Use the applicator to apply the dye mixture from root to tip. If you’re dyeing your whole head of hair, brush the dye mixture on your hair with the applicator, starting at the roots. If you’re using an applicator bottle, apply at the roots and spread the mixture over your roots with your fingers. Once the roots are saturated, work your way down to the ends until all of the hair in the first section is fully saturated. To refresh roots, brush the dye mixture at the hairline first. Stay close to the roots and only cover the amount of dark hair showing. Clip the saturated hair back and repeat the process for the remaining 3 sections of hair. Clip each section back up after you saturate the hair with dye mixture to keep it out of your face.
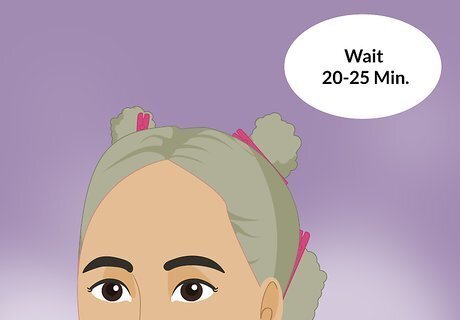
Let the dye sit on your hair for the recommended time on the package. Check the instructions for the processing time. This varies by brand, but it’s typically 15-20 minutes for a root touch up and 20-35 minutes for a full head application. Don't be concerned if the dye mixture looks darker on your head than it did when you first mixed it. This is totally normal and the color of the dye mixture at this point doesn't accurately represent the color of your actual results. For safety reasons, never let hair dye sit on your hair for longer than the recommended time on the packaging.
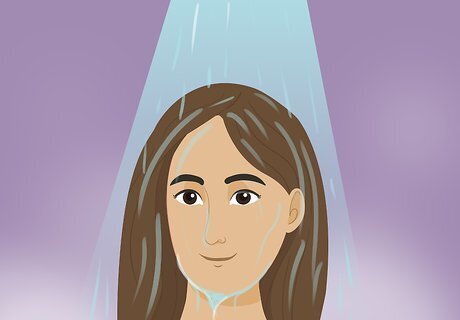
Rinse out the dye thoroughly with cool water. Remove the clips and carefully rinse each quadrant of hair with cool water until the water runs clear. Be sure to rinse your scalp along with your lengths so that all traces of dye are removed.
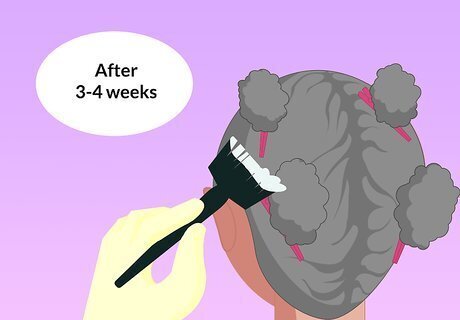
Retouch roots with demi-permanent dye every few weeks, as needed. As your hair grows, those stubborn grays will start showing at the roots once again. How long this takes depends on how quickly your hair grows and how much gray hair you have. If you are mostly gray, you may need to touch up your roots after about 3-4 weeks. Be sure to only apply dye on new growth since overlapping the old dye could create bands of color in your hair.
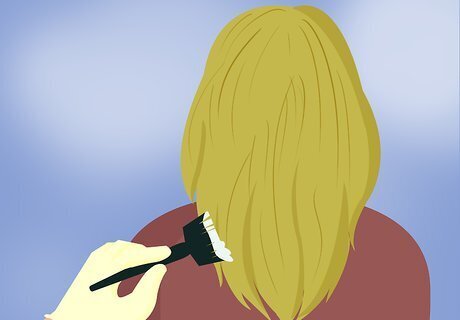
Ask your stylist about adding dimension with highlights or lowlights. Highlights and lowlights incorporate subtly different shades of blonde throughout your hair to create a natural look with lots of dimension. They can be a great tool for blending gray hair into an all-over blonde look. Talk to your stylist about getting semi permanent highlights and/or lowlights to achieve this look. It’s best to have highlights and lowlights done in a salon by a professional. As your hair grows, those pesky gray roots will usually be most visible around your hair's part. Try asking for highlights along your part to break up the gray!
Applying Blonde Henna Recipe with Cassia Obovata
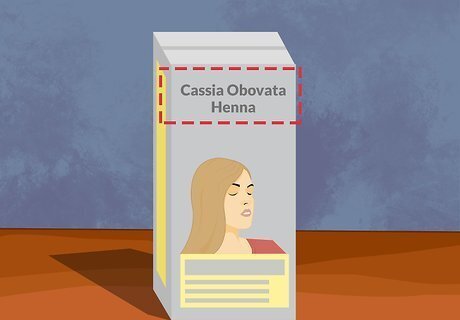
Select a henna powder product that is labeled blonde or cassia obovata. If you’re interested in using henna to naturally cover your gray hair, you have 4 shades to choose from. The only blonde shade available is cassia obovata. Some products may simply be labeled as blonde so customers can find the right shade more easily, but the powder’s true name is cassia obovata. You can also add natural herbs like lemon juice, chamomile, and honey to the henna powder to enrich the blonde results.
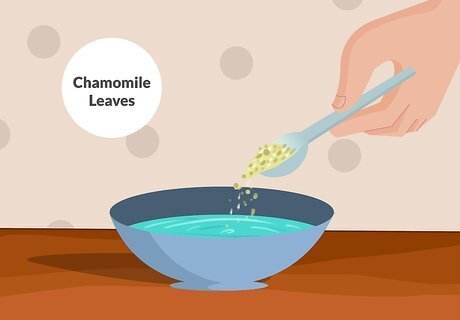
Steep 3 tbsp (50 g) of chamomile leaves in the water overnight, if desired. Bring 3 cups (710 ml) of water to a rolling boil and remove it from the heat. Add 3 tbsp (50 g) of chamomile tea leaves to the hot water and steep them for about 8 hours. Then, strain out the tea leaves with a fine mesh strainer. Chamomile can strengthen the lightening power of henna and produce natural looking blonde highlights or streaks. Cassia obovata is sometimes called or labeled as “neutral henna.”
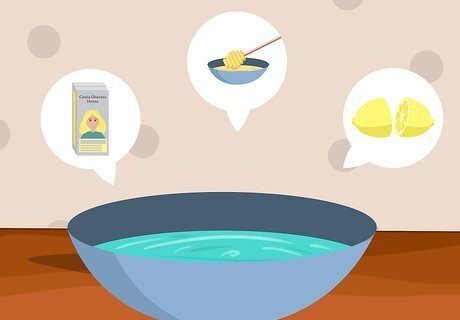
Mix the henna powder, honey, and lemon juice in a large bowl. Pour 3/4 cup (100 g) of henna powder into a large bowl. Add 1 tablespoon (15 ml) of honey and 1 tablespoon (15 ml) of lemon juice and stir the ingredients together thoroughly until they’re fully combined. Lemon juice will enhance the blonde highlight effect. Honey adds moisture and can increase the luster of your blonde hair.
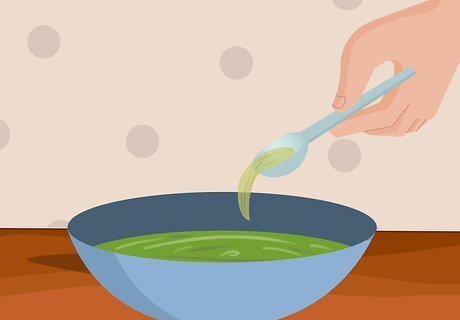
Pour the brewed tea into the bowl and stir the ingredients together. Add the brewed chamomile tea to the henna mixture 1 large spoonful at a time, mixing well in between each spoonful. Stop adding the tea once your mixture reaches the consistency of thick yogurt. You may not need to use all 3 cups (710 ml) of brewed tea to achieve the desired consistency. You know the mixture is ready when it doesn’t drip from the spoon.
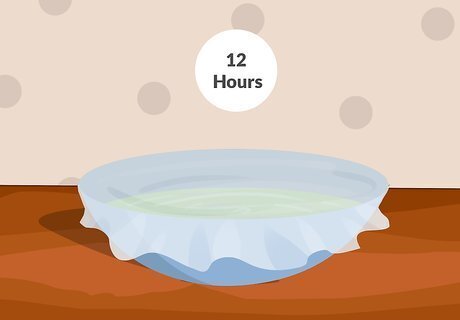
Cover the bowl with plastic wrap and let it sit for 12 hours. Place the bowl on a counter or table where it won’t be disturbed by pets or children. Stretch a piece of plastic wrap over the mouth of the bowl and leave the mixture to develop overnight.
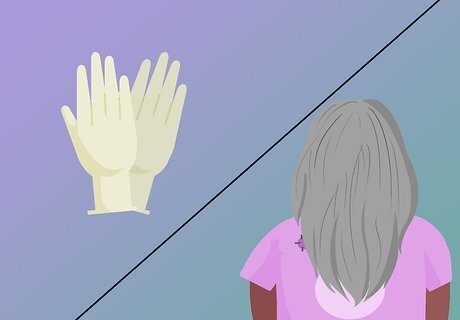
Cover your shoulders with an old towel and pull on plastic gloves. Henna can stain skin, clothes, and surfaces, so be sure to take precautions! Wear old clothing and add a towel around shoulders to catch any drips. You may also want to cover your work surface with newspaper or plastic garbage bags to prevent staining.
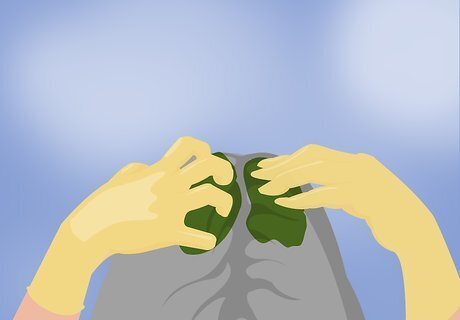
Use gloved hands to saturate dry hair with the mixture from root to tip. Starting at the crown of your head and working in 2 inches (5.1 cm) sections, massage 2 tablespoons (30 ml) of the henna mixture into your hair at the roots. Then, work the henna to the ends of your hair until the entire section is completely saturated with the mixture from root to tip.
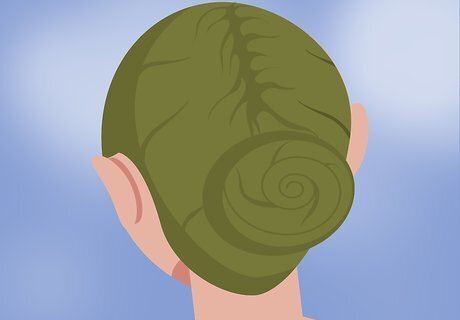
Twist the saturated hair and coil it into a bun on top of your head. Twirl the hair around your finger to create a tight twist from root to tip. Then, coil the twist around at the crown of your head like a bun. Continue saturating, twisting, and coiling small sections of your hair with the henna mixture until you’ve covered all of your hair. The thick henna mixture will hold the hair in the coiled bun, so you shouldn't need hair clips.
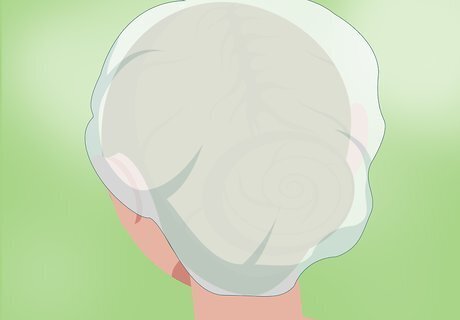
Pull a shower cap over your head and let the mixture sit for 4 hours. You may want to find a good movie to watch since 4 hours is a long time! Don’t forget to set your phone’s timer so that you don’t lose track of time. If you see any henna mixture on your face or the skin near your hair line after you pull on the shower cap, moisten a cotton pad and wipe it away so that it doesn’t stain your skin.
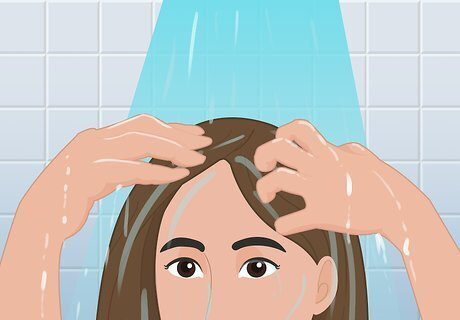
Rinse out the henna mixture thoroughly with lukewarm water. The easiest thing to do is hop in the shower to rinse your hair. Henna is thick and sludgy, so the shower is the most comfortable place for a thorough rinsing. Keep rinsing your hair until the water runs clear. Avoid washing your hair for 24-48 hours after applying the henna so that your new blonde color can fully set. Results should last for about 4 months.





Comments
0 comment