views
Checking Your Technique
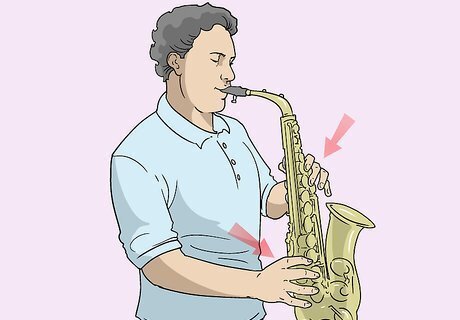
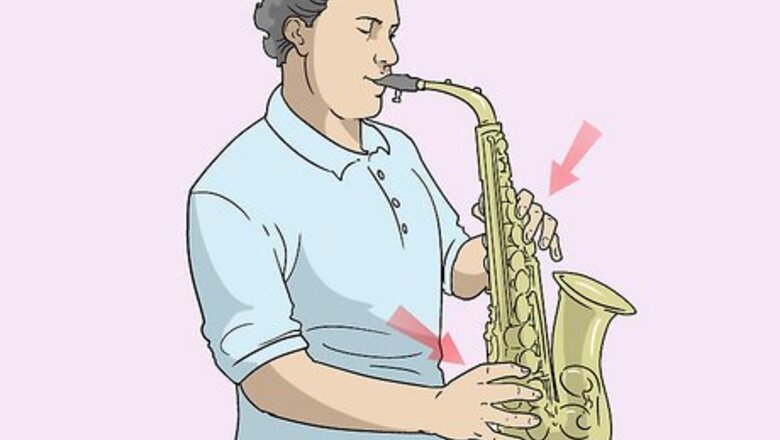
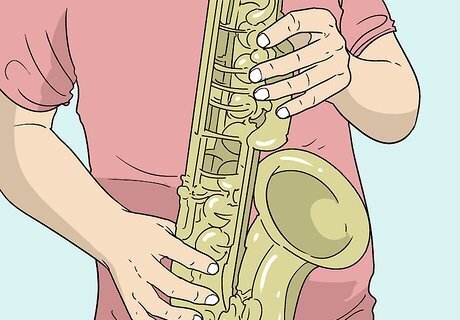
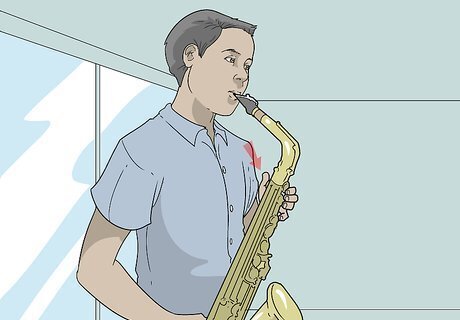
Position your left hand over your right hand on the keys. If you’re not gripping your saxophone correctly, it might not make the sounds you want to play. Move your left hand to the upper keys and place your right hand over the lower keys. Adjust the neck strap so that the mouthpiece lines up comfortably with your mouth. Keep your chin straight, rather than inclined or bent over, as you play. If you need to strain to reach the mouthpiece, you may not get the right embouchure. Additionally, if the instrument is too low or high in relation to your torso, the keys may be uncomfortable to reach.
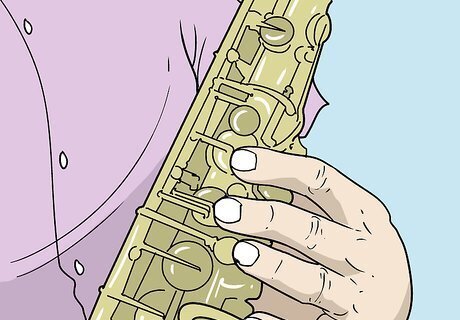
Make sure you’re not accidentally pressing the side keys. It’s important to press only the key(s) that control the note(s) you’re playing, but it’s easy to hit the side keys with your hands without realizing it. Keep your hands in a C-shaped grip as you press the keys. This way, you’ll lift your palms away from the side keys. Taking a few extra minutes to make sure you have the right grip might save you a lot of time troubleshooting!
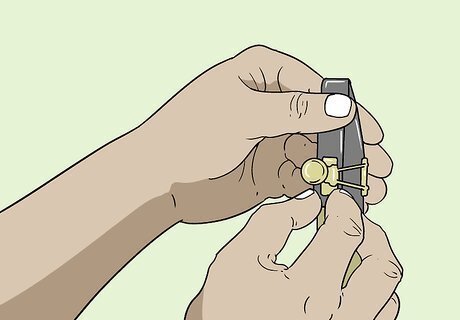
See if your reed and mouthpiece line up with each other. Try reassembling the reed and mouthpiece and spend a little extra effort on making sure you get it positioned the right way so that your saxophone plays smoothly. Keep the flat side of the reed positioned directly against the flat side of the mouthpiece. Line up the curved tip of the reed and mouthpiece itself. Slide on the ligature (i.e. the bracket that holds the reed against the mouthpiece) with the wider side sitting closer to the base of the reed, then screw it securely. If your reed is cracked, chipped, or showing signs of mold, replace it with a new one. Don’t forget to moisten the reed in a cup of water or with your saliva before playing it. A bone-dry reed won’t play well.
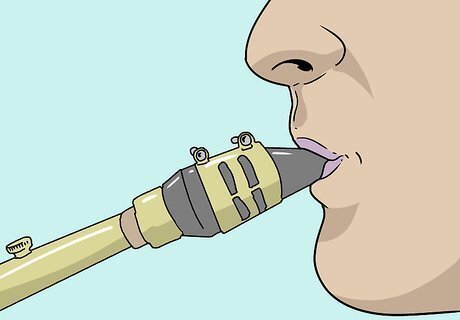
Use a flexible but sealed-off embouchure. For the correct embouchure, have your top teeth rest on top of the mouthpiece. Use your bottom lip to cover your bottom row of teeth. Make a firm O-shape with your lips around the mouthpiece. Keep the corners of your mouth closed, but leave your lips relatively loose. Run a scale from a higher note like high C down to low C. Loosen your jaw as you reach the lower notes, but keep your lips closed gently around the mouthpiece. Don’t let your lips press the reed into the mouthpiece otherwise it’ll close it off and prevent the air from getting through. If you’re consciously using the correct technique, you’ll be able to differentiate between the notes that sound great and those that are giving you problems.

Adjust the mouthpiece to resolve harsh or muffled sounds. If you’re noticing harsh, squawking sounds, cover less of the mouthpiece with your mouth. Shift the mouthpiece forward slightly so that it’s not covering too much of the reed. If your saxophone is making quiet, muffled sounds, place the mouthpiece further into your mouth. If it sounds like you’re not getting enough air into your saxophone, you probably aren’t; covering more of the reed will help. Only cover the tapered end of the reed with your mouth. Don’t slide it so far into your mouth that you’re covering the curved, darker part of the reed.

Play the saxophone as you assemble it to find the problem area. Take your saxophone apart and play just with mouthpiece and reed. If it sounds healthy, put the mouthpiece onto the neck and play. Again, if it sounds okay, attach this to the body and try again. This trick will help you identify which section the problem may be arising from.
Solving Problems with Low Notes
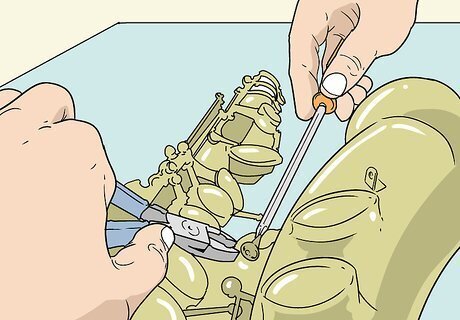
Test the regulation bar over G-sharp if you notice a warbling sound. If your low notes such as low C, B, and B-flat produce a warbling sound, run a test to isolate the regulation bar that sits above F-sharp and covers the G-sharp pad cup. Play a low note and use a free finger to close the G-sharp pad cup. Don’t touch the regulation bar as you do this. If this produces a clearer sound, then you’ll know that the problem is a loose regulation bar which is failing to close the G-sharp pad cup. To fix this, use 1 screwdriver or another slender tool to hold up the regulation bar. Then use another screwdriver to turn the screw over the G-sharp pad cup clockwise in small increments of about 15-degrees at a time. Play your saxophone as a test after each small tweak until you get a clear sound. If the notes below G don’t work well, the screw on the regulation bar may be turned too tightly. Try loosening it up and play your saxophone to test out the difference.
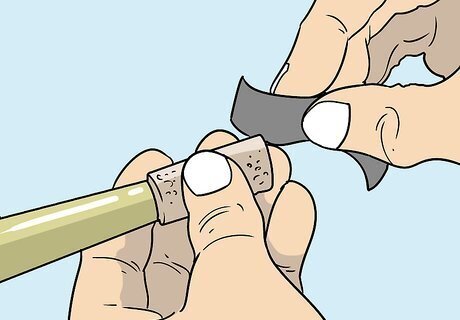
See if the piece of cork behind the regulation bar over G-sharp is missing. Take a look behind the regulation bar to see if the cork has fallen off. Or test it out by pressing down the F key, then pressing down on the G-sharp key. Look to see whether or not the G-sharp pad cup opens a little as you do this. If it does open, it means that some air will leak out and you won’t get a good sound. Look to see if the piece of cork on the back of the regulation bar’s screw is missing. As a quick fix, layer 2 to 5 pieces of electrical tape onto the G-sharp pad cup opening, directly under the screw, to fill in the gap. When you can, visit a repair shop to have this issue properly resolved. Ask a saxophone repairer to glue on a replacement piece of cork for you. If the cork is there but your test still results in the G-sharp pad cup opening, it may be happening because the regulation bar’s screw has come loose and needs tightening.
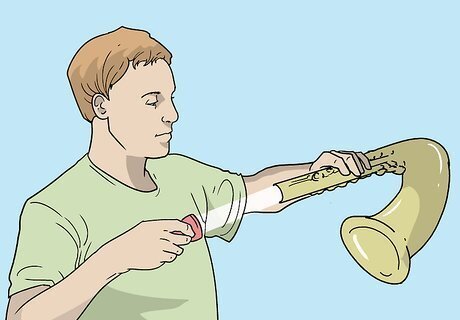
Shine a light through the holes in the bell to check for misalignment. Look to see the bracket that holds the bell in alignment with the body of your saxophone is a little bent out of shape. Recall whether or not the bell got bumped at some point. To see if the positioning is off, shine a flashlight into the holes in the bell. Then press down the keys to close those pad cups. If you see light leaking into the bell, it means that the pad cups aren’t closing properly and the bell alignment is off. Take your instrument to a repair shop if you’ve identified an alignment issue. This won’t be a simple at-home fix unless you’re an expert.
Identifying Issues with the High Notes
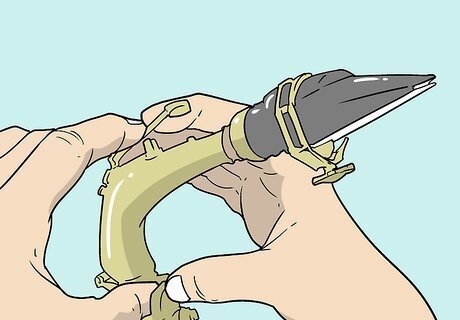
Make sure the octave key stays closed without any keys pressed. Without pressing down any keys, look at the top octave key on your saxophone. This key extends over the neck of the instrument and features a small pad cup over a hole called an octave pipe. Look to see if it’s closed. If it’s open, gently squeeze it back into shape.
Press down on the top part of the octave key to reshape it. Spread your fingers evenly across the long, narrow part of the octave key. Place your thumbs on the bottom side of the neck piece, directly underneath the octave pipe, for support. Gently squeeze down on the narrow piece of metal to re-shape the octave key. Stop squeezing once the octave key sits flat against the octave pipe by default, when you’re not pressing any keys. This key is typically made of a softer metal. It’s not brittle and it shouldn't break, so feel free to try this repair by yourself. Make sure the octave lifter key doesn’t touch the rounded bottom part of the octave key when you do this.
Look to see if the octave lifter has enough space to move freely. Slowly press down on the octave lifter key. As you do this, watch closely to see how much space it has to move before it touches the bottom part of the octave key. If it has too little space, try bending your octave key downward. The lifter bar should have about 1 to 2 mm (.04 to .08 in) of space to move before it starts lifting up the octave key.
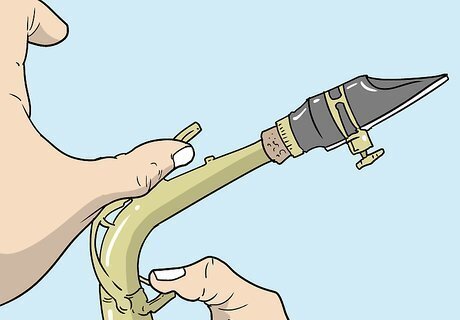
Bend the bottom part of the octave key if it doesn’t touch the lifter. If the octave lifter never comes into contact with the octave key to lift it, this can be fixed. Evenly space your fingers underneath the narrow top part of the octave key to hold it up off of the octave pipe. Use your thumb to press down gently on the bottom part of the octave key (i.e. the portion that encircles the neck of your saxophone and is moved by the octave lifter). The octave mechanism can easily get out of alignment if you grasp your hands around the neck of the instrument too tightly when you assemble and disassemble it. If your high notes make a loud squeak, check if the octave key rises when you play high D. If this occurs, carefully bend your octave key down enough so it doesn't lift when you play a high D.
Solving Sticky or Leaky Keys
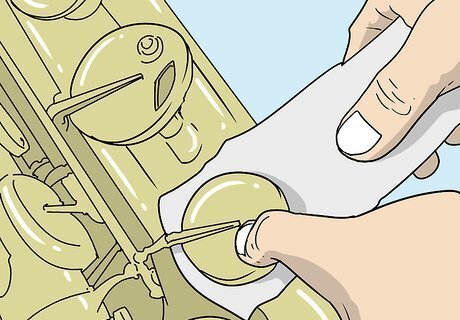
Place a soft cloth or strip of paper beneath a sticky key. Run your fingers over every key on your saxophone 1 at a time. If you press down on a key and its corresponding pad doesn’t lift off the opening, you’ll know that it’s a sticky key problem. Set a plain piece of notepaper, a clean strip of tobacco paper, or a soft microfiber cloth in between the pad and the instrument. Press down on the pad down firmly. Repeat this a few times. Be careful not to touch the pad directly otherwise you might dislodge it accidentally. Refrain from using paper money to do this, as the dirt and acids may damage the pads. If a key keeps sticking, store it in your case with an old reed wedged underneath the pad cup. It will hold the key open and allow some airflow in to dry out the pad.
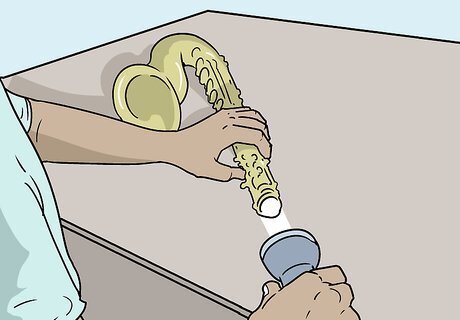
Shine a flashlight into your saxophone to spot any leaky notes. Go to a dark room with your saxophone and a flashlight. Remove the neck, then use the keys to close every hole in the instrument as if you’re playing a low B-flat. Cover the bell with an opaque towel or cloth. Turn on the flashlight and position it so it shines into the body of the saxophone without any light escaping. Look to see if any light leaks through at any of the notes. If you notice light leaking through, it means you’ll have air leaking through at these notes. To solve a leak, try tightening the screws or fixing the springs for that pad cup. Or, take your instrument to your local repair shop and show them what’s wrong. Ask a friend to hold the flashlight for you to get the best results.
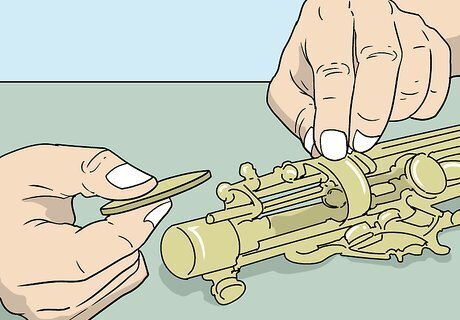
Look for missing or damaged pads to get replaced by a specialist. Peek beneath each pad cup to see if its pad is missing, damaged, or off-center. For a temporary fix, wrap the pad cup with cellophane or re-attach the pad using glue. Then bring your instrument to a repair specialist so that they can ensure the proper pad size and placement. Don’t use superglue to re-attach the pad as a quick fix. This will only make the long-term repair harder to do. Since pads are connected using shellac, they’re difficult to remove. Refrain from peeling or burning them off on your own.


Comments
0 comment