views
Printing on Photo Transfer Paper
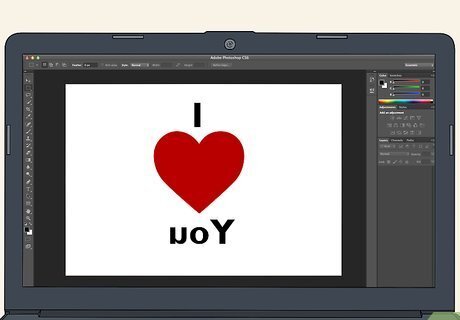
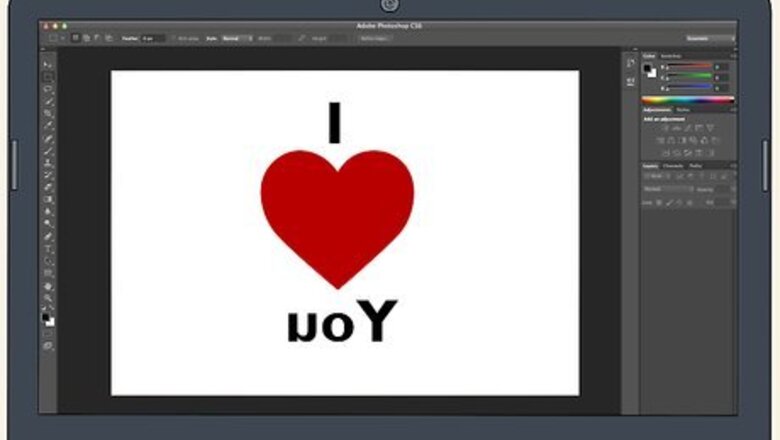
Reverse the image in photo editing software. Load the image you want to transfer in editing software or a word document and make sure it’s the same size as what you want for the final design. Look for a button that says “Flip Horizontally” or “Reverse Image” so the design looks backwards on your screen. This will ensure that any text or design elements transfer the right way on your piece of fabric. If you don’t mind the image being reversed in your final design, you don’t have to reverse it beforehand. Don’t flip the image vertically since it will still make text or images look backwards.
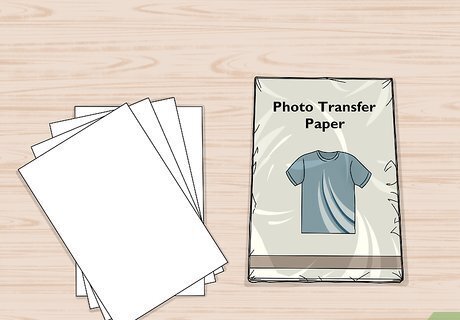
Get photo transfer paper made for the color fabric you’re using. Go to a craft store and look for photo transfer paper that’s large enough to fit your design. Check the packaging for the photo transfer paper to see if it’s made for light- or dark-colored fabrics. Choose the transfer paper that matches the fabric you’re using so the print transfers clearly. You can also find photo transfer paper online if you don’t live near a craft store.
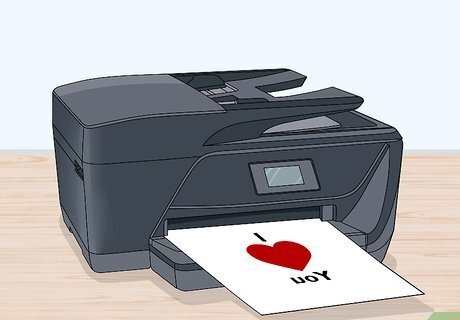
Print the image onto the transfer paper using an inkjet printer. Load the photo transfer paper into your printer so it prints on the side without the backing paper. Preview the print on your computer to ensure the design fits well on the sheet of paper before clicking the Print button. Wait for the image to print out completely before removing it. Test printing on a standard sheet of paper first if you don’t want to waste the photo transfer paper. If you aren’t sure which side of the paper gets printed on, put a dot on a standard piece of paper and feed it through your printer with the dot face-up. Look for the dot on the sheet of paper when it finishes printing.Variation: If you don’t have a printer, check your local library or a print shop to see if you can print on photo transfer paper there. Usually, you can print a sheet for around $1 USD.
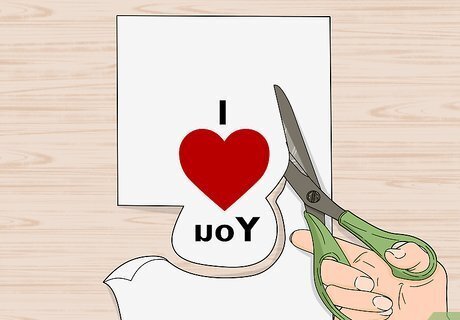
Trim the design with a pair of scissors. Remove any excess transfer paper around your design, leaving a ⁄2 in (1.3 cm) border. Try to make rounded cuts rather than straight cuts and corners so you’re less likely to damage the paper while you’re transferring it onto the fabric.
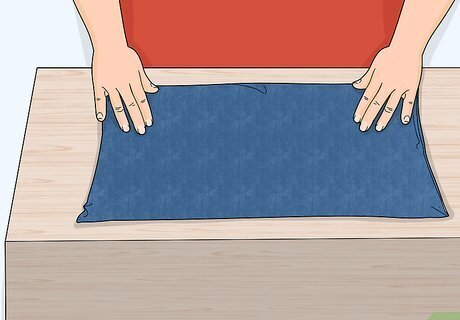
Lay the fabric flat on top of a pillowcase over a hard, heat-resistant surface. Choose a large wooden table or another similar surface that doesn’t have sensitivity to heat for your work surface. Avoid using an ironing board since it won’t provide hard backing while you transfer the print. Spread a pillowcase flat on the table to protect it before you put down the piece of fabric that you’re transferring the image onto. If the fabric you’re using has wrinkles, iron it beforehand so it’s flat.
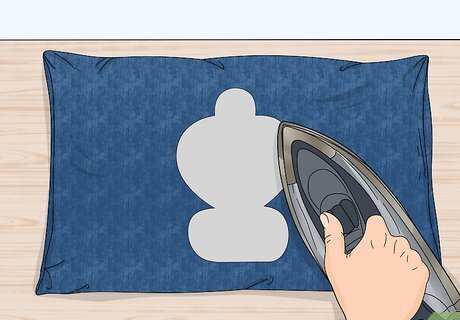
Iron the design onto the fabric. Lay the design on the fabric so it’s aligned with where you want it to transfer. Turn your iron onto medium heat and apply firm pressure against the transfer paper’s backing. Slowly move the iron from left to right over the design for 1–3 minutes so the design adheres to the fabric. Avoid keeping the iron in a single spot since you could burn the paper or fabric and create a fire hazard.
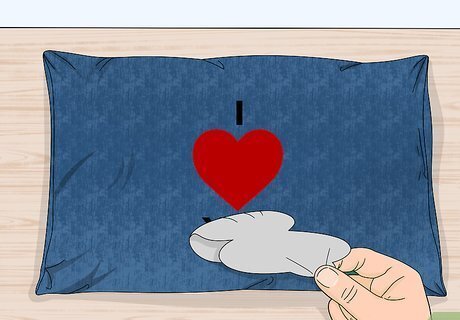
Peel the backing paper off of the design after 2 minutes. Leave the backing paper on the design for 2 minutes so it has time to set and finish transferring. Try touching the paper to see if it’s cool to the touch before slowly peeling it off of the design. Make sure the image stays attached to the fabric and doesn’t peel off with the backing paper. If the image starts lifting, lower the backing paper back against the fabric and try ironing over it again for another minute. Allow it to cool before peeling off the backing paper again.
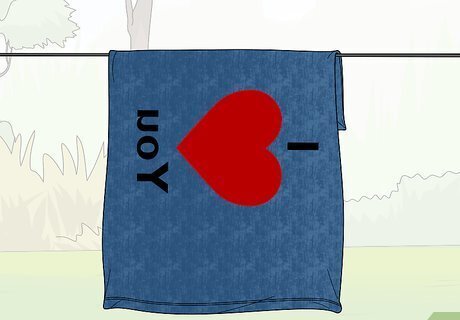
Wash and dry the fabric inside-out after 24 hours if you’re able. Turn the fabric inside-out if you can and run it through a cold cycle in your washing machine. Keep the fabric separate from any other laundry just in case the colors run during the cycle. Put the fabric directly in the dryer once the wash cycle finishes and tumble-dry it on low. Avoid washing the fabric right away since you could remove the design or cause the colors to bleed.
Using Nail Polish Remover
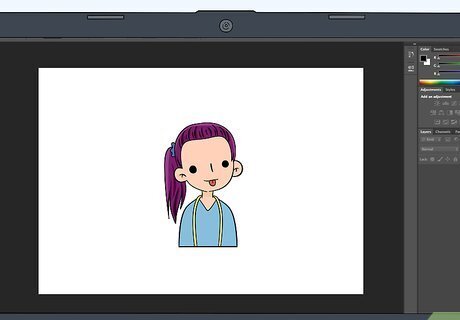
Flip the image horizontally using editing software. Open the design or image you want to transfer in a photo editing program or a word document and adjust it to its final size. Search for an option in the menu that says “Flip Image Horizontally” or “Mirror Image Horizontal” and select it. Your image will look backwards on your screen once you click the button. If you don’t flip the image, then any text or design elements will look backwards after you finish transferring it onto the fabric.
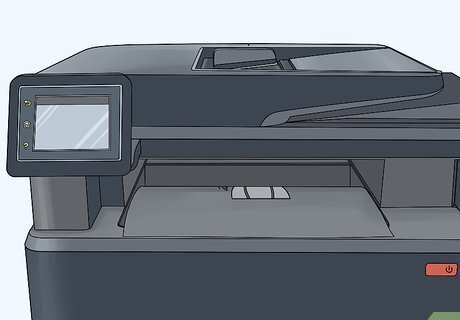
Print the image using a laser printer. Load a standard piece of paper into your printer. Click the Print Preview button on your computer to make sure the design fits on the sheet, and make any changes to the design if you need to. Click the Print button when you’re finished and wait for the design to feed out from your printer. Inkjet printers won’t work with nail polish remover since the ink needs to be toner-based in order to transfer. Many libraries or print shops have laser printers if you don’t have access to one at home.
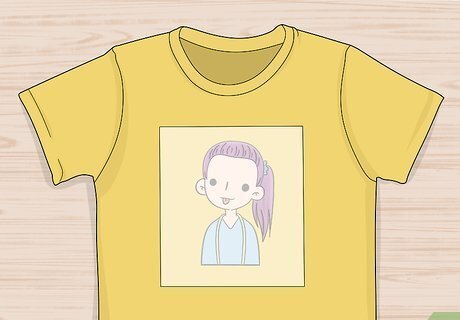
Lay the print face-down on your piece of fabric. Set your piece of fabric down on a hard, flat surface, and straighten it out so there aren’t any wrinkles. Place the print on the fabric where you want to transfer the design and make sure to keep it face-down so it’s pressed against the fabric. Work in a well-ventilated area since nail polish remover creates fumes that may irritate your lungs.Tip: Tape around the edges of the design if you’re worried about it moving around while you’re working.
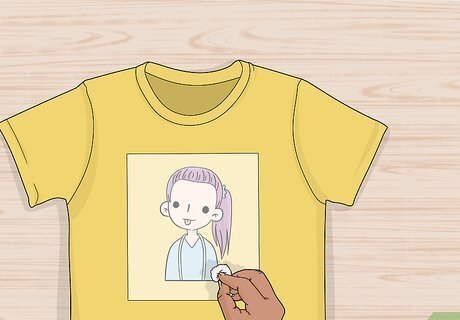
Apply nail polish remover to the back of the print with a cotton ball. Dip a cotton ball in acetone nail polish remover and squeeze out any of the excess liquid. Rub the cotton ball on the piece of paper in back-and-forth strokes while you apply firm pressure. Continue rewetting the cotton ball as it dries out so you can apply nail polish remover to your entire design. Be careful not to press too hard since you may tear through the paper and ruin your design.
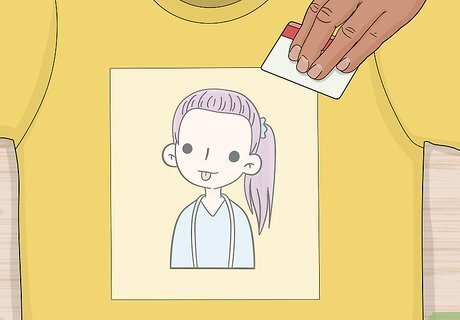
Rub the back of the design with a credit card to transfer the image. Hold the credit card at a 45-degree angle and press firmly down on the back of the paper. Pull the credit card in long strokes across the sheet of paper to help the design adhere to the fabric. Go over the design with horizontal strokes first before doing another pass with vertical strokes to ensure the print transfers. If the paper dries out while you’re rubbing it with the credit card, rewet it with nail polish remover again to help prevent any damage.
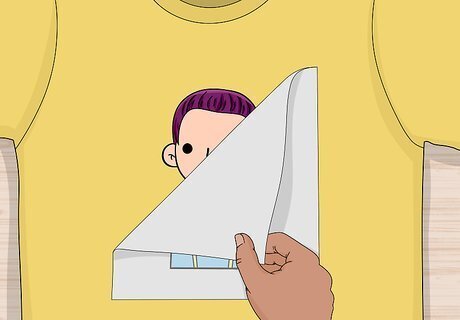
Peel the paper back to check the image. Lift the corner of the paper slowly off of the fabric and check if the design adhered to it. If the image still looks spotty or splotchy, lower the paper back on the fabric and try going over it again with nail polish remover and a credit card. When you’re finished, pull the paper off slowly and throw it in the trash. Sometimes, nail polish remover makes your design look like it’s aged or less saturated, so the image may not be as bright as the design you initially printed out.
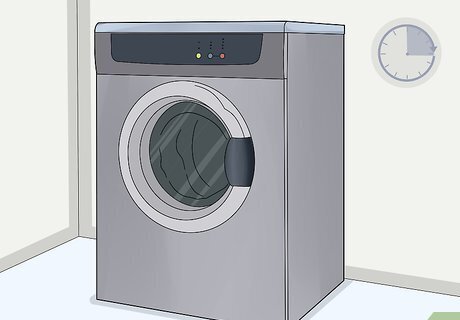
Put the fabric in your dryer for 10–15 minutes to set the print. Leave the fabric so the design faces out and put it in the dryer without any other laundry. Set the dryer to a low heat or tumble setting and let it run for 10–15 minutes so the design sets in the fibers of the fabric without the colors bleeding. After you dry the fabric, you can wash and dry it as you normally would.
Applying a Gel Medium

Reverse the image on your computer. Load the image into a photo editing program or a word processor document and resize it so it’s the same as the final design you want to transfer. Locate the “Flip Horizontal” or “Reverse Image” option in the menus and select it to flip the image. Make sure any text or design elements are backwards on your computer screen when you’re finished. You don’t have to flip the image horizontally if it doesn’t contain any text or design elements that would be noticed if they were backwards.
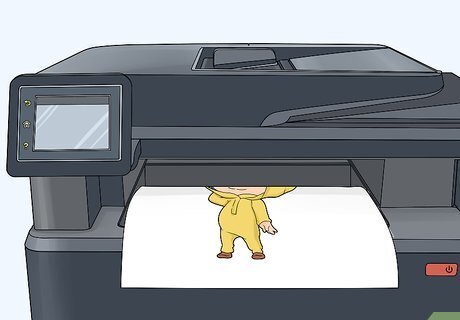
Print the image using a laser printer. Load standard paper into the printer and make sure you use large enough sheets to fit your design. Use the Print Preview function on your computer to make sure the image fits well on the paper before clicking the Print button. Wait for the image to print out completely before taking the paper out of the machine. Don’t use a laserjet printer since the colors are more likely to bleed and you won’t get as crisp of an image. Ask a local print shop if they have a laser printer to use if you don’t have one at home. Many laser printers only print black-and-white images, so check if you have a color laser printer if you want different shades in your design.Tip: If there’s excess paper around your design, you can trim it down with a pair of scissors.
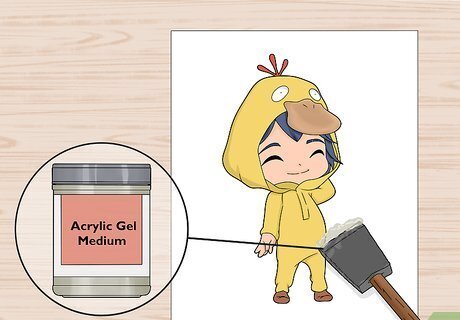
Brush acrylic gel medium on the front of the image. Dip a foam brush in the acrylic gel medium and wipe off any excess that drips off. Paint the gel medium over the printed side of your design working from the center out toward the edges. Spread the medium so there’s a thin, even layer covering the entire design. Acrylic gel mediums are paint binders that don’t have pigment, but they also transfer images from toner-based ink. You can buy them from your local craft store or online. Common gel mediums include Liquitex and Mod Podge.
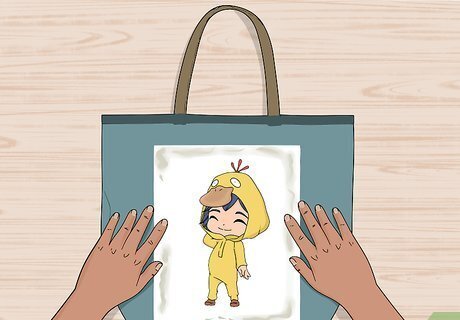
Press the image flat against the piece of fabric. Spread the piece of fabric flat on a solid work surface and smooth it out so there aren’t any wrinkles. Carefully pick up the print and set it down on the fabric where you want the design. Press in the center of the print firmly and smooth it out toward the edges to ensure there aren’t any wrinkles in the design. You can also use a foam paint roller to smooth out the paper if you aren’t able to remove all of the wrinkles by hand.
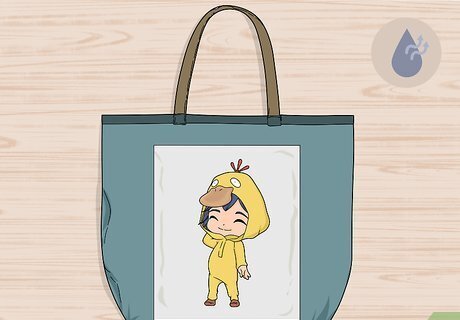
Allow the gel medium and image to dry for 24 hours. Keep the fabric in a dry room where it won’t be disturbed. Leave the design pressed against the fabric for at least 1 day so it has time to set. During this time, the gel medium will take the image from the paper and adhere it to the fabric.
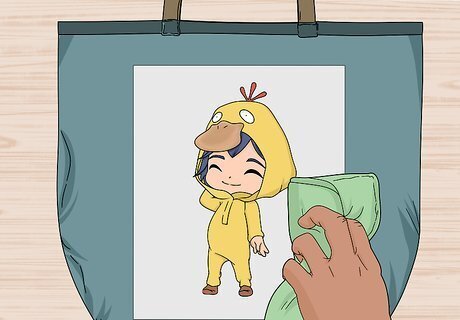
Wipe the paper off with a damp sponge or rag. Wet a clean rag or sponge in cold water and wring out any of the excess liquid. Gently rub the paper in a circular motion, starting from the center of the design and working toward the edges. Rewet the sponge or rag as it dries out so it’s easier to get rid of the excess paper. As you wet the paper, it will start to tear off of the fabric but your design will stay adhered to it.
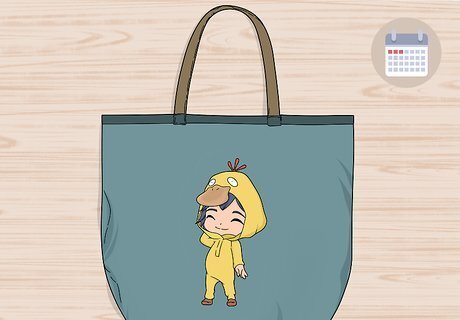
Let the fabric rest for 72 hours before washing it. Leave the fabric and design alone for at least 3 days so it has time to set in the fabric better. Turn the fabric inside out if you’re able and put it in your washer without any other laundry. Run it in a cold water cycle to help the image stay on. Then put the fabric in the dryer on the lowest setting to prevent it from getting damaged.




Comments
0 comment