views
Adding Volume to a Pixie Cut
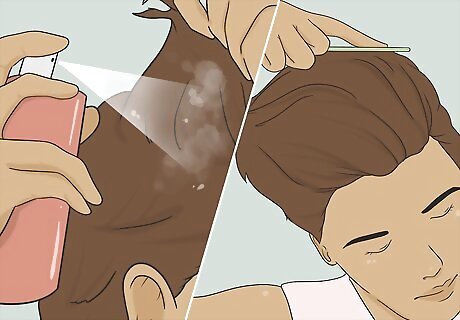
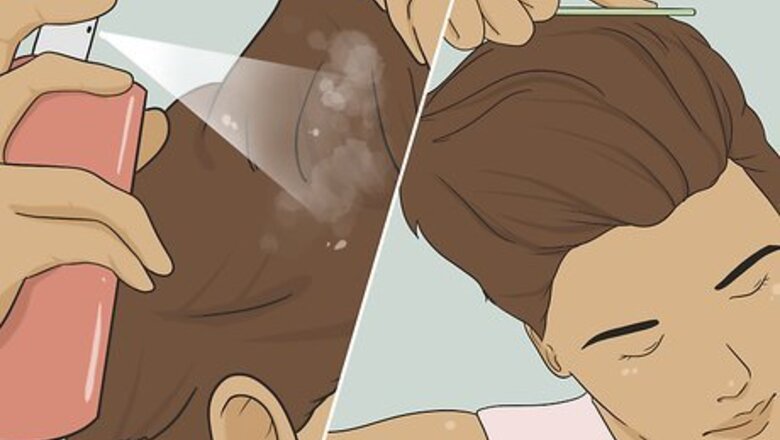
Spritz some volumizing spray throughout your damp hair and comb it back. Lift up different pieces of hair so that all parts of your pixie cut are covered, including the bangs and roots. Take a thin, plastic comb and drag it through your hair in long, straight movements. Move the comb so that the hair is pulled from front to back, and so the front hairline is completely visible. You can use a volumizing mousse as well. Knead this throughout your hair with your fingers. For optimal results, do this after you’ve showered and towel-dried your hair.
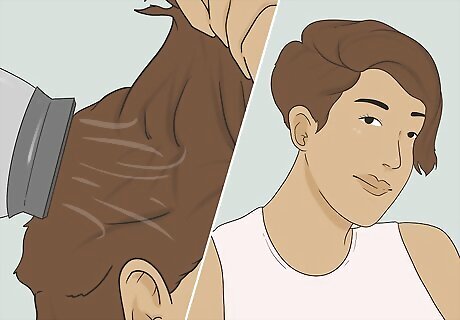
Blow dry the hair along the side parts. Locate the side parts of your hair and blow over them with the hairdryer. Focus specifically on the parts of your hair that are closest to the roots. As you blow dry your pixie cut around, use your fingers to move your hair around. Make sure that an even amount of heat reaches each piece of your hair so the volumizing spray can do its job. Put a nozzle on your blow dryer that focuses the heated air into a smaller radius. This makes the blow drying process more effective. Consider using a heat protectant spray to prevent potential heat damage from using a blow dryer.
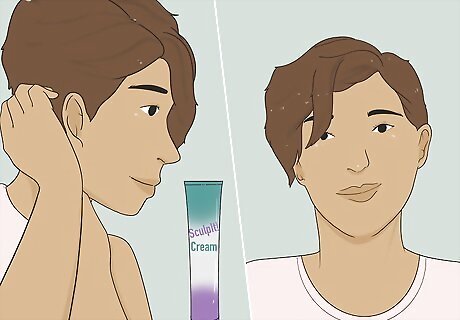
Brush some sculpting cream into your hair. Rub a pea-sized amount of molding cream over your hands and begin using your fingers to rub the product into different portions of your hair. As you did with the blow drying and volumizing spray, make sure that all areas of your hair are covered—don’t just focus on the bottom of your bangs. Place a special focus on fingering the sides of your hair, as well. Your roots also need some TLC.
Styling Formal and Sleek Looks
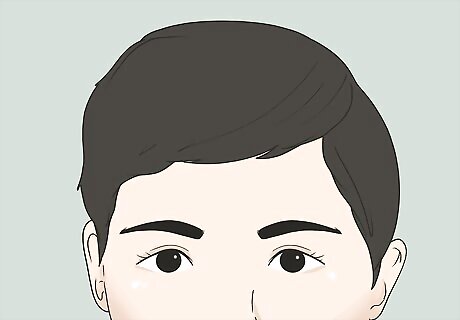
Opt for a professional look by tucking back the ends of your hair. Find the ends of your hair on both sides of your head. Don’t worry if your part isn’t exactly symmetrical—the most important aspect of tucking back your hair is hiding it away altogether. Take the bottom 1 inch (2.5 cm) or so of both hair parts and tuck them behind your ears. To keep your hair steady throughout the day, consider gelling it into place. If your pixie cut is shorter in length overall, this look might be easier to pull off.
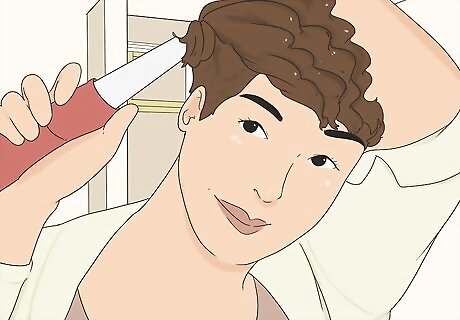
Use a curling iron to add texture to your pixie cut. Spray through your hair with a heat protecting spray to prevent hair damage. Next, use your fingers to select a thin, 1 inch (2.5 cm) wide portion of hair. Wind that hair around the curling iron and let it sit for around 10 seconds. Continue this process on the rest of your hair, working from the middle of your hair to the front. This look especially sharp for formal events.
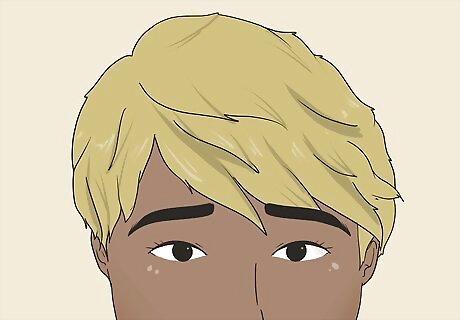
Smooth out the ends of your hair with a flat iron for a sleek look. Take a small, wide-toothed comb to part your hair into smaller, 1 to 2 inches (2.5 to 5.1 cm) sections. Using a mini flat iron, apply even amounts of heat to each of those sections so your hair looks smooth and shiny. Try to keep each section of your hair as even in size as possible for a neater look. While styling, work from left to right or right to left.
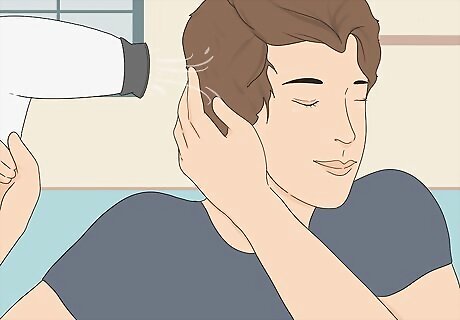
Blow dry your hair while it’s damp to give it shape. Use a blow dryer to make your hair look bigger after you get out of the shower. After your hair is patted dry but still damp, use a focused nozzle to apply even amounts of heat to different portions of your pixie cut. Make sure that the blow dryer is blowing downward, so the hair looks as fresh and smooth as possible. If you don’t have a hairdryer with a specialized nozzle, you can find one online. This works especially well with pixie cuts that have longer bangs.
Trying Alternative Styles
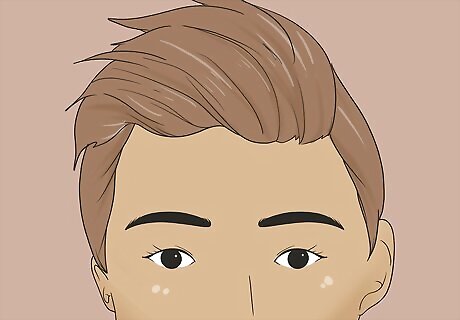
Brush your hair into a fake Mohawk for an edgier look. Make your hair look smooth and fashionable by brushing your bangs frontwards after a shower. Use a round brush to drag the bangs from back to front. While you do this, blow dry the bangs so your styled pixie cut is more likely to stay in place. When your hair is only slightly damp, use the round brush to push all of your hair backwards. Add some volumizing spray to your hair if you want it look bigger than it actually is. The longer your pixie cut is, the more effective this look will be.
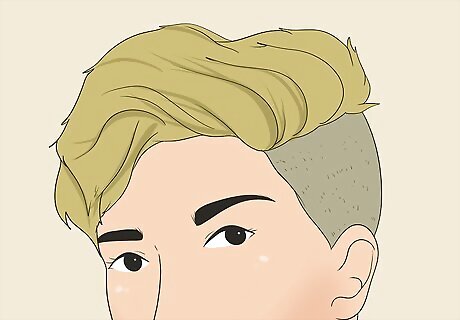
Shave the sides of your hair if you’d prefer a shorter pixie cut. Use electric clippers to crop the sides of your hair. Choose a starting point about 2 inches (5.1 cm) above the ear, or wherever you most comfortably part your hair to the side. Once that area is shaved, your bangs will look more defined. Draw more attention to the shaved parts of your head by sweeping your bangs to the side. Feel free to use sculpting gel to texture your longer bangs.
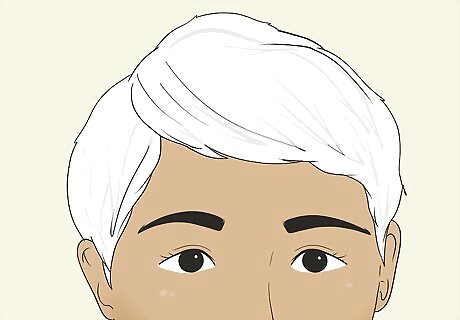
Dye your pixie cut a bold new color. Make your short hair stand out by changing its color. Pick a color that you like, or at least something that you wouldn’t mind seeing the mirror for a little while. If you want to take the plunge and dye all of your hair but don’t want to use a bright color, consider trying a color like platinum blonde. If you have longer bangs or you don’t want to dye all of your pixie cut, opt for colorful highlights instead. After you've dyed your hair, opt for color-safe shampoo that is free of sulfates to keep your color from fading.
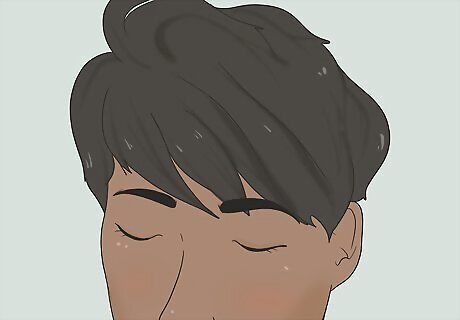
Layer your pixie for a more casual look. Ask your hairstylist to add a variety of layers to your pixie cut, or do it at home! If you’d prefer a more professional look, focus on layering your bangs and sweeping them to the side. Individuals looking for a more laid back style can place more focus on their side part, and layer their bangs more unevenly. If you have especially short hair, considering styling your layers upward with long-lasting hair gel.





Comments
0 comment