views
Removing the Old Pedals
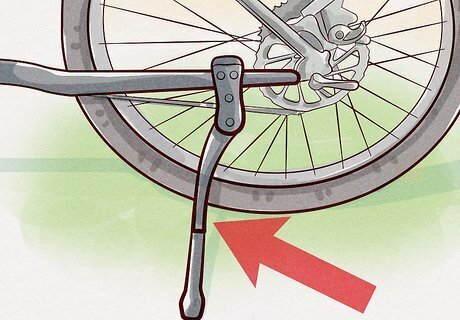
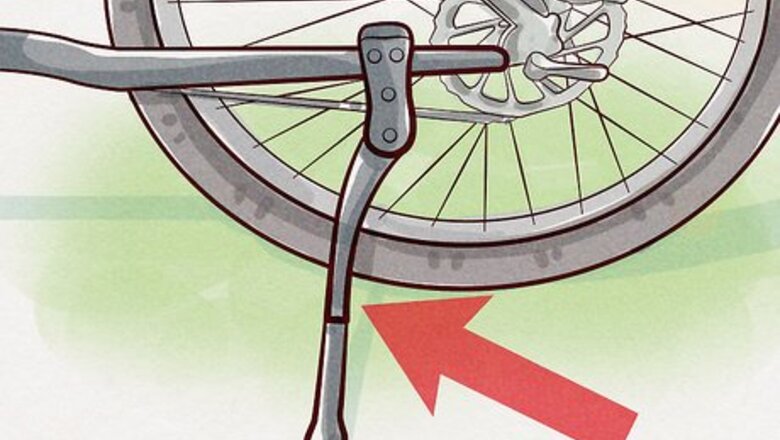
Secure your bike on a flat surface. If your bike has a kickstand, rest your bike on it. If your bike doesn't have a kickstand, lean it up against a wall or a table so it stays upright.
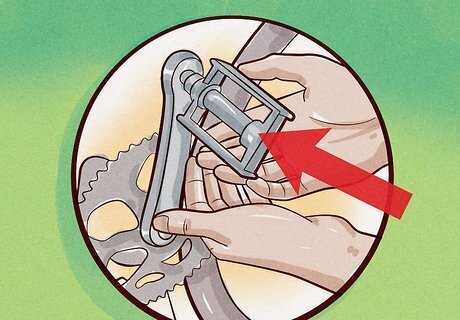
Check the pedals to see what kind of spanner (wrench) you’ll need. Look at the space in between the pedal and the crank arm (the metal arm that your pedals are attached to). If you see flats for a spanner (wrench) to grip on, you’ll need to use a pedal spanner (wrench). If you don’t see spanner (wrench) flats, check for a hexagonal Allen-key (wrench) socket at the end of the axle that connects the pedal to the crank arm. If you see the socket, you’ll need an Allen-key (wrench). If you need to use a pedal spanner (wrench), a 15 mm (0.59 in) wrench will usually work for an adult bike. For some children’s bikes, you will need a ⁄16 in (14 mm) spanner (wrench). Some pedal spanners (wrenches) have openings in both of these standard sizes. A 6 mm (0.24 in) Allen-key (wrench) will usually work for bikes with Allen-key (wrench) sockets. Some bike pedals are designed so you can use either a pedal spanner (wrench) or an Allen-key (wrench). If you see spanner (wrench) flats on your bike pedal, still check the end of the axle to see if there’s an Allen-key (wrench) socket there.
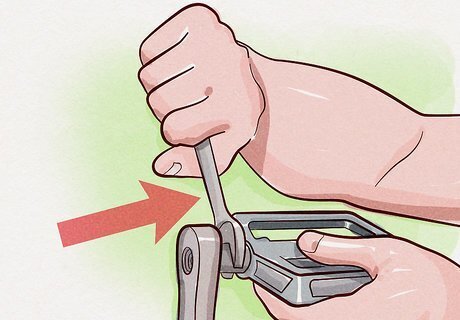
Place the spanner (wrench) on the right pedal. If you’re using a pedal spanner (wrench), wrap the jaws of the spanner (wrench) around the spanner (wrench) flats between the pedal and the crank arm. If you’re using an Allen-key (wrench), insert the hexagonal end of the spanner (wrench) into the Allen-key (wrench) socket on the end of the pedal axle. Make sure you start with the right pedal. The direction you need to rotate the spanner (wrench) to loosen the right pedal is different to the left pedal.
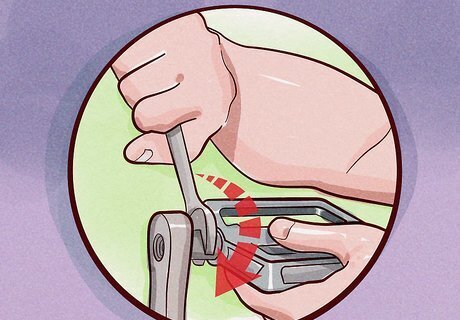
Rotate the spanner (wrench) counterclockwise to loosen the right pedal. If you’re using a pedal spanner (wrench), make a half rotation and lift the spanner (wrench) off the flats. Hold onto the opposite pedal while you do this to give yourself more leverage. Replace the spanner (wrench) on the flats with the handle back up at the top so you can make another half rotation. Continue to crank the spanner (wrench) counterclockwise until the pedal is fully loosened. If you’re using an Allen-key (wrench), the socket will likely be on the inside of the pedal spindle. This means you will need to turn the Allen-key (wrench) clockwise (while the spindle itself rotates counterclockwise, from the outside perspective).
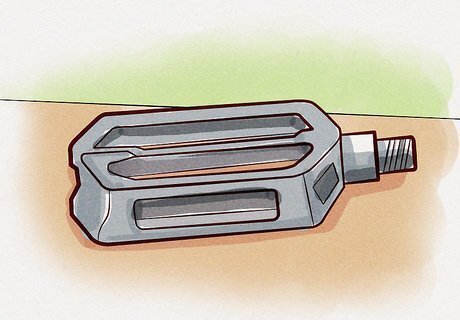
Take the right pedal off and set it aside. The pedal should slide out of the hole on the crank arm now that you’ve loosened it. If the pedal is still in good condition, store it somewhere in case you need a pedal in the future.
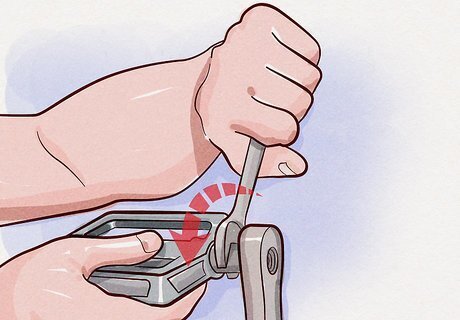
Repeat on the left pedal but rotate the spanner (wrench) clockwise instead. The thread on the left pedal is the opposite of the thread on the right pedal. This keeps the left pedal from unscrewing as you’re riding your bike. Use the pedal spanner (wrench) or Allen wrench to unscrew the left pedal until it’s completely loosened. Then, pull the pedal out of the hole and set it with the right pedal. If you’re using an Allen wrench on a socket positioned inside the pedal spindle, you will need to turn it counterclockwise.
Putting on the New Pedals
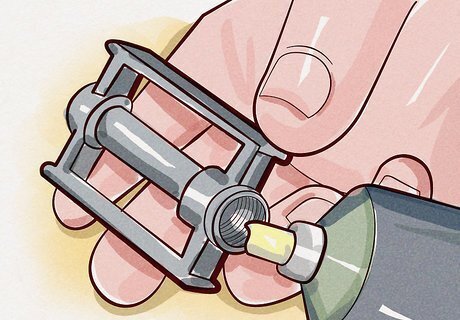
Apply waterproof grease to the bike threads in the pedal holes. The grease will prevent your bike pedals from seizing so you don’t have a hard time getting them off later on. Use enough grease to thinly coat the threads. You can find waterproof grease online or at your local bike shop.
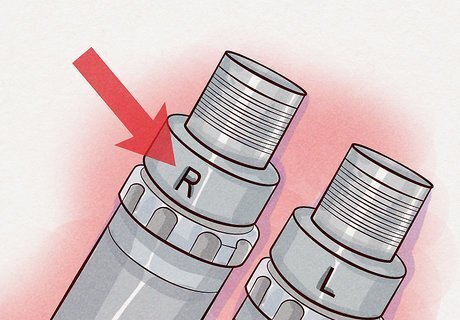
Insert the threaded end of the new right pedal into the right pedal hole. The right pedal should have a small “R” on it to indicate that it’s the right pedal. Don’t push the pedal into the hole or you could damage the threads. Only the end of the new pedal should be resting in the pedal hole. Before you start using the wrench, do a few turns by hand to ensure that the threads on the new pedal are aligned correctly.
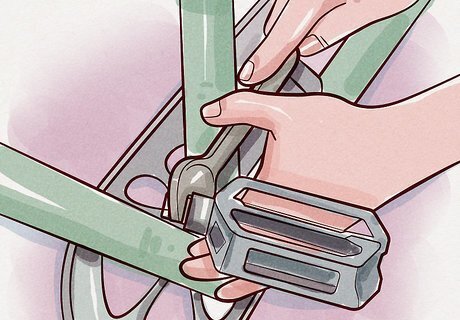
Place the wrench on the right pedal. If you’re using a pedal wrench, wrap the jaws of the wrench around the wrench flats on the new pedal. If you’re using an Allen wrench, insert the hexagonal end of the wrench through the pedal hole and into the Allen wrench socket on the end of the pedal axle.
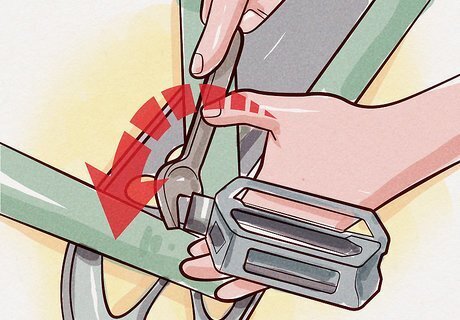
Rotate the wrench clockwise to tighten the right pedal into place. Continue to rotate the spanner (wrench) clockwise until the pedal is completely tightened. If you’re using a pedal spanner (wrench), make half rotations and then lift and bring the spanner (wrench) back up to the top of the pedal before you make another half rotation.
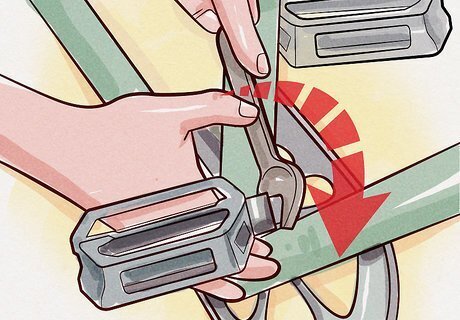
Repeat with the left pedal but rotate the spanner (wrench) counterclockwise. Rotate the spanner (wrench) counterclockwise until the left pedal is secure.
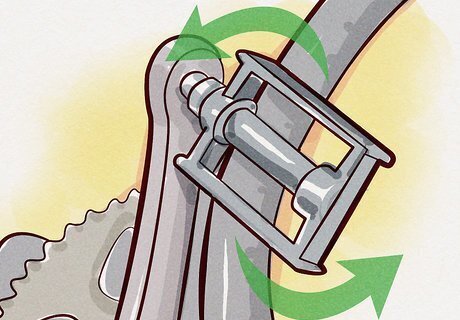
Check your pedals to make sure they’re attached correctly. Pull on the pedals gently to make sure they feel secure. If you feel any play (looseness) in the bearing, then the pedals need to be tightened. Turn the pedals on their bearings and make sure they turn smoothly. Newly installed pedals usually do not spin freely, since the bearings need time to break in. You can also check the axel alignment by turning the pedal crank backwards and watching the pedals carefully. They should stay in the same plane, perpendicular to the crank circle, for the entire rotation.




Comments
0 comment