
views
Deleting All Guides

Open your project in Illustrator. You can either open Illustrator, then go to File > Open or you can right-click your project file and select Open with > Illustrator.
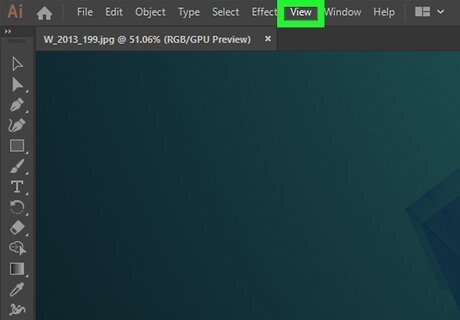
Click View. You'll see this menu at the top of the screen and another menu will drop-down.
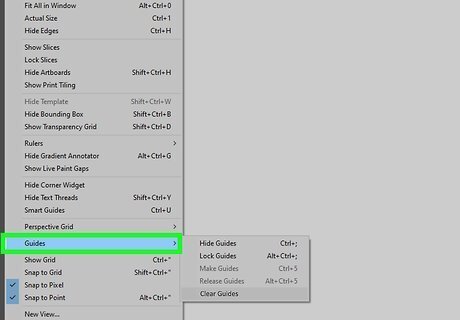
Hover your mouse over Guides. Another menu will pop out.
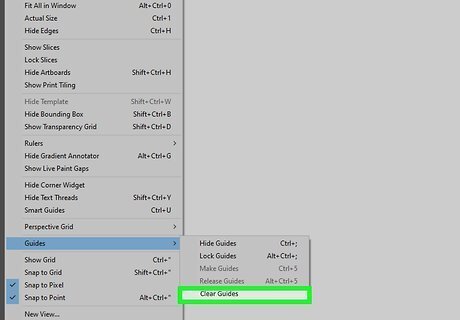
Click Clear Guides. This will remove all guides from your screen.
Deleting Some Guides

Open your project in Illustrator. You can either open Illustrator, then go to File > Open or you can right-click your project file and select Open with > Illustrator.
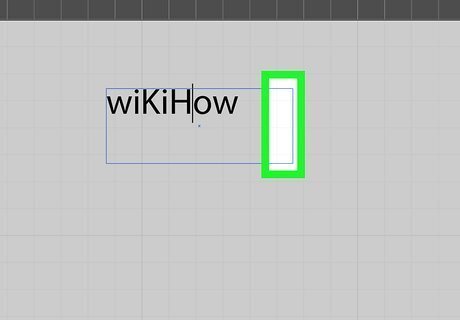
Select the guide you want to remove. Click it to select it; if you're having trouble with layers getting in the way, you can click the guide's end-point on the ruler that surrounds your project.
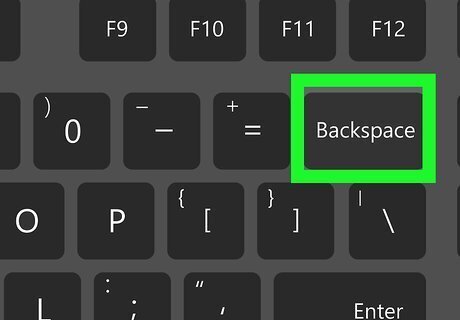
Press ← Backspace (Windows) or Delete (Mac). If this keyboard shortcut does not work for you, go to Edit > Cut/Edit > Clear. The individual guide you selected will be deleted.
Moving Guides

Open your project in Illustrator. You can either open Illustrator, then go to File > Open or you can right-click your project file and select Open with > Illustrator.
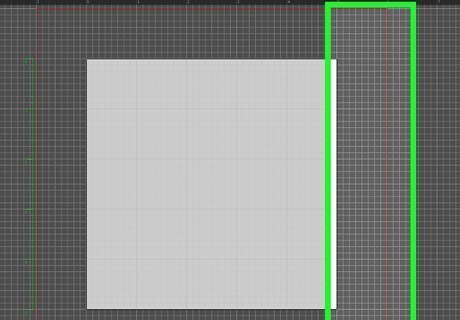
Select the guide you want to move. Click it to select it; if you're having trouble with layers getting in the way, you can click the guide's end-point on the ruler that surrounds your project.
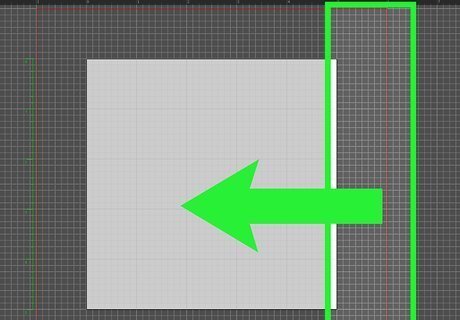
Drag and drop it. You can freely move the guide if you have guides unlocked.





Comments
0 comment