views
Preparing Your Guitar
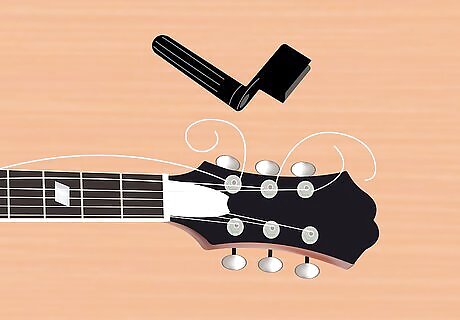
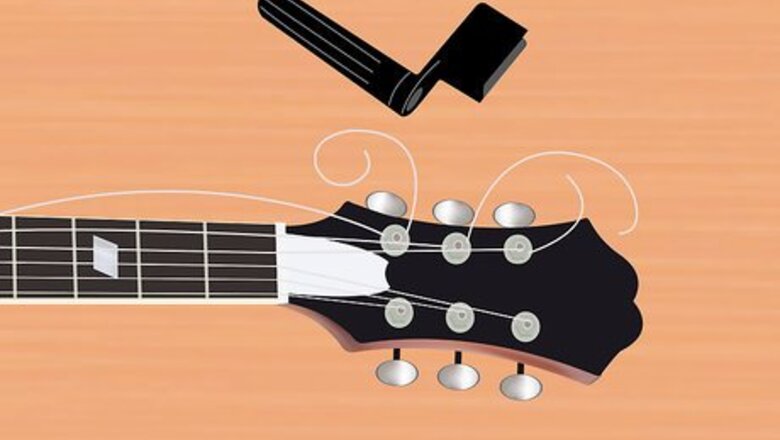
Remove the strings. Before getting into modifying the appearance, you’ll need to remove the strings. Unwind the strings if they’re relatively new. If they’re old and the string slack has already been removed, then snap them off with wire cutters. Aged strings won’t add any benefits when you relic your guitar.
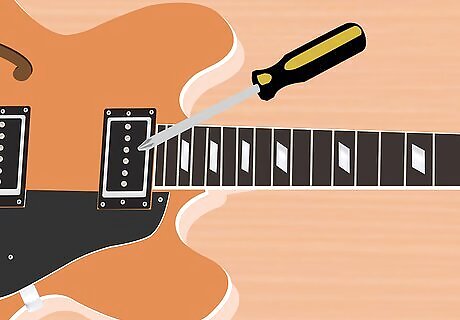
Remove the metal components. You should be able to remove all the metal parts using a screwdriver. Aging the metal pieces of the guitar isn’t necessary, but it’ll add to the overall look in the end. Be careful when removing the pickguard from your guitar if you have one. Most guitars are wired so that the pickguard is attached to the input jack. If it is attached, you'll need to clip the connection using wire cutters. Only do this if you are prepared to solder or pay someone to solder the connection back.
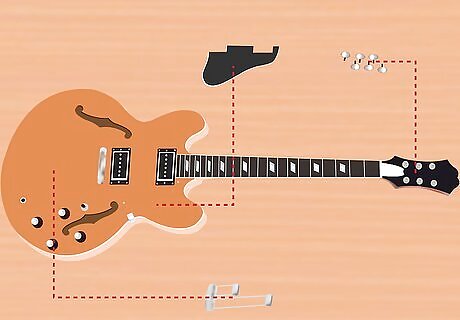
Understand the parts. Be methodical when removing gear from your guitar. Do not just put everything in a large pile to be dug through later. It might help to take photos as you remove components as a reminder of where everything goes. Organize your parts into piles like: Metals from the neck in one spot. The pickguard and other metals in one pile. Then the parts of the bridge in another. Keep track of which screws go with what component.
Distressing the Metal
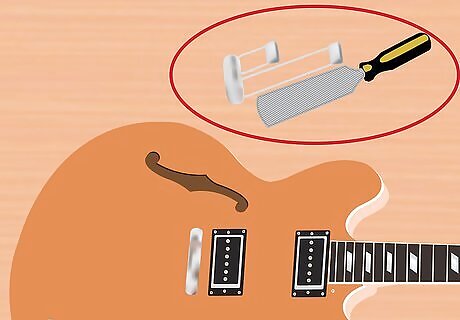
Create scratches on the metal manually. You can use a metal file to distress certain pieces of the guitar. Be selective of which components you file onto. Never attempt to scratch or directly impact the pick ups. Don’t use too much pressure to avoid appearing obvious. Apply this to the tuning pegs, bridge, or input jack.
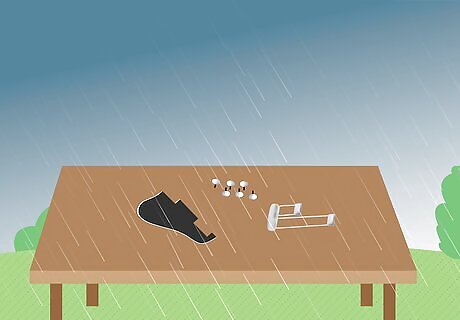
Let nature do the damage. You can leave some of the metal parts outdoors to subject them to the forces of nature. This could cause rusting which is a popular aspect of a reliced guitar. Leave the metal parts outside for one to two days. Inspect the parts before using a different technique. Again don’t leave the pickups or other electrical components of the guitar outdoors.
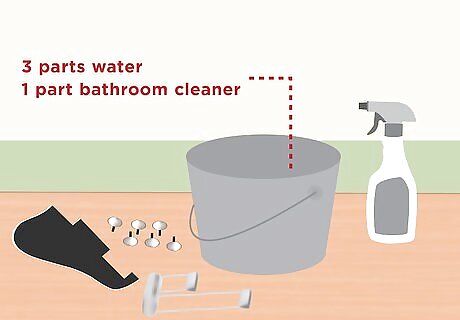
Use chemicals. You don’t need to search too hard to find a chemical that will create an aged effect on the metals. You can use a household bathroom cleaner. Use either a cleaner with bleach or ammonia, but never combine bleach and ammonia. Dip the pieces of metal into a bucket filled three parts water to one part bathroom cleaner. Let the components sit for about three hours and check on their condition. Repeat as many times until you reach the desired look. Some people will leave them soaking for up to 11 hours.
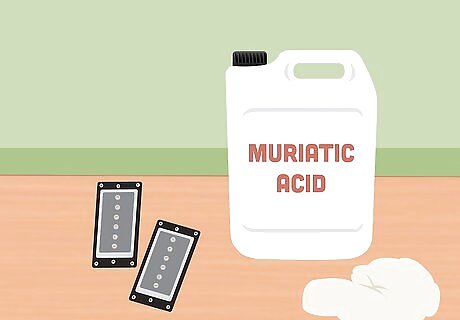
Age your pickups. This is an optional step since the sound of your guitar is at stake. You can only age your pickups if you have metal humbuckers (silver or gold) or you have single coil pickups. You’ll first need to remove the casing so you don’t damage the literal pickup. This will vary depending on what pickup you have. For steel casing you will use muriatic acid. This is a bit of an intense finish so you’ll need to wear rubber gloves and use precaution to cover your mouth and eyes. Apply the solution to a cloth and spread a thin layer over the case. Wait about ten minutes for the case to dry. If you want to age the pick ups more, then repeat the process. The aim is to not age it too much. For single coil pick ups, you can get away with soaking the casing in coffee for a aged look. Let the case soak for about thirty minutes and then let it dry completely before using again. Repeat if you didn’t reach the desired hue.
Relicing the Guitar’s Body
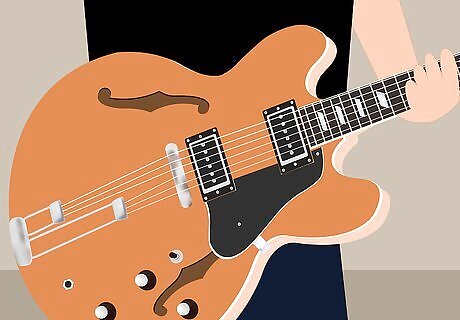
Understand natural relicing. It is possible for you to age your guitar by playing it every day for several years. Signs of age will show on areas of the guitar that are used the most. The oils from your hands, how you hold your guitar, and how you store and transfer your guitar all contribute to the natural relicing process. You should understand the important spots that age naturally before aging the body yourself. This could result in an apparent amateur relicing job. Look at road worn guitars and notice areas like where your hand rests, where your arm rests during strumming, underneath the pickups, around the control buttons, and between the frets.
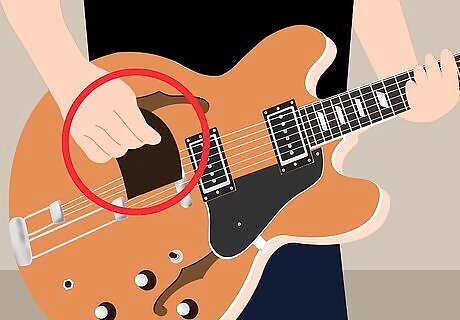
Scrub the guitar with an abrasive. You can use either sandpaper or steel wool as your abrasive. You’ll need to remove the thin coat of polyurethane lacquer or nitrocellulose for the paint to chip. You can also make your shiny gloss finish into a matte finish by scrubbing the body with sandpaper. Steel wool will also distress the metals on the guitar nicely. Use light pressure. The lacquer is a thin layer that won’t take too much effort to remove. Apply the abrasive in a circular pattern.
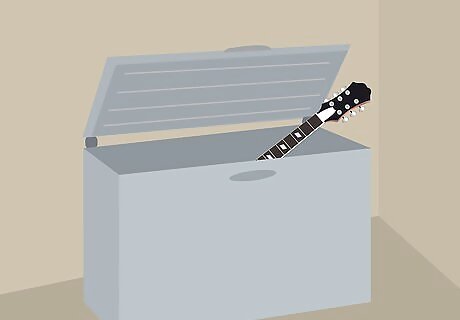
Expose it to different temperatures. If you live somewhere that is very hot or cold, you might be able to create natural paint chips from exposing the body outdoors. Another ideal way to expose your guitar is by putting it into a freezer if it’s big enough or in direct sunlight. You must remove the protective lacquer before subjecting the body to these temperatures.
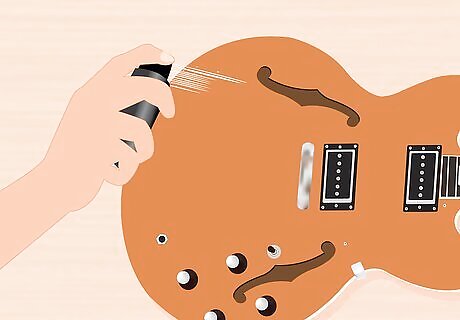
Use chemicals. For a crackled finish, you can use "dust-off" spray. Another spray that has the same chemicals is a chewing gum remover spray. These sprays contain a chemical that causes the spray to be cold. Apply an even, light layer to the body and neck of the guitar. If you do spray the neck, cover up the fretboard unless you know it has a layer of lacquer already on it. Let the body dry before reapplying any chemicals.
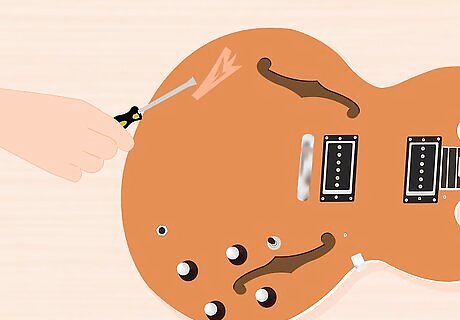
Crack or chip the paint. Another way to age the main body of the guitar is to use elements on the surface to create cracks in the paint job. Find areas that are cracked in the guitar's paint. Use a flat head screwdriver to dramatize the crack. Only use the screwdriver to accentuate cracks already found on the guitar. Chip away paint using a screwdriver.
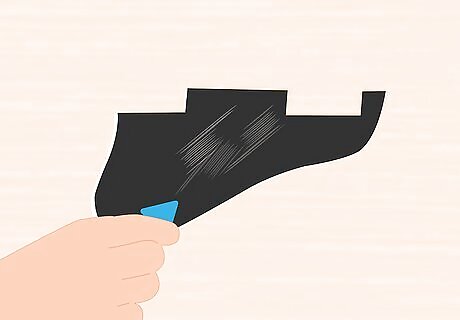
Scratch up the pickguard. The plastic pickguard that comes standard on many electric guitars is an easy thing to wear in. You can use a sharp, small object to create scratches in the pickguard's surface. Understand that by playing regularly with a pick will cause scratches on the pickguard. Try not to overdo it or else people will know it was self-induced.




Comments
0 comment