views
Using an Analog Dial Meter
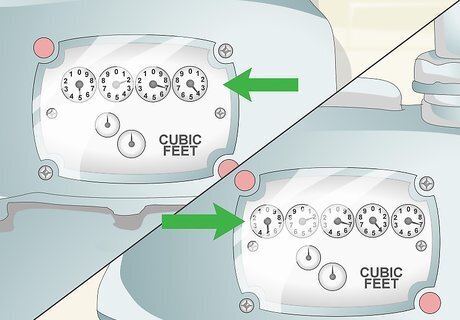
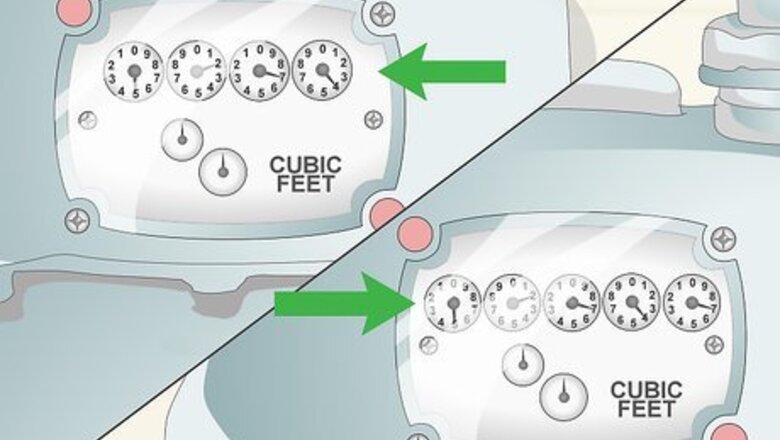
Recognize that each dial represents a number in a 4- to 5- digit reading. Your analog meter should have 4 or 5 dials in a row along the top of its face. Together, they produce a 4- or 5- digit reading. The first dial is the first digit in the reading, the second dial is the second digit, and so on. Most analog gas meters have 4 dials, but yours may have 5. The number of dials depends on the type of meter used by your gas company, as well as when it was manufactured. When a smaller dial makes a revolution, the next-higher dial goes up 1 point. Keep in mind that dials rotate in the opposite direction of the 1 next to them. For example, the first and third dials might turn counter clockwise, while the second and fourth dials turn clockwise.
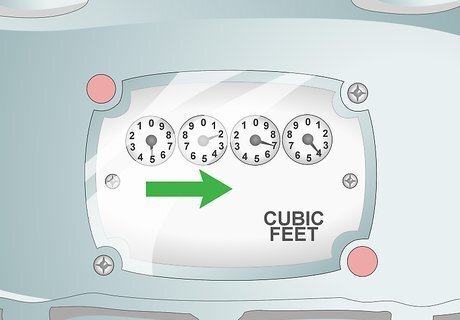
Read the dials left to right. Each dial represents 1 digit in the number. The first dial is the thousands digit, the second dial is the hundreds, the third dial is the tens, and the fourth dial is the ones. If there is a fifth dial, then your reading will go up into the tens of thousands.
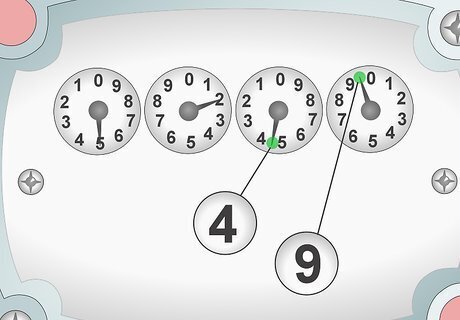
Look at the needle of each dial to take your reading. Always choose the smaller of the 2 numbers when the needle is between numbers. The needle will slowly move to the next number as the dial below it makes its revolution. This means the dial still represents the smaller number until the needle reaches the next highest digit. For example, if the needle is pointing between 4 and 5, you’d write down 4. This is true even if the needle is closer to the 5. If the needle is pointing between 0 and 9, you’d choose 9 even though it’s a higher number, since it comes before 0 on the dial.
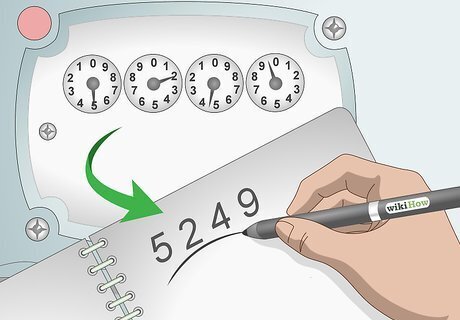
Write the numbers side by side, not leaving a gap between them. Each dial gives you 1 digit in a single number, so there’s no need to separate them. Think of it as 1 reading, not 4 or 5 separate readings. For example, let’s say the first dial reads 5, the second dial reads 2, the third dial reads 7, and the fourth dial reads 4. Your reading would be 5274.
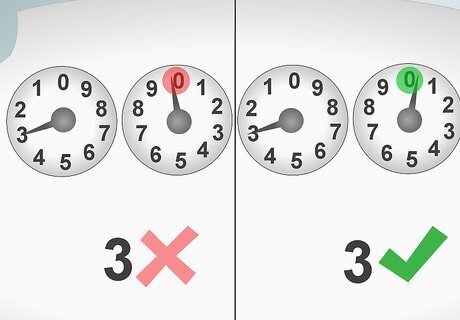
Read a needle hovering over a number by checking the dial to its right. When a dial is completing or beginning a revolution, the dial to its left will be hovering over a number. For example, you might see a needle pointing at the number 3. However, you shouldn't use the number the needle is pointing at until the dial to its right has fully completed its revolution. Check that the dial to the right has passed 0, which means the revolution is complete. If the dial to its right has passed 0, then use the number the needle is hovering over. If it has not passed 0, then still use the smaller number. For example, the needle on a dial may hover over the number 3. Check that the dial to the right to see if it’s passed 0. If it did, use the 3. If not, use 2.
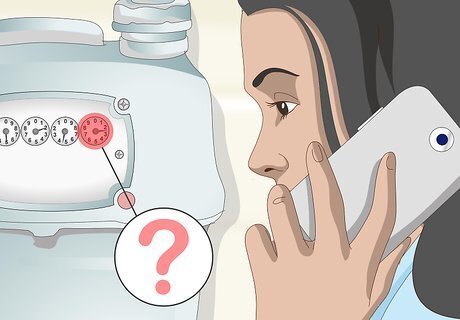
Ask your gas company how they measure the last dial, when comparing. In some cases, the gas company may read the last dial differently, since it’s the smallest digit in the reading. They may always round this digit up to the next highest number, or they may use the number the needle is closest to. If you want to estimate your bill or compare readings, it’s important to know how they take this reading. You can call and talk to customer service, or you can check their website. If you’re comfortable waiting until you get your next bill, you can compare your reading to their reading to see if it’s the same or not.

Ignore any extra dials on the meter. Some meters have extra dials that the gas company uses for things like checking for accuracy. However, these dials have nothing to do with your actual reading, so you can disregard them. The only dials that matter are the main dials, which are all the same size and neatly lined up. The extra dials, if they are present, will be smaller or larger than the ones used for taking a reading.
Checking a Digital Meter
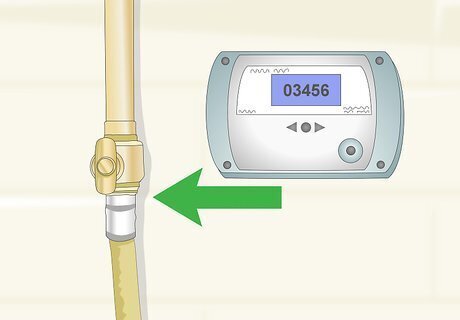
Make sure the meter is for your gas usage. Gas meters are more likely to be analog than electric meters. Before you take your reading, verify that the meter is attached to your gas line, not near your powerline. It’s helpful to locate both meters before you take a reading.
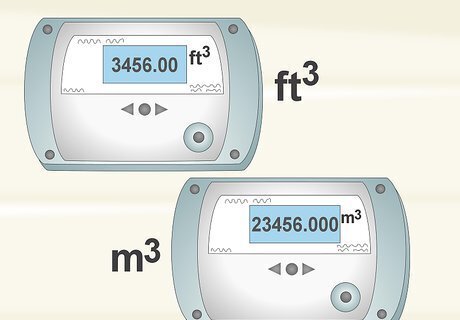
Determine if the reading is in imperial or metrical units. If you live in the United States, your meter will likely be in imperial units, such as cubic feet. If you live in an area that uses the metric system, however, you’ll likely see metric units, such as cubic meters. If you have an imperial meter, your display panel should have ft next to it to represent cubic feet. It will likely also have a panel with 4 digits, and possibly 2 decimal points. If you have a metrical meter, you should see m for cubic meters. The meter will likely have 5 digits, as well as 3 decimal points.
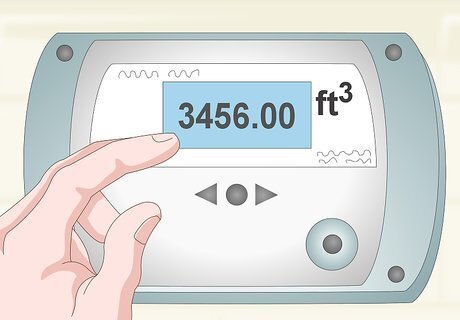
Look for the digital screen that displays the reading. Digital meters are super easy to use because they give you an exact reading. All you have to do is look at the screen! The reading should be a 4- or 5-digit number, but you may see a few 0s in front of it. Just disregard the 0s. The number that appears on the screen represents your usage. There’s no need to do anything else.
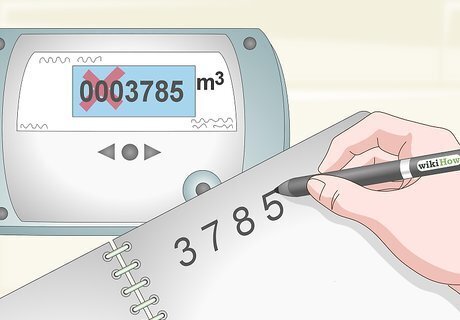
Write the number down from left to right, ignoring any zeros at the front. This is your current gas usage. You’ll need to compare it to past readings in order to determine how much gas you’ve used in a specific period. You can also compare this reading to the reading taken by the gas company, which will appear on your bill. For example, 3785 and 0003785 would both be written as 3785.
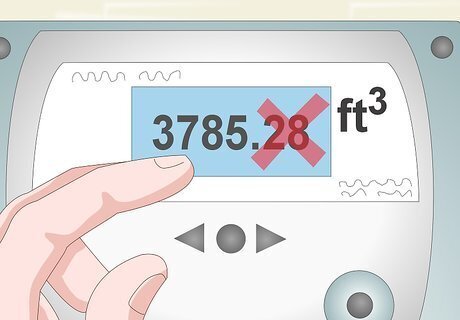
Ignore the decimal points and extra numbers. If your meter does have decimal points, you don’t need to include these in your reading. Similarly, you don’t need to pay attention to any other numbers, such as red control numbers. Just focus on the reading given on your screen. For example, 3785.28 would be 3785.
Calculating Your Usage
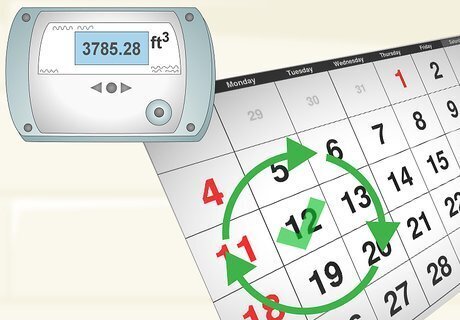
Check your gas meter at the same time each month. This is the only way to take useful readings. Your gas company will take 1 reading a month, usually around the same time. To estimate your usage, you need to do the same thing. Look at your gas bill to see what day the gas company usually checks your meter, though it can vary month-to-month. Checking it on the same day will give you the most accurate reading. For example, you might check your meter every month on the 1st.
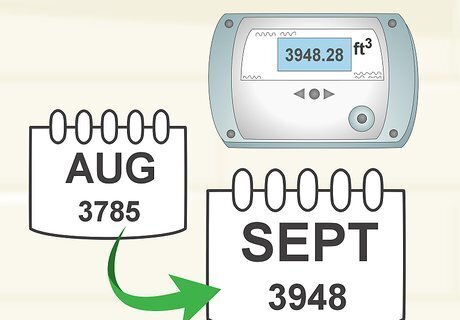
Track your gas meter reading for at least 2 monthly cycles. You can’t do much with a single reading, as it won’t let you calculate your usage. This is because the gas company doesn’t reset the meter each month. To calculate usage, you’d need to know your reading from last month. If you have a copy of your bill, you get your previous month’s reading from it. Also, you can compare your reading to the gas company’s reading.
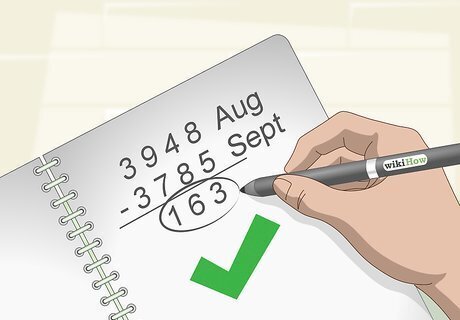
Subtract last month’s reading from this month’s to get your usage. When in doubt, subtract the biggest number from the smallest number. Use a calculator or subtract it by hand. This will tell you how much gas you used this month! Compare this number to your bill to verify the gas company is only charging you for the gas you used. Remember, it can vary slightly depending on when you took the measurement.


Comments
0 comment