views
Printing the Image onto Tissue Paper
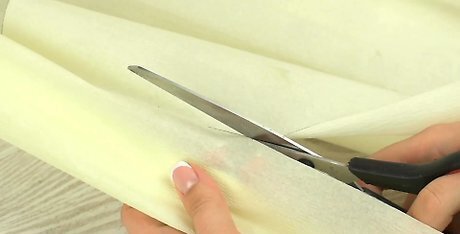
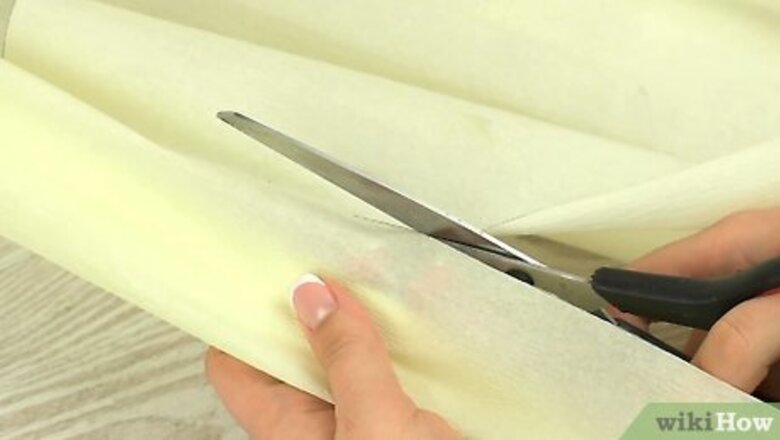
Cut out a piece of white tissue paper to 10.5 by 13 in (27 by 33 cm). Measure and mark the tissue paper to these dimensions. Make sure to use white tissue paper or at least a light pastel, such as baby pink or pale yellow. This will help to ensure that the image is visible when you print it. Then, use a sharp pair of scissors to cut out the tissue paper. Cutting the tissue paper to these dimensions will help to ensure that there is at least 1 in (2.5 cm) to fold over each edge of a piece of printer paper.
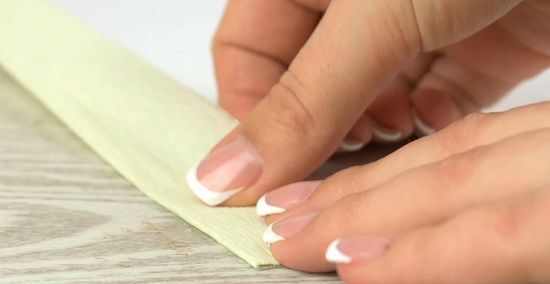
Center the printer paper on the tissue paper and fold over the edges. Fold 1 in (2.5 cm) of tissue paper over each of the edges of the printer paper. Ensure that the folded edges are flush with the edges of the printer paper. Crease each of the folds by running your fingertip over each one while pressing down.

Glue the tissue paper to the piece of 8.5 by 11 in (22 by 28 cm) paper. Lift up each of the folded edges of tissue paper and rub a glue stick over the printer paper under each one. Then, press the tissue paper down to secure it to the printer paper. Repeat this for each of the edges.Tip: If you don’t have a glue stick, you can also tape the tissue paper along the edges to secure it to the backside of the printer paper. Use clear tape to do this.
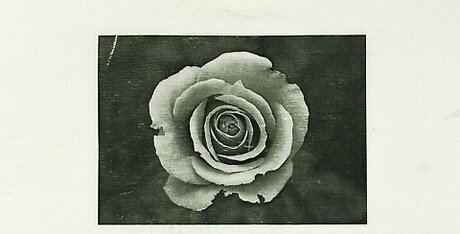
Print your image onto the tissue paper. You can print an image or text to transfer onto your candle in color or black ink. Adjust the size of the image as needed before printing it, such as by using the Windows Image Resizer tool. Then, insert the printer paper with the tissue paper attached to it into your printer. Position the paper so that the tissue paper side is facing up. If you want to print in color, make sure to check your printer’s settings before you begin. Make sure to consider the size of your candle when you choose and resize the design. You may want to avoid using tapers as they are too narrow to print a noticeable design on them.
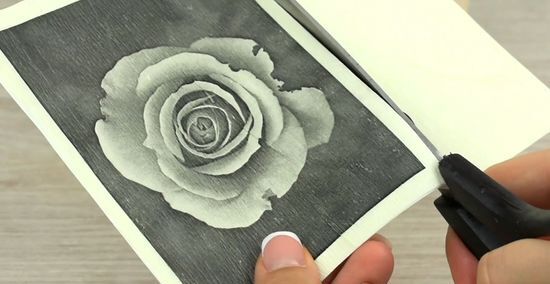
Cut around the edges of the image. Use a sharp pair of scissors to cut along the outer edges of the image after you finish printing it. Make sure that you cut off enough of the excess tissue paper so that the image will fit on the candle.
Transferring the Image to a Candle
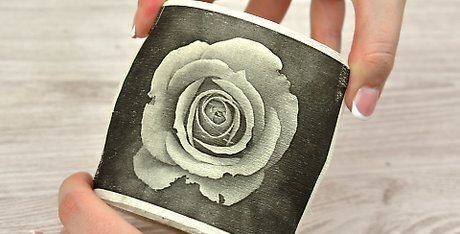
Press the image against your candle. Position the image on the candle where you want it to go and ensure that it is straight and oriented in the direction you want it to go. Make sure to use a white or light-colored candle as the image may not show up on the candle otherwise.
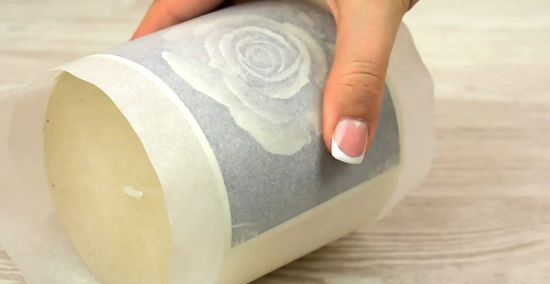
Cut out a piece of wax paper and wrap it around the candle. Make the paper large enough to wrap around the candle and overlap the edges of the wax paper by at least 2 in (5.1 cm) on each end. Place the wax paper over the image on the candle and hold the ends together tightly with one hand. Make sure that the wax side of the wax paper is facing in towards the candle. The wax side is the shiny side of the paper.
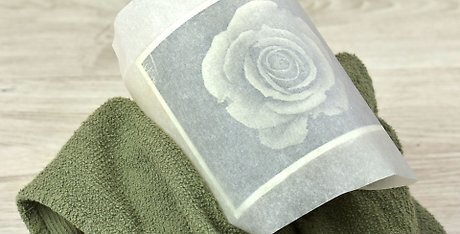
Drape a towel over your wrist and hand to protect your skin. The blow dryer can burn your wrist and hand if you get it too close to your skin. To protect your skin, take a tea towel or washcloth and drape it over your wrist and hand. You could also try wearing an oven mitt while you hold the wax paper in place, but this may make it more difficult to keep a good grip on the wax paper.
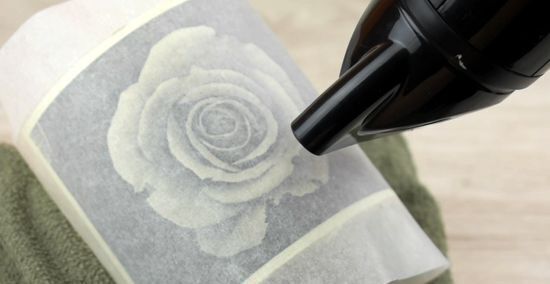
Move a blow dryer back and forth 2 in (5.1 cm) from the candle. Turn the blow dryer on low heat and aim it at the image. Move it back and forth and slowly work your way over the entire image. Don’t keep the blow dryer in one place for more than 5 seconds. Keep it moving until you have covered the whole image. Remember to keep the wax paper taut as you do this. Otherwise, the image may shift and end up crooked.
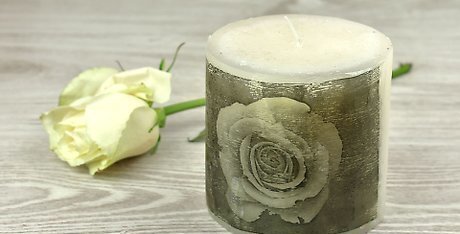
Remove the wax paper from the candle carefully. After you finish heating the entire image to transfer it onto the candle, turn off the blow dryer and set it aside. Then, carefully peel away the wax paper. The image should be melted into the candle wax, but still visible. Repeat the process to create more printed candles!Tip: Let the candle cool at room temperature for at least 15 minutes before you touch the image. The wax might still be soft from the heat.






Comments
0 comment