
Passing the Time by Doodling
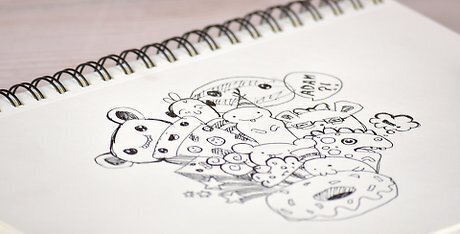
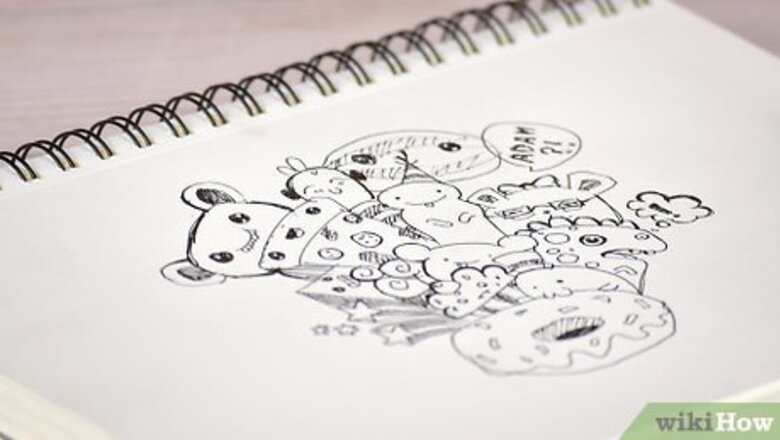
Use the materials you have on hand. One of most readily available forms of art is doodling. All you need are a few materials you can keep with you and your imagination. Doodle with pencil and paper. It's easy to carry a pencil and notepad with you at school or work. Don't overthink what you're drawing. By definition, doodling is a spontaneous art. Just take pen in hand, grab a piece of paper, and draw! Review your artwork. Don't immediately throw away what you've drawn. Take a look and decide what you like about it, and what you would do differently. You can always toss it later. Add to your artwork. You can add detail and color to improve your doodling. Take a doodling challenge. After challenging himself to doodle for 100 days, writer John Cutler noted he reaped many benefits.
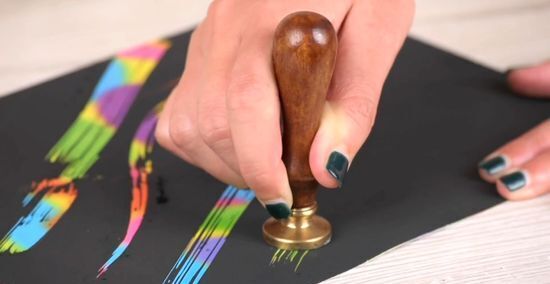
Go beyond paper and pen. Scratch art paper is multi-colored paper covered with a black film available online or in most craft stores. Use an instrument like a wooden dowel or toothpick Create a picture by scratching away the black surface to reveal the bright colors beneath.

Create your own scratch art paper. Take a piece of heavyweight paper like card stock or poster board. Color the entire surface of the paper using crayons. Do not use washable crayons for this project. Mix black tempera paint with a few drops of dish soap. Paint the surface of the paper and let dry. Create the drawing with by scratching away the painted surface.
Passing the Time by Coloring
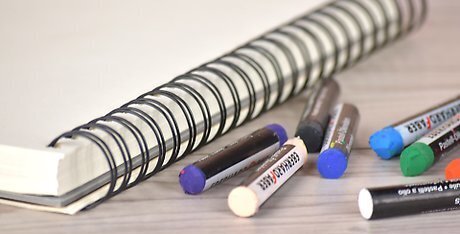
Gather your materials. Crayons are often dismissed as a child's art medium, but adult coloring books and professional crayons are becoming increasingly popular for all ages. Basic materials include: Crayons. There are many types of crayons available, from student to artist quality. Some professional artists recommend the Crayola crayons for the best color saturation. Colored pencils. There are three grades of colored pencils: student, scholastic, and professional. As you might expect, the pencils become more expensive the higher grade they are. Depending on how you plan to use them you can get check online reviews to determine the best value. Paper or coloring books. Coloring books for adults are available online or at art supply stores. There is also drawing paper available at these places for those who prefer to draw freehand. Create abstract art with melted crayon drawings. You'll need a large box of crayons, a heat gun or hair dryer, a hot glue gun, and a piece of sturdy paper like poster board or a canvas. Arrange the crayons on the poster board. You can arrange them in any order or shape you wish to. Some people unwrap the crayons while others leave them wrapped. Attach them using hot glue. Stand the paper up so the crayons are at the top. Make sure you have your working surfaces covered to avoid any damage by melted crayon wax. Allow the paper to cool completely in a standing position. You can carefully remove the crayons or leave them as part of the artwork.

Have fun! You can create abstract or realistic pictures, and you don't even have to color within the lines.
Creating With PolymerClay
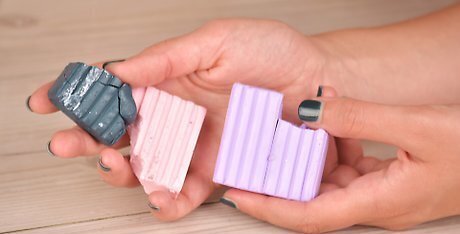
Prepare your materials. Polymer "clay," made of tiny particles of polyvinyl chloride (PVC), comes in a variety of colors. Since it doesn't dry out until you fire it, you can work with it until you create the shape you want, limited only by your imagination. Gather sculpting tools. You don't need a set of professional sculpting tools, just your hands and maybe a few items like a needle for piercing holes, and a knife for cutting uniform pieces. Get a feel for the material. You will need to handle the clay to make it soft and pliable. Roll it in a ball, stretch it out, fold it over, until you can work with to form the shape you want. Prepare your surface. Polymer clay can damage wood and plastic surfaces, so you should cover the surface you are working on with wax paper, or use a glass cutting board. Create your objects. You can make them all one piece, or make several pieces out of different colored clay. As long as the clay is wet, you can attach pieces together without having to glue them. Fire the clay. Read the package directions to find the correct temperature for curing your piece. Since polymer clay cures at a low temperature (around 275°F or 135°C), you can use a simple toaster oven to fire your object. It is recommended you do not use the oven to cook food after firing clay.
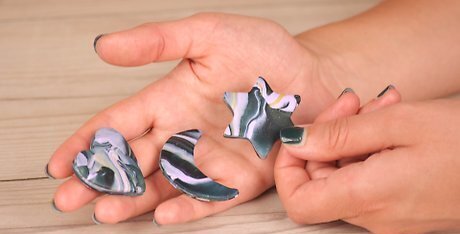
Make faux agate beads. Take a marble-sized of polymer clay and smooth it out flat. Don't worry about trying to make a perfect shape. Add a second layer on top of the first. Make sure the edges of the bottom layer show. Keep layering until you reach the design you want. Roll the clay layers into a ball, creating a marbled effect. Be careful not to mix the colors together. Flatten the ball out so that it looks like a slice of agate. Bake the clay according to the brand's directions. Allow the clay to cool and decorate with glitter, clear paint, or clear nail polish as desired.
Recycling Tin Cans

Gather your materials. There are so many objects that we throw away that could be recycled into a useful item. Here are a few suggestions on how to reuse found objects.
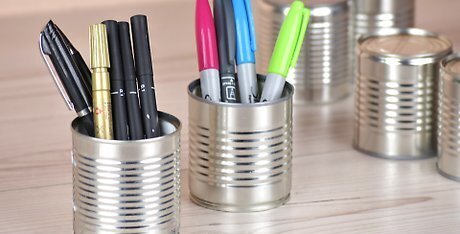
Make a tin can desk caddy. Have pens, scissors, and other office materials conveniently available with this caddy made from a lazy Susan serving tray and recycled tin cans. Collect tin cans of various sizes. Use as many as you can fit on the lazy Susan. Clean the cans and remove any sharp edges. Decorate the cans with paint, decals, and any other decorating material available. Attach the cans to the lazy Susan with adhesive poster hanging strips.
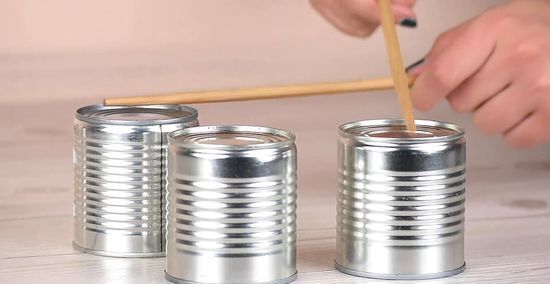
Make a tin can drum kit. Collect 6 to 8 clean tin cans of various sizes. Remove the lids from one side of each can. Smooth any sharp edges. Decorate the cans with paint, decals, duct tape, or whatever you have available. Play the drums using a pencil, dowel, or any other type of material that works for you.
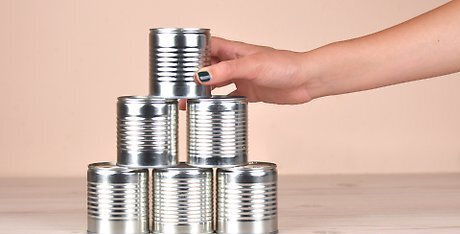
Make a soup can bowling game. Gather and decorate as many soup cans as you want to create your own bowling alley.
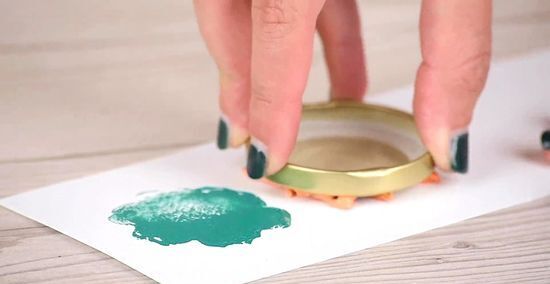
Make stamps from jar lids. You will need these items: recycled jar lids, foam, double stick tape, a marker, scissors, a stamp pad and some paper. Draw shapes on a piece of foam and cut out the shapes. Attach a square of foam to the jar lids with double stick tape. Attach the foam shapes to the squares. Make designs on paper using the stamp pad.


Comments
0 comment