views
Preparing Velvet for Painting
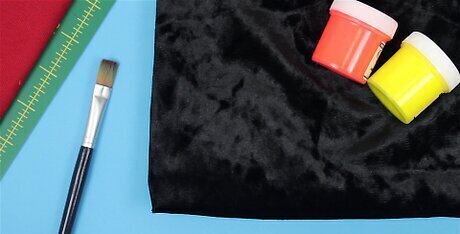
Select velvet made from natural fibers. Velvet made from cotton, silk or another natural material is best. These options are preferable because the paint is more likely to slip off the surface of a synthetic material.
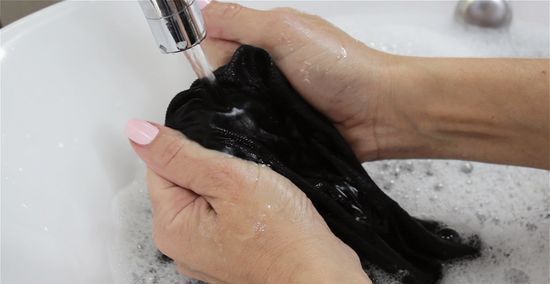
Wash the velvet. Pre-washing ensures that you don’t have issues with sizing later, and also helps the paint stick to the fabric. Check the label on the velvet as it may need to be hand-washed and laid flat or hung up to dry. Use a gentle detergent, as left-over residue could affect the way your paint is absorbed.
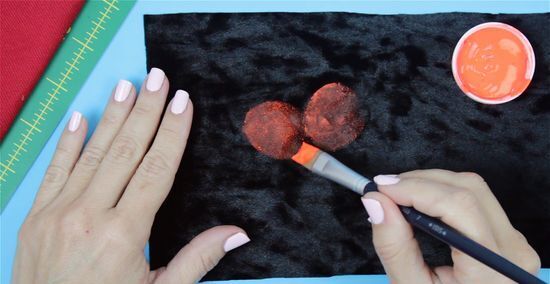
Paint a small scrap of your velvet with the paint you plan to use. This will give you a chance to see how much of the paint the fabric absorbs before planning out your entire design. Decide if your paint and technique are compatible with the fabric (e.g., you may have chosen a design that is too detailed for the fabric, the paint you chose may not be the right kind for the type of fabric, or the colors you were planning to use may not dry as bright as you were expecting).
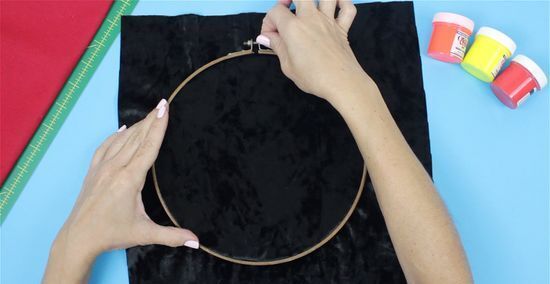
Stretch the velvet over frame bars. This keeps your fabric from bunching as well as allows the paint to dry more quickly. Stretch the velvet over the bars so that it lays flat and there are no wrinkles. Use a staple gun to staple the fabric to the frame, alternating sides as you go; put one staple on one side, one staple on the other side, one staple on the top, and one staple on the bottom. Repeat until the entire piece of velvet is stapled to the frame. You may also want to put a barrier between the velvet and the frame bars. A piece of cardboard or an acid-free foam core board work well and will prevent a line from forming in the paint where the velvet contacts the frame. The barrier should be slightly smaller than the frame bars so that you can easily remove it when your painting is dry. Frame bars are available at most craft and supply shops.
Transferring the Design
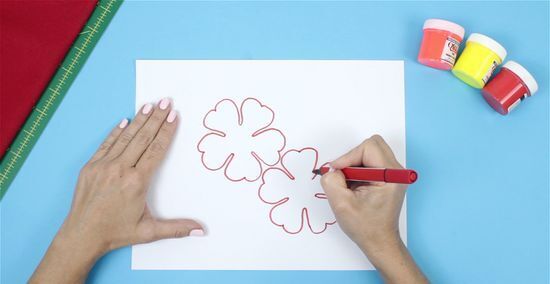
Sketch your design. Use a large, heavy sheet of paper. It should be large enough that, when placed over the stretched velvet, the entire painting surface is covered. Alternatively, you can draw your design on translucent tracing paper.
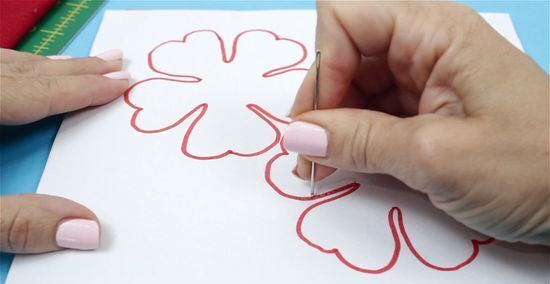
Outline the drawing by punching holes in the paper. Place a piece of cardboard or plywood over your work surface to protect it from damage. You want small holes, so use a small, sharp object. You could use the sharp end of a drawing compass, a push pin, or a similar sharp object to punch a series of holes to trace your drawing. Make the holes about 3/8 in (1 cm) apart. Alternatively, place the tracing paper on top of a sheet of carbon paper. Make sure the ink on the carbon paper is a different color than the velvet.
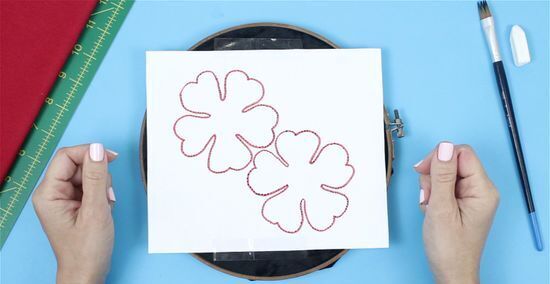
Tape the outlined drawing to the velvet. Masking tape is a good option for this step. Taping the outline in place ensures that the design won’t move while you are transferring the chalk, which could ruin your image. Alternatively, tape the tracing paper, with the carbon paper beneath it, on the velvet.
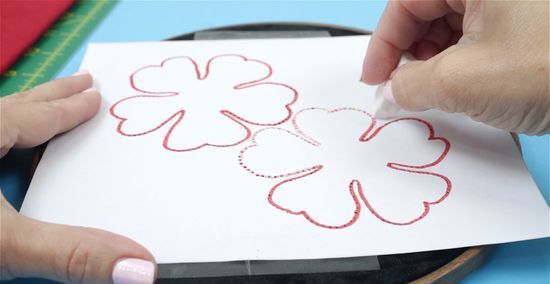
Rub white pastel chalk over the holes in the paper outline. The chalk dust will go through the holes in the design and deposit on the velvet. This will create the outline you will use to paint the velvet. Alternatively, go over your design with a pencil or pen. The ink from the carbon paper will deposit on the velvet.
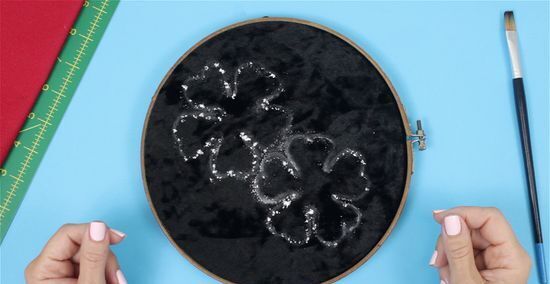
Remove the stencil. Lightly brush away the extra chalk dust before removing the stencil. If the stencil was large enough, the only chalk on the canvas will be the outline of your design. Alternatively, carefully remove the tracing paper and carbon paper.
Painting Your Design
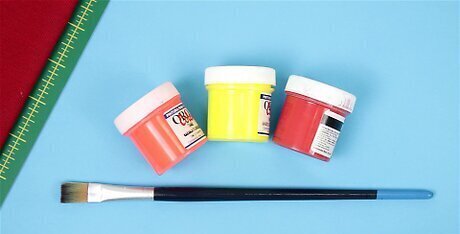
Paint using a dry brush dipped in acrylic paint. Choose high-quality acrylic paints made for coloring fabrics. Using a wet brush will cause the paint to run and/or the fabric to become soggy. If your velvet is dark in color, brighter colors will show up better than pastels. A high-contrast design may be easier to paint than one with a lot of fine detail.
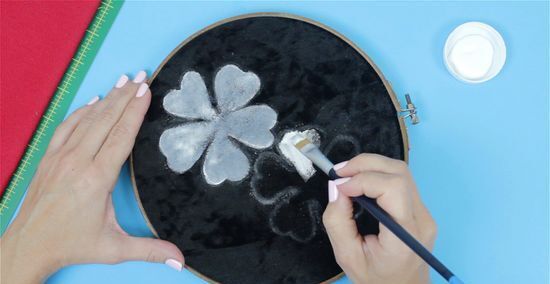
Consider starting with a base coat. You could paint a thick white base coat only on areas of the velvet that will be painted with color. This will allow you to use less colored paint as well as help your colors pop since they will have a white, rather than a black, undertone. Be sure to let the base coat dry before painting over it with color.
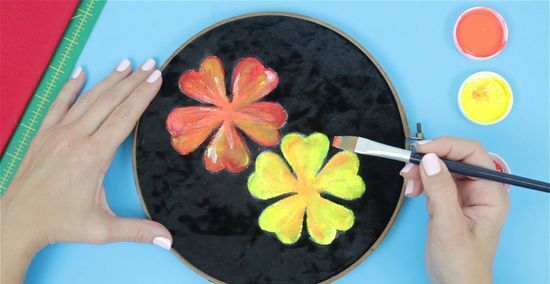
Layer the paint on the velvet. Velvet absorbs paint, so the paint's color tends to dull as it dries. To compensate, you'll need to paint in layers until you achieve the color intensity you want in the finished, dried painting. Allow each layer to dry before applying another coat. It’s best to begin with large areas first, then move on to smaller details, and finish with highlights.
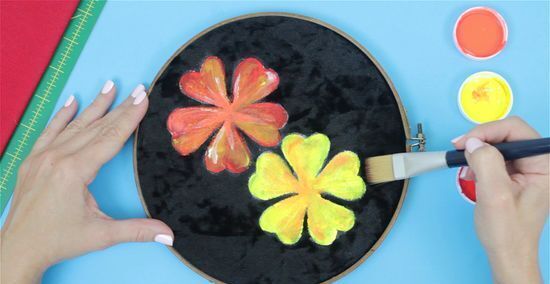
Use a clean, dry brush to lift paint that was erroneously applied. Do this immediately, before the paint is absorbed by the fabric.
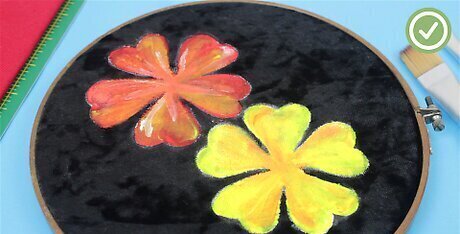
Allow the painting to dry. Let the painting dry for several hours, preferably overnight, to ensure you don’t smudge or ruin the painting. Carefully remove the cardboard or foam core, if applicable. Then, display your finished painting wherever you would like.




Comments
0 comment