views
Preparing to Create Felt Ornaments
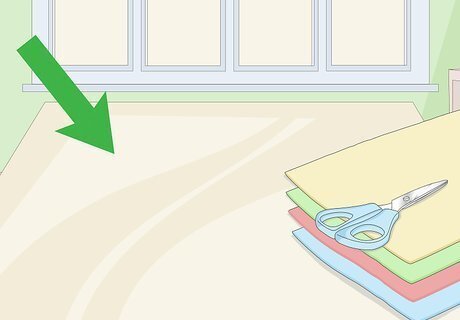
Set up a clean working space. In order to make felt ornaments, you will need a large clean workspace. A large table works nicely. Wipe down the surface to ensure that there is nothing that could get onto the material. Make sure that all of your supplies are handy before you begin.
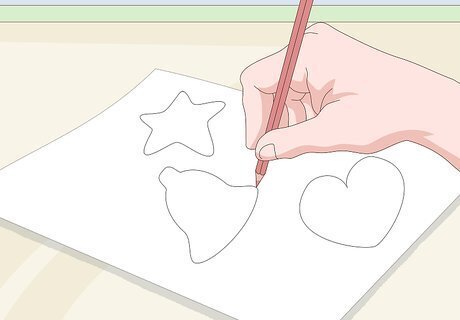
Trace a pattern on white paper. When it comes to creating felt ornaments the possibilities are endless. For example, you could make felt ornaments in the shape of trees, stars, bells, birds, angels, snowmen, baubles, snowflakes, mittens, hearts, etc. You could stick to one pattern, or make a variety of different patterns. To make a pattern, simply draw a shape, in the size you want the ornament, onto a piece of white paper and then cut it out. You may need to draw multiple patterns until you find the shape and size you like best.
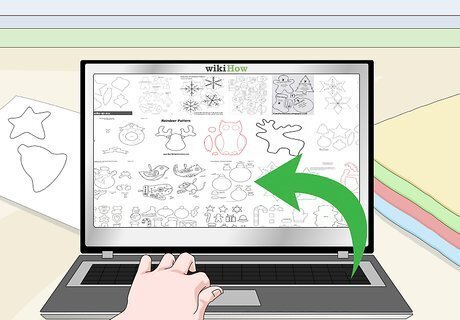
Find a pattern online. If drawing is not your strength, you can find patterns online and then print them out on a white piece of paper to trace. For instance, complete a Google image search for "felt ornament templates." There is a large variety of different designs and patterns. You can also find some helpful decorating techniques as well.
Constructing Stuffed Felt Ornaments
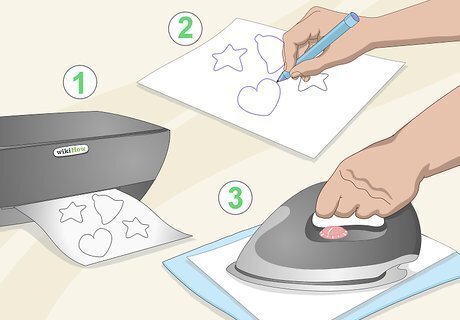
Trace the pattern onto the felt. Once you have selected and created a pattern, trace the pattern onto the felt that you will be using to make the ornament. In order to trace the pattern onto the felt, you will need to use an iron-on transfer pen. To use this pen, print out the pattern and then trace over the design directly on the paper. Once complete, flip over the paper and place the ink directly on the felt. Iron the paper on the felt. This will transfer the ink onto the felt.
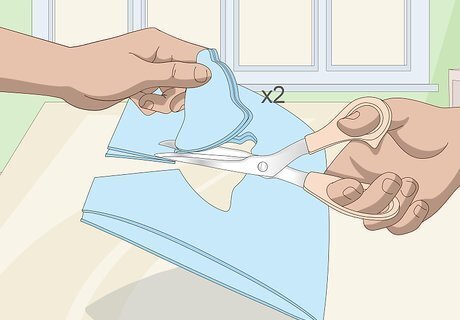
Cut out the pattern. In order to cut out the pattern, make sure that you are cutting two pieces of felt that are the exact same size. Try folding the felt in half with the pattern side facing up. This way you can cut both pieces at the same time. This will ensure they are the exact same shape and size. Carefully and slowly cut along the pattern. To navigate sharp corners, stop cutting, take the scissors off the material, and change directions. Then begin cutting again, facing in a new direction.
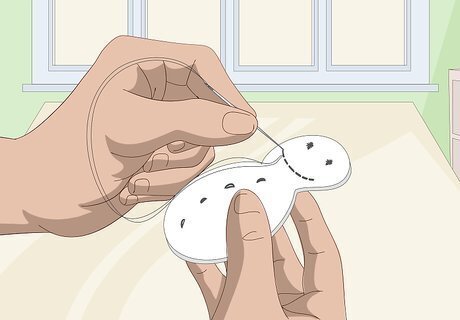
Stitch on any details. Depending on the ornament you are making, you may want to stitch on some added details. For example, if you are making a snowman you may want to stitch on eyes or a mouth. Stitch these details only onto one of the pieces that you have cut out. This will vary depending on the ornament and is not always necessary. If you are not comfortable with more complex stitching, you can glue on details afterwards.
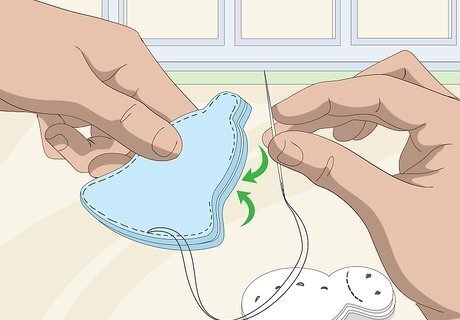
Sew the ornament. In order to sew the ornament together, you need to layer the two pieces of felt, with the good sides facing inwards. The good sides are the sides of the felt that you want to be visible once the ornament is complete. Measure and sew a ⅛ inch seam around the ornament, leaving a 1 ½ inch opening. Typically you should leave the opening at the bottom of the ornament, but depending on the shape you may need to leave an opening along the side. Once you are finished sewing, turn it inside out, so that the good sides are facing outwards. Alternatively, you can sew the ornament together with the sides you want to be visible facing out using a blanket stitch. You will still need to leave an opening at the bottom in order to fill the ornament with stuffing.
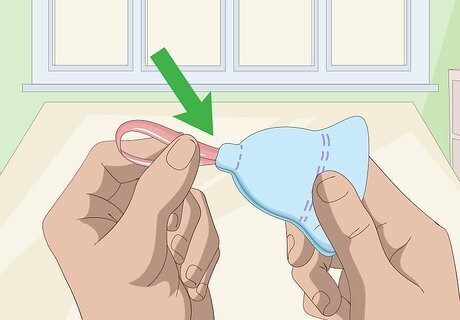
Add a ribbon for hanging the ornament. When you sew the ornament closed, you should add a looped ribbon for hanging. Loop a small ribbon and position it between the two pieces of fabric at the top of the ornament. When you sew the ornament closed sew through both pieces of felt, as well as the ribbon. This will secure the ribbon and allow the ornament to hang.
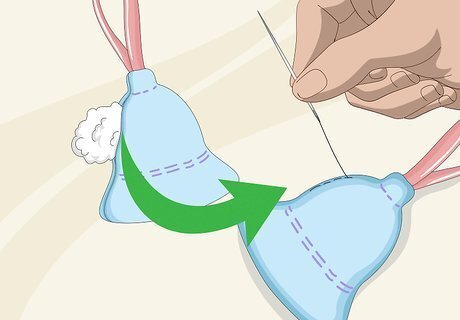
Stuff and seal the ornament. Stuff the ornament with polyester fiberfill. Insert the filling through the opening that you left at the bottom of the ornament. This will give the ornament depth. Once filled, stitch the opening closed.
Decorating Felt Ornaments

Add sequins and ribbon. Once you have sewn together the body of the ornament, you can decorate the ornament and add any details you wish. You may want to add some sequins or ribbon. For example, if you are making a star-shaped ornament, you could glue on some sequins so that the star sparkles when it catches the light. Alternatively, if you made a gingerbread man ornament, you could glue ribbon and sequins to create eyes, and a mouth. You could also use different colours and sizes of ribbon and sequins to act as decorations on the cookie. Be creative and have fun playing around with different designs and patterns.

Glue on felt details. You can also cut out smaller pieces of felt and glue them on as additional decoration and detailing. For example, if you are making a bird, you could cut out a felt wing and glue it onto the front to add some depth to the ornament. Alternatively, if you made an angel ornament you could glue on felt wings to the back of the ornament. Again be creative and play around with different types of felt add ons.
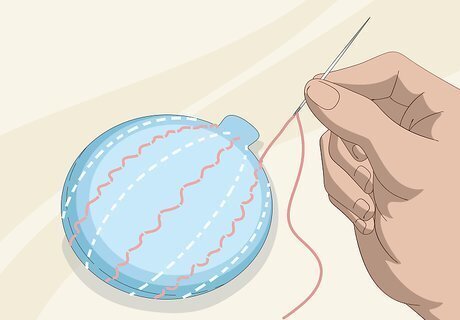
Decorate with stitching. You could also decorate a felt ornament with stitching. For instance, you could sew on lines to act as extra details. You could also use a cross stitch to add a picture or design to the front of the ornament. For example, if you made a ornament that looks like tree bauble, you could decorate it with stitched stripes and swirls.
Creating Non-Traditional Felt Ornaments
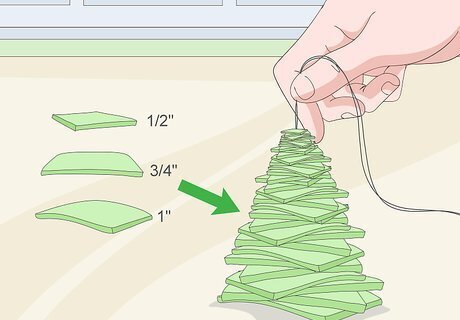
Make a stacked felt tree ornament. Not all felt ornaments need to be stuffed. You can also be creative and make a variety of different types of ornaments out of felt. For instance a stacked felt tree ornament is quite simple to make: Select a colour and cut felt into squares of different sizes. Begin with 6 ½ inch squares, followed by 6 ¾ inch squares, followed by 6 1 inch squares, etc. Continue cutting bigger squares, increasing the size by ¼ inch each time, until you reach 1 ¾ inch squares. Stack the squares in piles based on size. For example, stack all 6 squares that are 1 ¾ inch in one pile, and then all squares that are 1 ½ inch in another pile etc. Then run a looped thread and needle through the centre of each stack, starting with the largest squares and moving to the smallest. At the top glue two ½ inch squares together to look like a star on top of the tree. Leave an extra loop of string for hanging the ornament. Once complete rotate the squares so that they stagger looking like a tree.
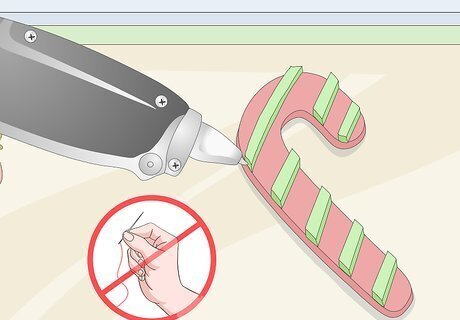
Make a felt ornament without sewing. You can also make a felt ornament that requires no sewing. Simply cut out a desired shape, such as a circle to look like a bauble ornament. Then decorate the bauble by gluing on sequins and other smaller pieces of felt. Alternatively, you could cut out a red piece of felt in the shape of a candy cane and then glue smaller stripes of green and white felt to the front to make it look like a colourful candy cane. Once complete, attach a ribbon to the top of the ornament so that it can hang. Cut a hole at the top of the ornament and loop a ribbon through the hole.
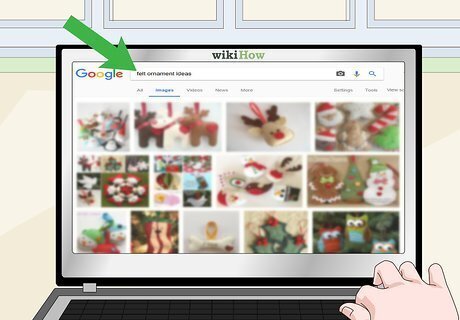
Search online for additional creative ideas. There are thousands of felt ornament ideas online. Complete a Google image search for felt ornament ideas. You will find a variety of suggestions that include patterns and instructional tutorials.


Comments
0 comment