views
Reducing Fresh Milk
Measure your milk. You can turn regular milk into evaporated milk by removing about 60% of the water. This means 30 ounces (3¾ cups / 890 mL) of regular milk will make 12 ounces (1½ cups / 350 mL) evaporated milk, the amount typically found in one can. You can use full fat, reduced fat, or skim milk. Non-homogenized milk (including raw milk) will separate into fat and liquid as you heat it. This makes it a poor choice for making evaporated milk unless you add an emulsifier, such as lecithin.
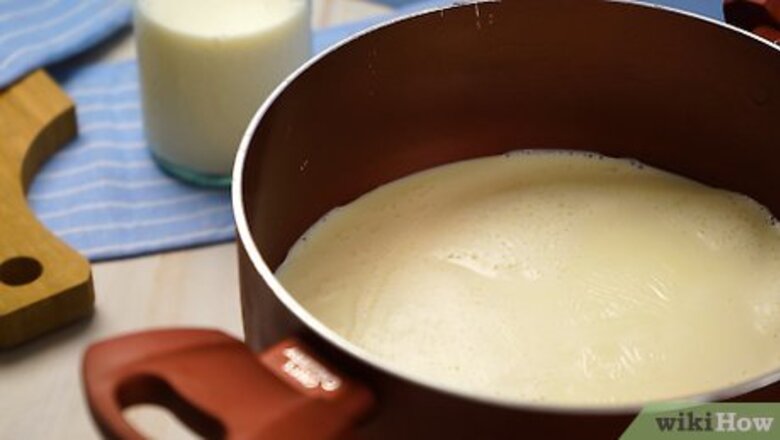
Pour the milk into a wide, heavy-bottomed saucepan. The wider the pot, the faster the water will evaporate. A thick, nonstick base helps minimize burning from milk solids that sink to the bottom.

Bring to a simmer, whisking frequently. Place the saucepan over medium heat. Keep a close eye on the milk and whisk frequently to prevent a skin from forming. If a skin does form, remove it or break it apart, or it will block water from evaporating.

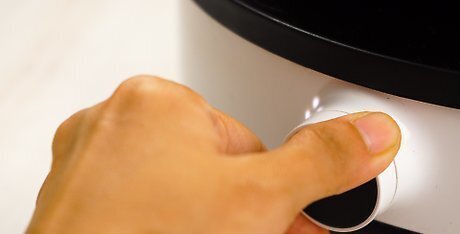
Simmer at low heat. Reduce heat to keep the milk at a very low simmer. Depending on the pot size, stove temperature, and amount of milk, it can take anywhere from another twenty minutes to a couple hours to finish making evaporated milk. Alternatively, bring the milk to a low boil and stir constantly for ten minutes. This requires a deep pot to prevent boiling over, and comes with a high risk of a "scorched" taste. If you dislike a light brown color or caramel flavors, you can heat the milk below simmering, at around 160ºF (70ºC). It may take several hours to boil down, but the result will have a pure milk color and flavor.
Whisk and scrape the pan frequently. It's normal for small amounts of milk solids to separate and stick to the base of the pan. The heat will brown these slightly, adding the light caramel flavor found in most canned evaporated milk. Just keep a watchful eye on the pot and whisk at least once every five to eight minutes so the milk solids don't scorch. Reduce heat and whisk vigorously if the milk rises above a low simmer. A rubber spatula is the best tool for scraping the base. A whisk is best for preventing skin from forming. Alternate between these tools for the best result.
Stop once the milk is less than half its original volume. Eyeball this based on the depth of the milk in the pan, or measure the volume in a heatproof measuring cup. If you started with 30 ounces (3¾ cups / 890 mL) of milk, turn off the heat once you're down to 12 ounces (1½ cups / 350 mL). The milk is now similar to store-bought evaporated milk, with a little more than half of its water removed. The milk might be light brown or white, depending on temperature and how often you scraped the pan.
Strain out the solids. It's normal for some spongy solids to separate out of the milk when you heat it. Pour the milk through cheesecloth or a fine mesh to remove these.
Refrigerate the milk. Unlike the canned product, homemade evaporated milk is not shelf stable. That said, the lower water content does increase the shelf life, so it should last longer than regular milk. Store in an airtight container in a cold area of your fridge. Evaporated milk does not freeze well. If you are storing the milk in a glass container, let it cool to room temperature before you refrigerate it. Sudden temperature changes can break glass.
Combining Butter and Dry Milk
Bring water to a simmer. If you have dry milk powder, you can make evaporated milk by mixing it with roughly 40% as much water as the label instructions suggest. To make the equivalent of one 12-oz can of evaporated milk, bring 1¼ cup (300mL) water to a simmer. The heat will add a slight caramel flavor characteristic of evaporated milk.
Stir in butter if desired. Optionally, add 1 tbsp (15g) butter for a creamier taste. Add 2 tbsp (30g) for an extra rich evaporated milk, or up to 8 tbsp (115g) if you are using a skim milk powder and want to use the final result as a cream replacement.
Stir in the powdered milk. Add 1 cup (240mL) instant dry milk powder and continue stirring until it has dissolved completely.
Cook the milk until it reaches the desired color and consistency. This mixture is already roughly as concentrated as evaporated milk, so you could use it right away. If you prefer a more caramel taste or a thicker consistency, cook at a simmer for five or ten minutes, stirring frequently.
Using Substitutions in Recipes
Use these in recipes where the milk flavor is not important. Because these substitutions are not cooked, it doesn't have the light caramel flavor found in most evaporated milk. It does have about the same fat percentage and consistency, however, so it works well as a substitute in baked goods and other recipes where milk isn't at the forefront.
Combine milk with half-and-half. To substitute 1 cup (240 mL) evaporated milk, mix ¾ cup (180 mL) milk and ¼ cup (60 mL) half-and-half. Use the same type of milk called for in the recipe. For example, if the recipe calls for full-fat evaporated milk, start with full-fat regular milk. If the recipe does not specify a type of evaporated milk, assume it means full-fat.

Replace with other dairy products. If you don't have both milk and half-and-half, you can scour your fridge for last-resort alternatives: Half-and-half is close enough to work as a substitute. You can substitute buttermilk instead if a tart flavor is appropriate. Cream is an extra-rich substitute. You could try half water and half cream as a rough alternative, but only in cooked sauces or soups, not in desserts or baked goods. Whole milk is a risky substitute, as it will not thicken sauces as well as evaporated milk.


Comments
0 comment