
Sewing Throwing Beanbags
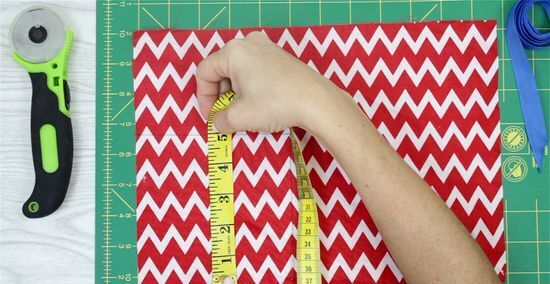
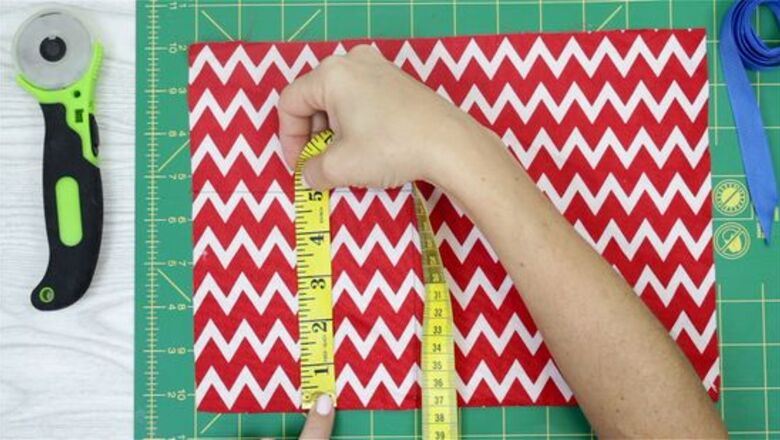
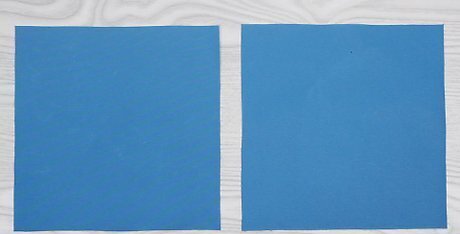
Cut two pieces of fabric, each 5 in (13 cm) by 5 in (13 cm). Grab a durable fabric such as cotton twill or canvas for throwing beans. Using a ruler, mark the fabric with a pencil or washable market at the 5 in (13 cm) mark. Cut two square pieces with a pair of scissors or a rotary blade. You can use scrap fabric or old t-shirts to make this DIY. However, cotton twill can cost $4 per yard, while canvas can cost $9 per yard. Cut two squares for each bean bag. For instance, if you want 12 throwing bean bags, cut 24 squares of equal size. When using a rotary blade, place a cutting board beneath the fabric to avoid damaging your tabletop surface or floors.
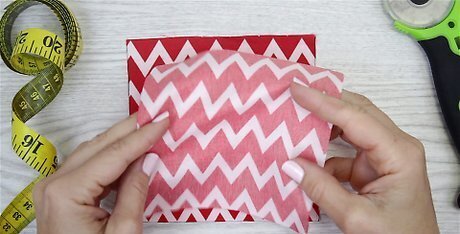
Lay the fabric right-sides together and align the edges. Take one of the pre-cut squares and lay it facing up with the design. Then, take another piece and lay it face down over the top of the other piece. Ensure the edges are perfectly aligned for sewing. To avoid wrinkles, iron the fabric on an ironing-safe surface.
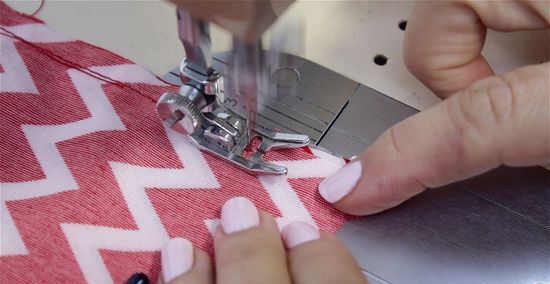
Sew the fabric together using a straight stitch. Before you begin sewing, stick sewing pins or clips along three of the square’s edges to hold them in place. Set your sewing machine to the straight stitch setting and feed the fabric under the foot. Set the foot down and begin stitching with a ⁄2 in (1.3 cm) inseam. Stitch all the way around until you’re about 3 in (7.6 cm) away from where you started to leave a gap for filling and turning the fabric. Always start and finish your stitches with a backstitch for a secure hold. You can also stitch the bean bag by hand using a straight stitch. Weave a threaded needle in and out of both layers of fabric. As you are sewing around the edge, hold the pieces of fabric tightly together with your hands. However, make sure to keep your fingers away from the needle.
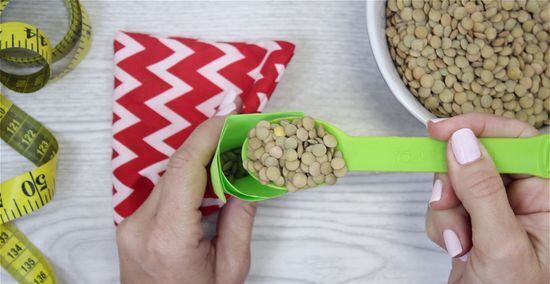
Flip the fabric inside out and fill it with dried beans or rice. Using the small gap that’s left, flip the fabric inside out. Go back in with your fingers to poke the corners so they’re sharp. Grab a small funnel and slowly pour in dried beans or rice. Try to leave at least ⁄2 in (1.3 cm) of fabric empty on the side so the beans can move around. Alternatively, you can use dried corn, peas, popcorn kernels, or small bits of gravel to fill the bean bag.

Stitch the gap closed with a ⁄2 in (1.3 cm) inseam. Take the loose edges of the fabric and place them back beneath the sewing machine’s foot. If it helps, you can pin the gap closed. Remove the pins as you close the gap. Now, you have a completed beanbag! Repeat the previous steps until all of your bean bags are made. You can also repeat these steps to make an outer liner for throwing bean bags. Then, instead of filling the bag with beans, slip the cover on top and stitch it closed.
Making a Beanbag Chair
Cut two large pieces of upholstery-weighted fabric. Fortunately, bean bag chairs can be as wide as you want. However, for a kid’s friendly chair, cut two fabric pieces to 45 in (110 cm) by 32 in (81 cm) with a pair of fabric scissors or a rotary blade. Upholstery-weighted fabric can cost $4 per yard. Alternatively, you can use cotton-polyester blended fabrics, which can cost as little as $3 per yard. You can use matching fabric or two coordinating patterns for a two-toned look. A beanbag chair 42 inches wide is large enough for teenagers or adults, while an extra-large one is produced by cutting it 56-70 inches wide.
Layer the fabric with the right sides facing and sew the long edges. Turn the fabric so the right sides face each other and the wrong side faces you. Then, feed the long raw edges under the foot of the sewing machine. Set the machine to the straight stitch setting using the dial to sew tight stitches along both long edges. Leave both of the shorter ends of the fabric open for now. To prevent fraying, use a zigzag stitch on the sewing machine before sewing with a straight stitch. However, this is optional.
Fold the fabric in half lengthwise and cut one inside corner. Align the long sewn sides of the fabric by folding it in half. Ensure the edges are as even as possible. Then, starting from the folded inside corner, use fabric scissors to round one end or cut a diagonal line to remove approximately 6 in (15 cm) of material. Open the fabric back up to reveal a symmetrical curve or tear-drop shape. Folding the fabric in half ensures the fabric is cut evenly.
Use a straight stitch to close the curved or diagonal edge. Feed the fabric back under the foot of the sewing machine. Set the foot down to hold the fabric in place. If you’d like, pin the curved or diagonal edge to keep it secure. Select a straight stitch setting and press your foot on the peddle to begin. Remove the pins as you sew. Switch to a zigzag stitch setting first if you’d like to prevent fraying before laying down a straight stitch using the machine’s dial. Sew a straight stitch by hand by simply weaving a threaded needle in and out of both layers of fabric in a straight line.
Sew a 22 in (56 cm) zipper to the opening edge, optional. If you’d like to add more filling as time goes on, add a zipper to the remaining unsewn edge. We’re using a 22 in (56 cm) zipper for this project. However, measure the length of your bean bag for reference. Attach the zipper using a straight stitch on either side of the fabric.

Flip the fabric inside out, fill with bean bag filling, and sew the gap. Turn the fabric inside out through the open end and pour in one bag of 100 liter bean bag filling. Once it’s filled, sew the hole by hand using a threaded needle and a straight stitch. If you added a zipper, simply zip it shut once it’s filled. Bean bag filling can cost $18 per bag. Alternatively, you can use standard stuffing material, dried beans, plastic chips, or polyester pellets. Avoid overstuffing the chair so the beans can move freely around your body. Depending on your bean bag chair size, add an extra 50 liters or another full bag for teenagers and adults.


Comments
0 comment