
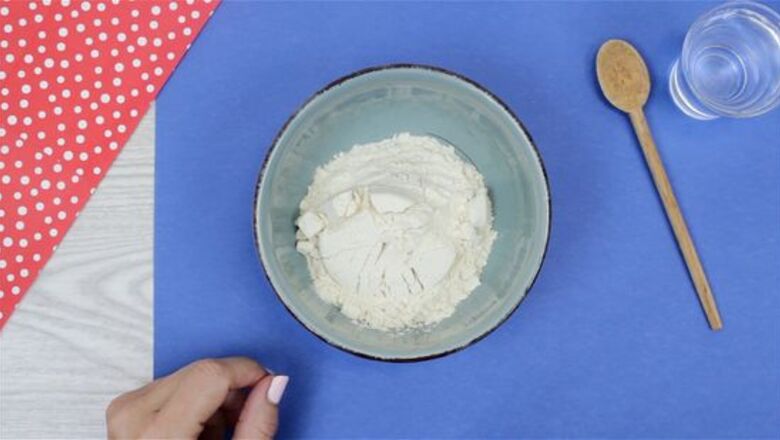
Making the Diya Dough
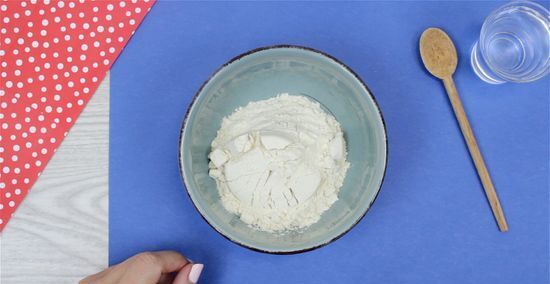
Pour ½ cup of wheat flour into a mixing bowl.
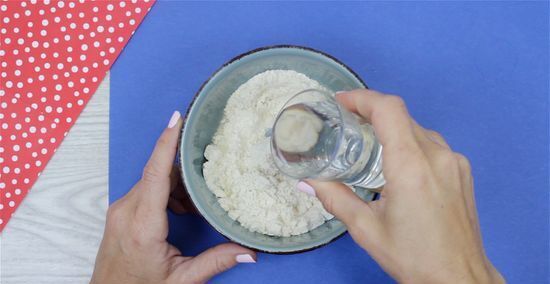
Pour water in the mixing bowl little by little. Before adding additional water each time, mix the water and wheat flour with your hands.
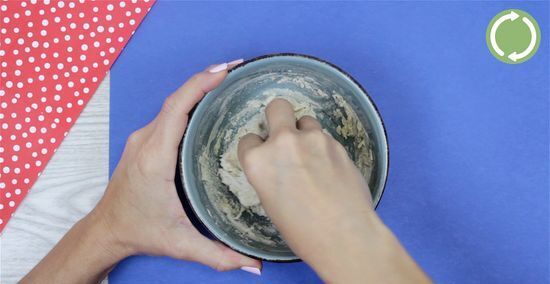
Keep adding water until the wheat flour takes on the consistency of dough. The dough should be slightly tight. It should not be too soft.
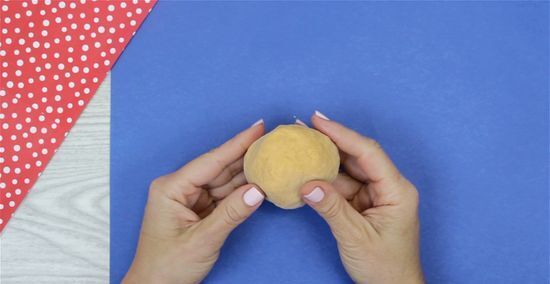
Stop kneading and adding water when the dough is able to form a round ball.
Shaping the Diya
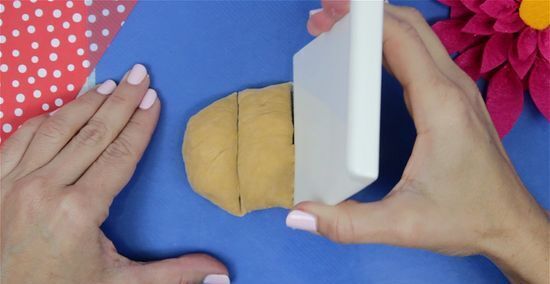
Divide the ball of dough into three equal parts.
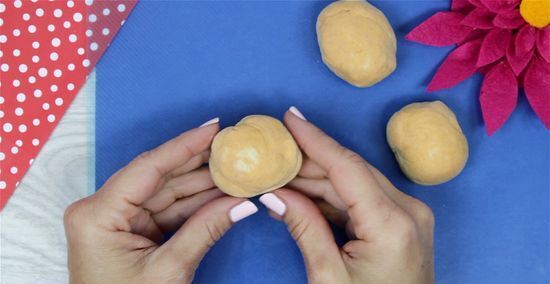
Take one of the three divisions of dough and roll it into a ball again.
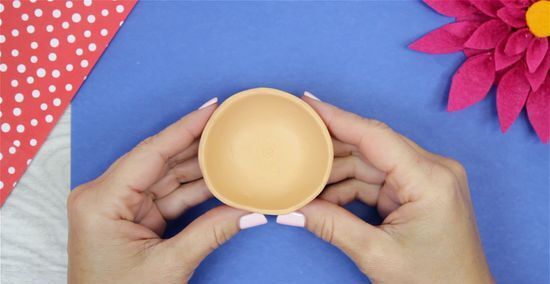
Shape this little ball of dough into a small bowl structure.
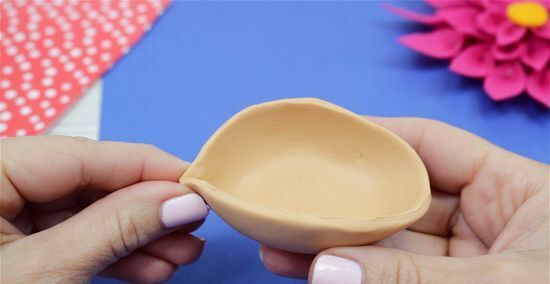
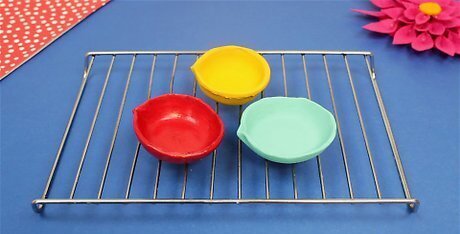
Pinch one tip of the bowl. This creates one pointed tip on the round bowl shape. This is the final shape of your diya!
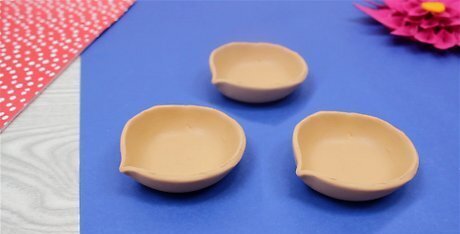
Repeat the shaping process for the other two divisions of dough.
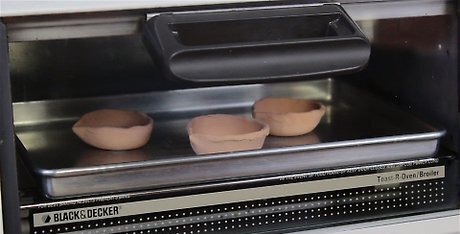
Baking the Diya
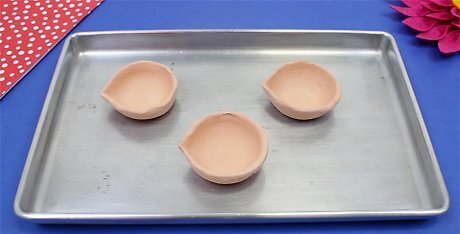
Place the three diyas onto the greased baking pan.
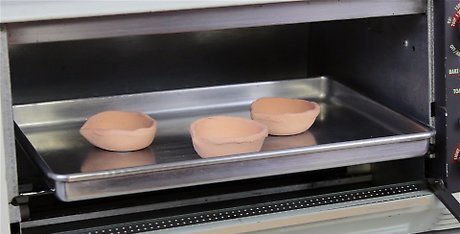
Place the baking pan into the oven. The oven should be at 400 °F (204 °C).
Bake in the oven for 15 minutes. Check on the diyas at the halfway point (about 7 minutes). If the base of the diya has puffed up slightly, push down gently on the puffed up section with a spoon.
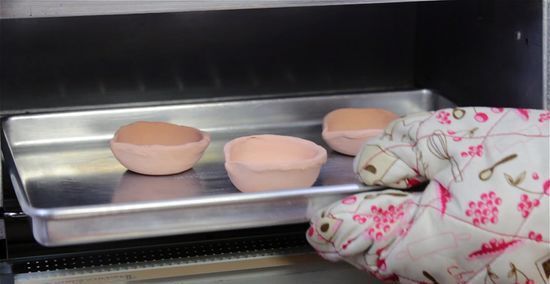
Remove the diyas from the oven after 15 minutes are up. You want the diyas to be stiff and hard. If the diyas are still soft, place them back in the oven until they become stiff and hard.
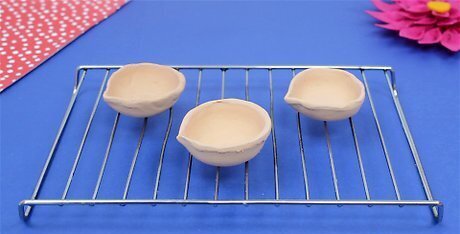
Cool the diyas to room temperature.
Decorating the Diya
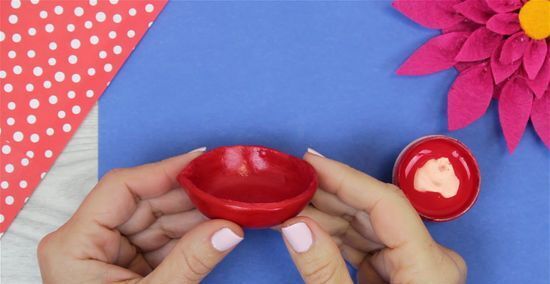
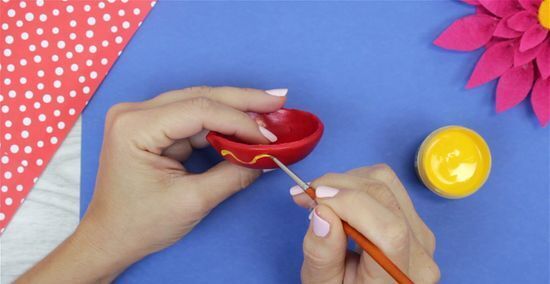
Paint the diyas with a paintbrush all over. Choose any colors you like!
Wait for the paint to dry.
Create designs you like using materials such as glitter, mirrors, beads, and paint. Each diya can be decorated differently—decorate them any way you want!

Wait for the glue/glitter designs to settle and dry.
Lighting the Diya
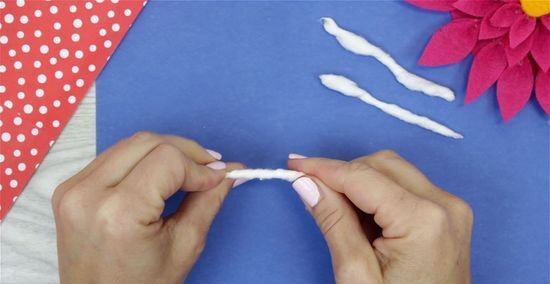
Roll up three 1x4 cm cotton pieces into skinny rolls.
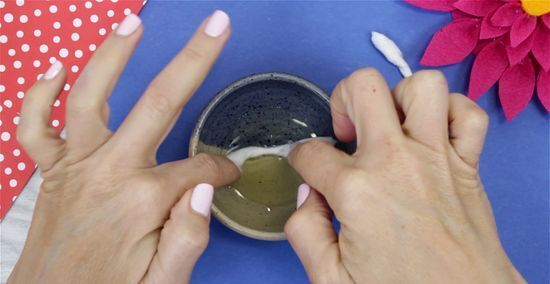
Dip the three rolls of cotton cloth into ¼ cup of vegetable oil.
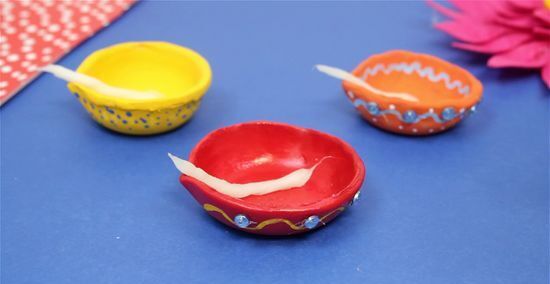
Place the rolled up, oil-soaked cotton cloths onto the pinched tips of the diyas. The cotton roll should rest in the fold of the tip. Be sure to leave 1-2 cm of the cotton cloth roll hanging out of the diya.
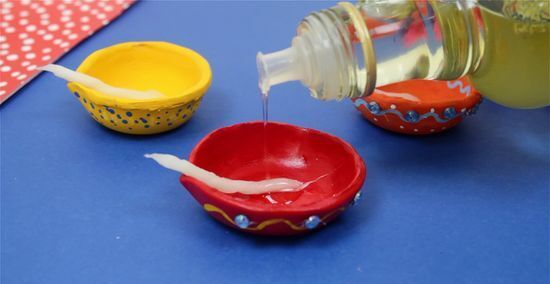
Fill each diya with vegetable oil. Do not fill the diya to the brim with oil. Fill the diya up below the rim, leaving about 1cm of space till the rim.
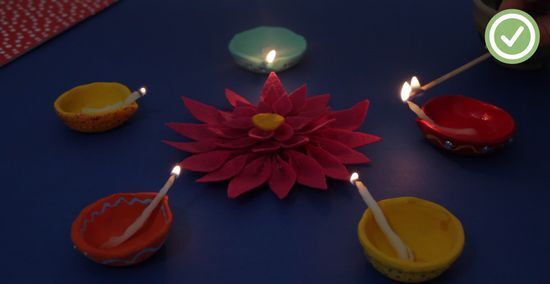
With the lighter, light the tip of the cotton cloth roll.


Comments
0 comment