
X
Research source
Whether you want to make a scroll for a school project, for a party invitation, or just for fun, the process is simple. Choose a type of paper and consider adding text or drawings. If you want to make an ancient-looking scroll, you can age your paper with a tea or coffee stain.
Choosing a Design
Research different scrolls. Researching different types of scrolls will help you decide how you want your scroll to look. Scrolls were used for centuries in countries like China, Egypt, and Greece. Look at different scrolls online and see if any inspire you! Decide whether you want your scroll to look modern or ancient. If you choose to go for an ancient look, consider ageing your paper. Your scroll doesn’t have to look like the ones you see online! You can make a completely unique scroll, or combine features you like from many different scrolls.

Select your paper. Pick the paper you want to use for your scroll. You can use colorful construction paper, drawing paper, or plain printer paper. All of these can be aged later by soaking them in tea or coffee. Brown paper bags work if you want your paper to look aged, but don’t want to go through the process of staining it yourself. Just cut a rectangle out of the bag. You can tape multiple pieces of paper together to make an extra-long scroll, if you want. Feel free to mix and match different colors, but make sure each piece of paper is the same size. If you’re feeling really fancy, try using papyrus like the ancient Egyptians did!
Decide what to write. Scrolls were traditionally used as decorations, or to document information and tell stories. Think about what you want to write or draw on your scroll. You can do both if you want! If you want to make an Egyptian inspired scroll, consider including some hieroglyphics, the ancient Egyptian form of writing. You can also draw a treasure map, or write a story about one of your favorite experiences. Get creative! If you want to include typed text on your scroll, print it onto your paper now. You won’t be able to do it after you age your paper.
Ageing Your Paper
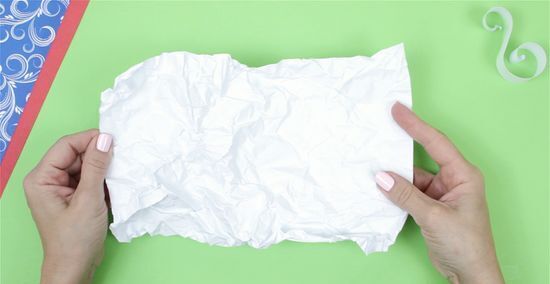
Crumple your paper. Crumpling your paper makes it look wrinkled and aged. Spray your paper with a little water and crumple it into a ball. Then, smooth it out again. Crumple it a few more times for a more wrinkled appearance. You can iron your paper very lightly if you want it extra flat. Stop here if you like the way it looks! If you want to stain your paper to make it look even older, keep going. If you are using a brown paper bag, you don’t need to stain it.

Brew coffee or tea. You can age your paper by soaking it in either coffee or tea. Pick whichever one is most convenient for you, and brew enough to cover the sheet you want to age. If you are younger, ask a parent for help. You can brew coffee in a coffee machine, or use instant coffee. The darker the coffee, the better. To brew a strong cup of tea, soak at least three tea bags in a cup of hot water. Be sure to brew extra if you are aging multiple sheets.
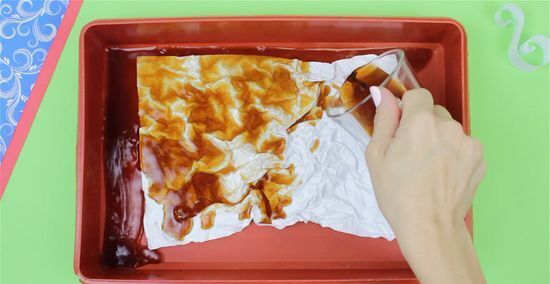
Apply the mixture. Place the paper in a large pan, and apply the coffee or tea to using a method of your choice. You can dab it on with a sponge, paint it on with a paint brush, or dip your paper in the mixture until your achieve your desired color. Make sure the coffee or tea is not too hot. Try using your teabag as an applicator. Wipe the wet teabag all over paper, squeezing as you go until you achieve the color you want. The paper will look a little darker when it’s dry, so stop applying the coffee or tea when it’s a couple shades lighter than you want it. Add grains of instant coffee or flecks of tea to your paper for extra texture.
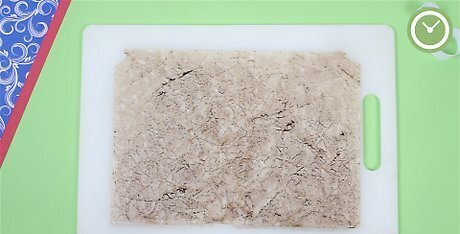
Dry the paper. Hang the paper to dry using clothespins. If it’s nice out, hang it outside. You can also lay it flat on a clean surface to dry, but beware of staining. If your paper turns out too light, repeat the staining process until you achieve the shade you want. Weigh the dried paper down with a book or other heavy object if you want it flatter.
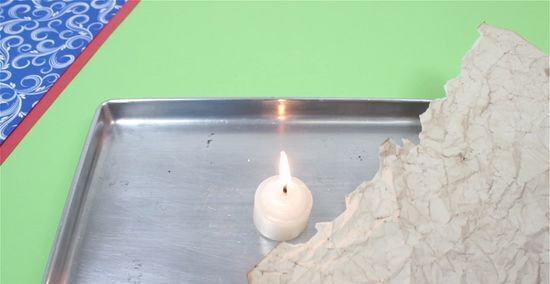
Distress the edges. You may want to make your paper look even older by distressing the edges. You can burn the edges by lighting a match over a safe, non-flammable surface and waving it back and forth over the edges. Continue until you achieve the desired look, shaking and brushing away burnt edges. Alternatively, you can rip the edges with your fingers. Practice distressing the edges on a few scrap sheets of paper before attempting on your scroll paper. You don’t want to tear or burn away too much of the edges! You can also burn the edges using lemon or lime juice and a heat gun. Apply a little juice to the edges of the paper, then heat with the heat gun until you get the desired effect.
Crafting Your Scroll
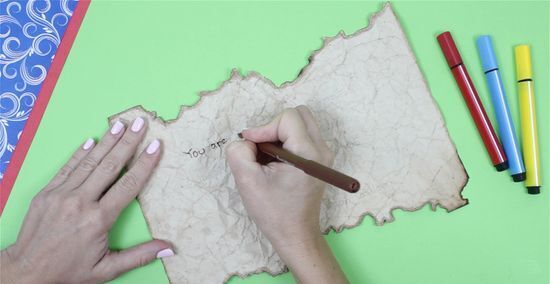
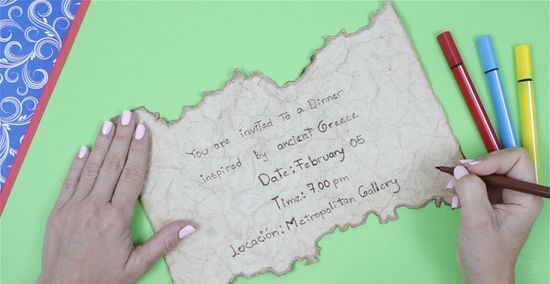
Write on your scroll. Now, it’s time to write or draw on your scroll! A black pen works best, especially for delicate aged paper or paper bags. Feel free to use crayons or colored pencils if you want your scroll to be colorful! Be careful when using paints or heavy markers, especially if you are using a paper bag. These can bleed through more delicate papers. Allow the ink to dry completely before moving on to the next step. After all, you don’t want to smear your writing or drawings!
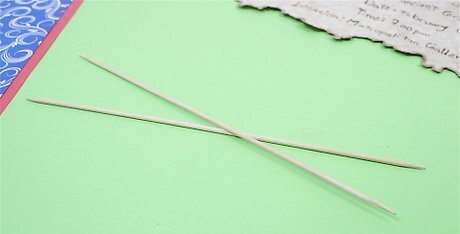
Select dowels, if you like. Dowels are the sticks you sometimes see at the end of scrolls that make them easier to roll and unroll. You can purchase craft sticks from your local craft store to make your dowels. Cut them to the width of your paper. You will need two dowels, one for each end. Alternatively, you can use chopsticks. Decorate the ends of your dowels using ribbon or dowel caps, which can be purchased at your local craft store. Secure your decorations with hot glue.
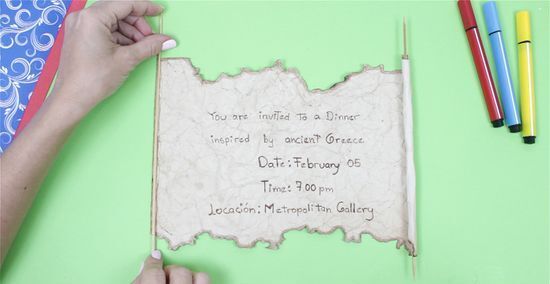
Glue or tape the dowels to the ends of your paper. Place one dowel on the right end of your scroll, another on the left. Make sure the side with the writing is facing up. Wrap the edge of the paper inward around each dowel, so that the dowel is covered. Secure the dowel with hot glue or tape.
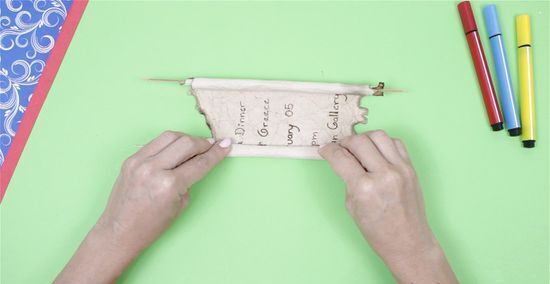
Roll up your scroll. After the glue has dried, roll each side of the scroll around its dowel so that the two sides meet in the middle. If you aren’t using dowels, simply roll up your scroll from one end to the other, hot-dog style, making sure the writing is on the inside.

Secure your scroll with string or ribbon. Select a piece of string, yarn, or ribbon, and tie it around your scroll. This is optional, but it can add a nice touch while keeping your scroll secure.


Comments
0 comment