
Making the Base
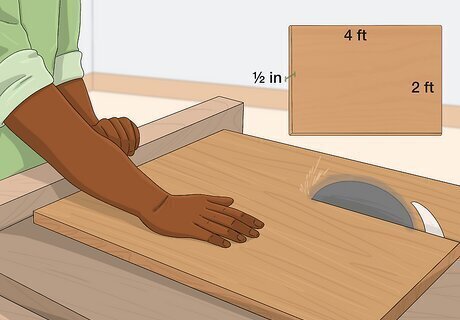
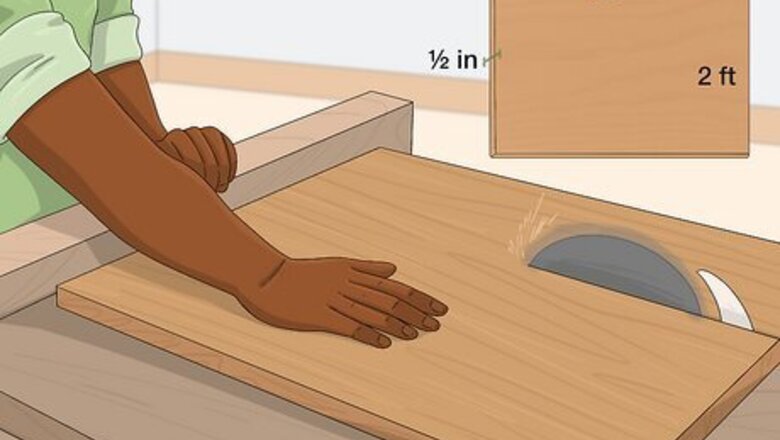
Cut or buy the base wood. Use plywood, particle board, or MDF to create a base for the scratching post. Buy a piece that’s 2 ft by 4 ft by ½ in (.61 m by 1.2 m by 1.27 cm) or cut it to the correct measurements using a table saw. Exercise caution when cutting to ensure no one gets hurt. Try to pick a natural, non-treated wood. Avoid wood treated with chemicals, as these may be harmful to cats.
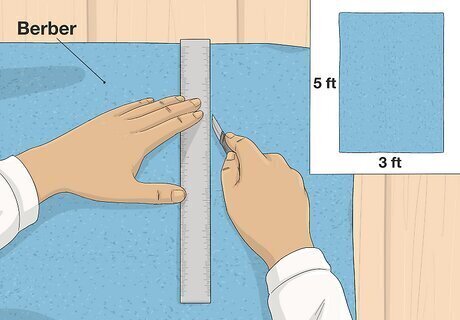
Cut the base carpet to size. Your carpet should be at least 3 ft (.92 m) by 5 ft (1.5 m) to ensure you have enough to wrap around the base and staple it tightly. Use an X-acto knife and a ruler to ensure you have a neat, straight line. Choose a stiff carpet, such as Berber, for a longer-lasting post.
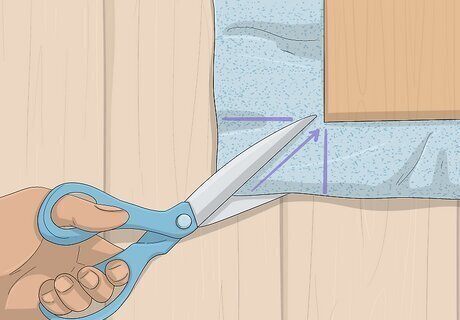
Cut notches for the corners. Flip the carpet upside down and lay the base in the middle of the carpet. Draw a line straight out from each side of the base to the end of the carpet so you have squares extending from the corners. Draw a straight line ¾ in (1.9 cm) from the corner of the base that intersects the squares you made. Cut across the straight line first, then cut along the lines you made extending from the corners.

Cover the base in carpet. Staple the carpet to the bottom of the base on one side, putting staples in every 2 in (5 cm) using a ½ inch (1.3 cm) crown stapler. Pull the carpet tight and staple it on the bottom of the opposite side, putting staples in every 2 in (5 cm). Repeat on the remaining two sides, making sure to staple all the way to edge so your corners are flush.
Making the Post
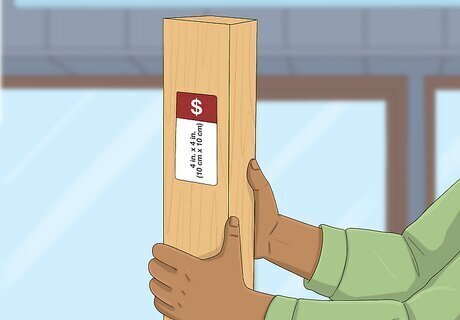
Choose the post. Purchase a 4 in by 4 in (10 cm by 10 cm) piece of wood from the hardware store. Alternatively, nail two 2 in by 4 in (5 cm by 10 cm) pieces of wood together, making sure they line up evenly and no nails are exposed that could injure your cat. Again, go for a non-treated wood for safety reasons.
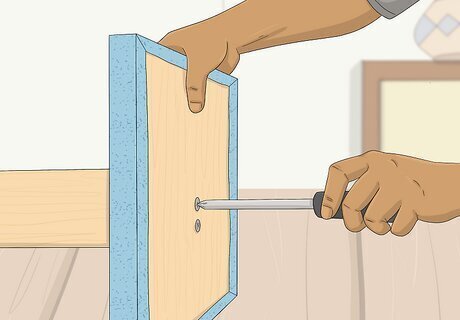
Attach the post to the base. Put the base upside down (carpeted side facing the post) on top of the post. Ensure it is centered and screw the post into the base using 2 in (5 cm) wood screws. Then, flip the base around so it is on the ground, with the post on top. The length of the post is up to you, just make sure it is long enough for your cat to stretch on. If you’re not sure how long to make it, measure your cat from nose to end of tail, then add a few in/cm.

Cover the top of the post. Get a 4 in by 4 in (10 cm by 10 cm) beveled wood square from the hardware store for a neat post topper. Use wood glue to attach the topper to the post. Alternatively, you can cover the top with carpet and staple it down. Put two staples on each side of the post, rather than on the top. Another alternative is to add a perch as the top of the post. Use a 1x8x12 piece of smooth wood and attach with 2" screws as in the picture below.
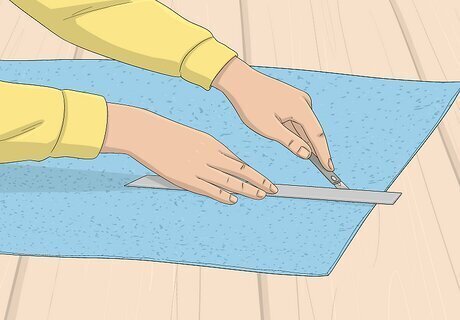
Cut the post carpet to size. It needs to be at least 20 in (51 cm) wide in order to wrap around the post, and the exact height of the post. Use an X-acto knife and a ruler to ensure you have a neat, straight line.
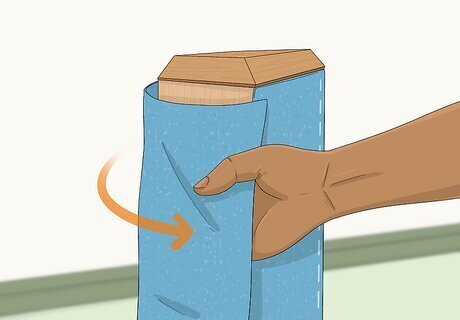
Wrap carpet around the post. Start at a corner and staple the carpet in place every 1 in (2.5 cm) vertically. Wrap the carpet completely around the post and staple it in place every 1 in (2.5 cm) along the vertical seam. Cut off any excess, and ensure you have a smooth seam so your cat’s claws don’t snag on the fabric.
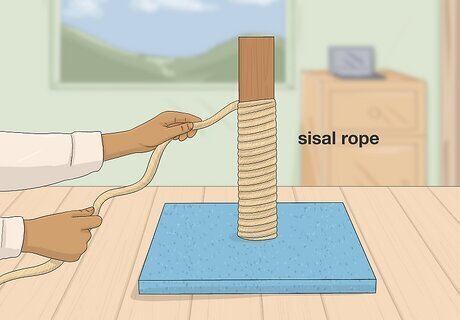
Use rope as an alternative to carpet. Alternatively, you can wrap the post in sisal rope rather than carpet. Cover your post in non-toxic glue to ensure the rope won’t unravel. Wind the rope around the bottom of the post and staple it in place. Continue winding the rope all the way to the top of the post, making sure your rows are neat, straight, and very close together. Add staples if the glue doesn’t seem to be holding the rope well enough.
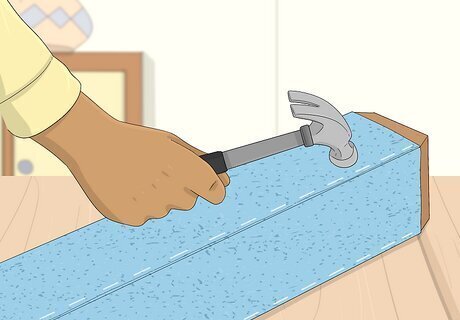
Flatten the hardware. Use a hammer to flatten the staples down. A staple gun does not always create a flush staple, and you want to ensure your cat’s claws don’t get hung up or ripped out due to a staple sticking out of the post. Another way to attach carpet rather than using staples on the outside of the carpet is to use two 2x4s for the post and staple the carpet on the 4" side of one 2x4, about 1" in, stretch the carpet around the 2x4 and then around the second 2x4 as shown in the image below. Use three 3" screws to close the two 2x4s so the staples are inside. Be sure to drive the screws through the carpet so they are not reachable by the cat. This puts all metal or sharp objects out of the reach of the cat.


Comments
0 comment