views
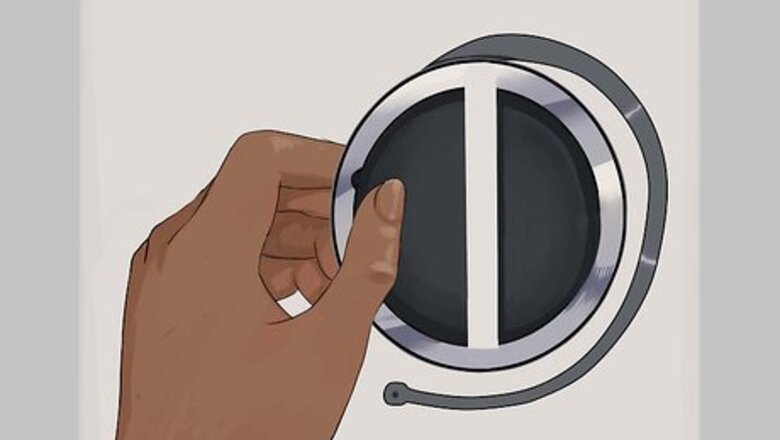
- Unwind the leash of your new gas cap by rotating it around the cap in a clockwise direction.
- Connect the leash by pressing the locking peg into the hole in the door of your fuel tank. Then, rotate the cap clockwise until you hear 3 clicks.
- Test the cap by trying to turn it to the left. A properly installed gas cap shouldn’t budge.
Installing the New Gas Cap
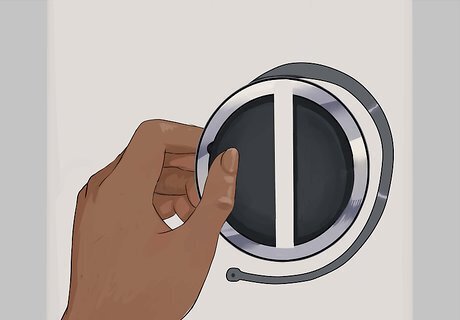
Unwind the leash. Grab your new gas cap and unwind the leash by rotating it around the cap in a clockwise direction. The leash should spin around the gas cap very easily. Use a high-quality gas cap. A good gas cap is safer and more fuel-efficient. Moreover, quality gas caps will have a leash on them that can connect to your car.
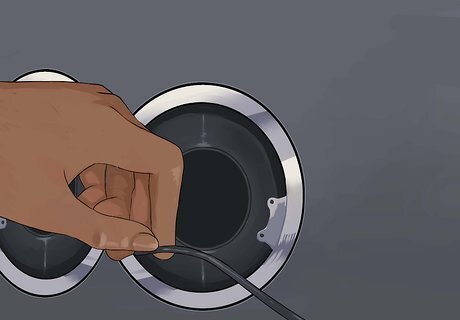
Connect the leash. Press the locking peg at the end of the leash into the hole in the door of your fuel tank. The door protecting your fuel tank should be open. Look near the hinge of this door for a leash hole. The vast majority of cars will have a hole set aside for this purpose. Press the locking peg into the hole from the top of that hole. It should make an audible "snap" as it locks into place. If your car does not have a hole for the leash, you will need to use a gas cap that doesn't have an attached leash.
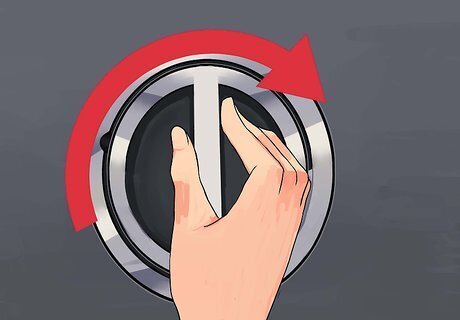
Twist on the gas cap. Insert the gas cap into the opening of the fuel tank, then rotate it clockwise until it feels secure. This new gas cap should twist into place just as the old one did. Continue rotating it until the cap either "clicks" closed or otherwise refuses to move any further. Once the leash and cap are both in place, the process is complete.
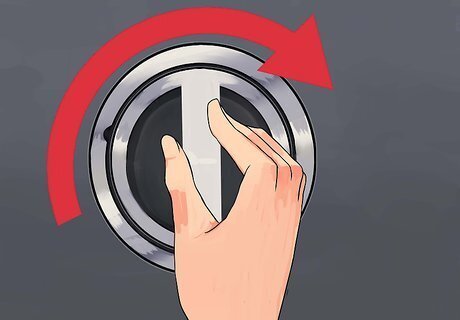
Rotate the cap to the right. Insert the new cap into the opening of the fuel tank. Rotate the cap in a clockwise direction until you hear three audible clicks. The fuel cap will make these clicks as its ratchets click onto the filler neck. This must happen three separate times for the gas cap to be secured. Note that the key should not be inserted into the gas cap as you install it.
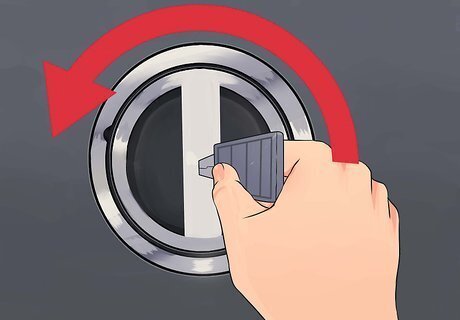
Test the cap. Try to turn the cap to the left. It should not budge. The gas cap should be locked into place after you install it. Only the key should be able to release it. After testing the gas cap, you have finished the installation process.
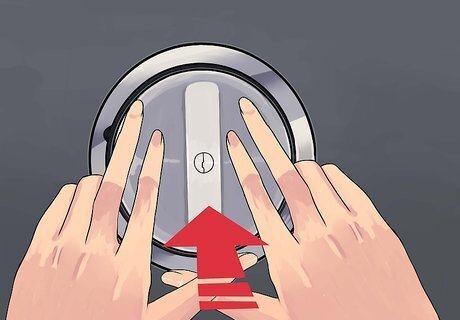
Push the cap in. Insert the push-on locking cap directly into the filler neck of the fuel tank. Continue pushing until you hear an audible click. The key must not be in the fuel cap as you install it. When the fuel cap clicks, the lock bars of the cap have engaged under the lip of the filler neck. These lock bars should hold the cap in place.
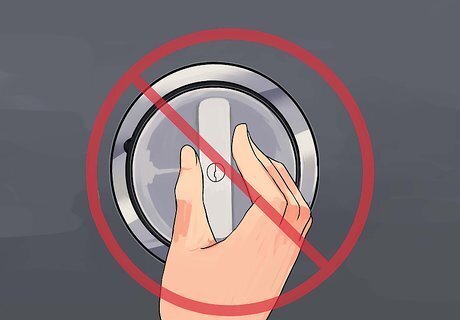
Do not turn the cap. Unlike other fuel cap types, you do not need to turn the cap to lock it in place. Attempting to turn the cap could damage it if you apply too much force. It is a good idea to test the cap after you install it, however. Wiggle it slightly back and forth. It should not move much and should not lift away. At this point, the fuel cap is fully installed and ready to use.
Removing the Old Gas Cap
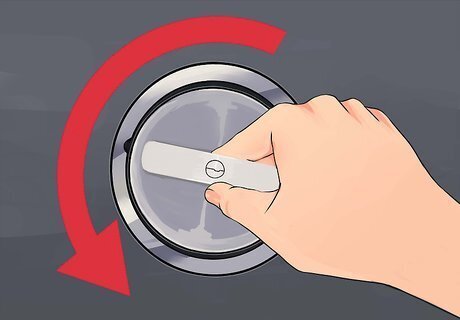
Twist off the gas cap. Rotate the gas cap counter-clockwise until you are able to lift it away from the opening of the fuel tank. Set the old gas cap aside. Keep it until you have installed a new cap. If the new cap does not fit your fuel tank for some reason, you should cover the fuel tank opening with the old cap until a better replacement can be found.
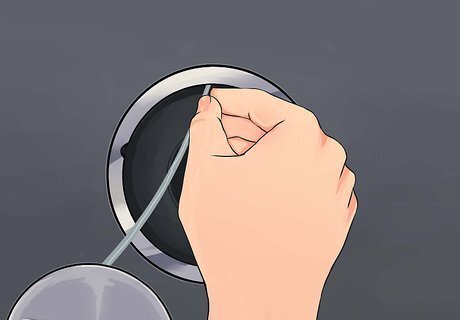
Remove the leash. If the leash is still connected to the gas cap and the fuel door, you will need to remove that, as well. It can remain attached to the fuel cap, but you must locate the locking peg attached to the opposite end of the leash and pop it out of the hole in the fuel door. Press up on the bottom of the locking peg until it unsnaps from its place in the door hinge. After removing the gas cap and the attached leash, you can install a new cap.
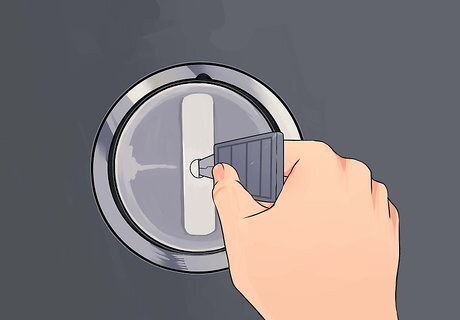
Insert the key. Insert the gas cap key into keyhole on the handle of the cap. You will not be able to remove an old locking gas cap without first using the key to unlock it.
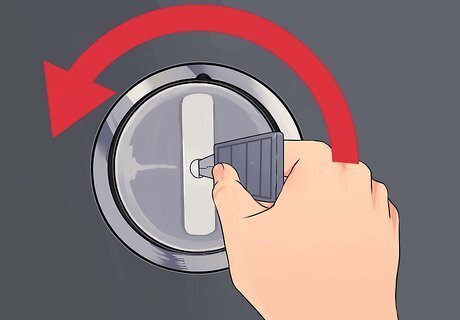
Rotate the key to the left. Turn the key in a counter-clockwise motion to unlock the gas cap. You should only twist the key one-quarter of a turn; do not twist it any further than that. Hold the gas cap still as you turn the key. For quick-on locking caps, you can proceed directly to the next step after unlocking the cap. For pre-vent (pressure release) locking caps, you must allow the pressure to release before continuing. Listen for the sound of hissing. Wait for several seconds until the hissing stops completely before moving onto the next step.
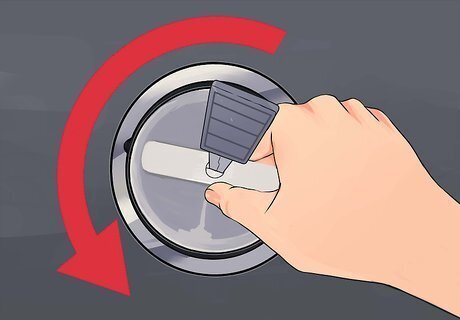
Rotate the cap further to the left. Grab the gas cap handle and continue turning the cap counter-clockwise. Do not use the key to rotate the cap. Continue to twist the cap until it is completely loose. At that point, you should be able to lift the gas cap away and set it aside. It is a good idea to keep this old gas cap until after you are certain that the new gas cap fits.
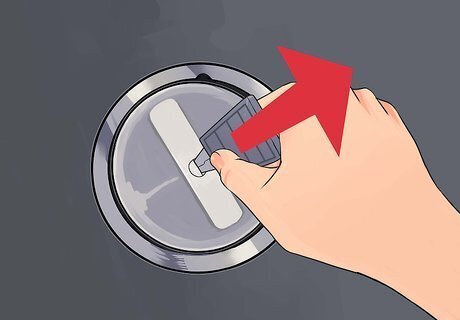
Remove the key. Once the gas cap has been removed, you can remove the key by rotating it one-quarter turn to the right and pulling it straight out. After you complete this step, you should be ready to install a new gas cap.
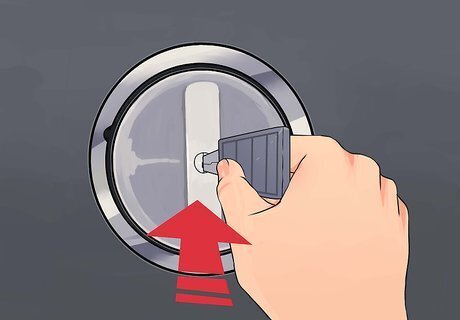
Insert the key. Fit the gas cap key into the keyhole located on the outside of the cap. You'll need to use the key to unlock the old cap before you can remove it.
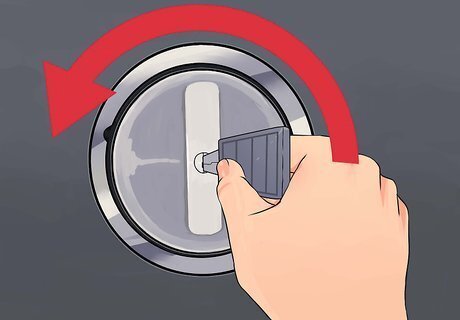
Rotate the key to the left. Twist the key one-quarter turn in a counter-clockwise direction. This action unlocks the gas cap. As you rotate the key, the lock bars inside of the cap should retract, freeing the cap from its usual place. Hold the cap still with one hand as you unlock it.
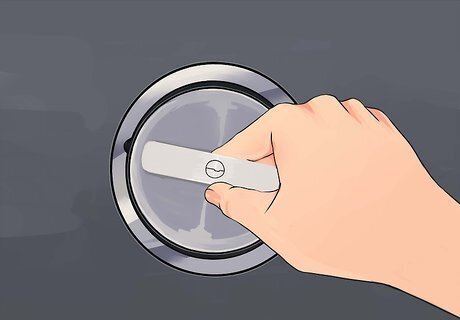
Lift the cap away. The cap should be completely free at this point. Remove it by simply lifting it away from the neck of opening of the fuel tank. Keep the old cap until you are certain that the replacement cap fits and can be installed properly. After lifting the old cap away, you can install a new gas cap.






Comments
0 comment