
How to Kill Mimes in Clair Obscur: Expedition 33
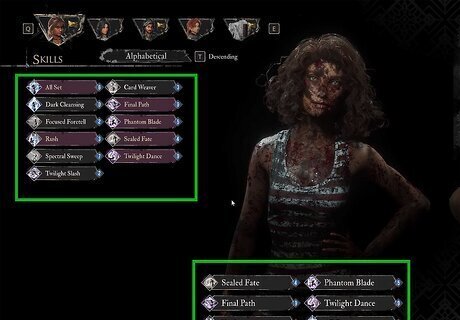
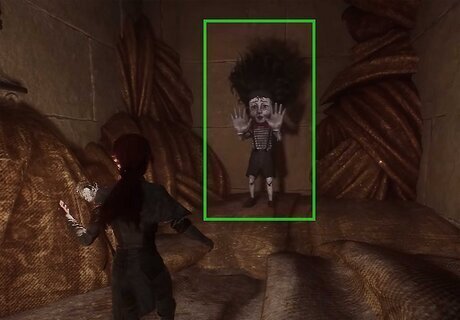
Break the invisible barrier around a Mime using your Skills. Unfortunately, Mimes don’t have any specific weaknesses to exploit. Fortunately, killing them is pretty straightforward once you know what to do! Firstly, you’ll need to inflict Break damage to bring down the barrier around each Mime. Once the barrier is down, you can damage the Mime more easily, which is why Break attacks are so important. Use the following Skills (rather than regular attacks) to break a barrier: Gustave: Overcharge, Shatter Lune: Crustal Crush, Rockslide, Terraquake Maelle: Fleuret Fury Sciel: Final Path, Phantom Blade Verso: Perfect Break, Phantom Stars, Radiant Slash Monoco: Bruler Bash, Break Point (Gradient), Rocher Hammering
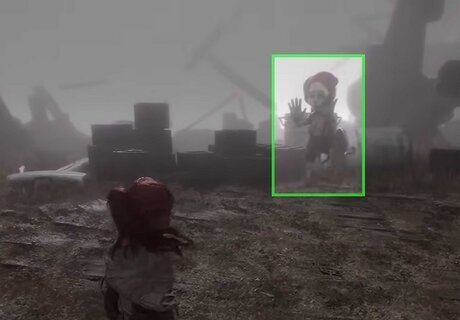
Use a strong finisher on Mimes once they’re stunned. When a Mime’s barrier is broken, they become stunned (and more vulnerable to damage) until their next turn—and that’s when you can strike! Save your most powerful finishers for this moment of opportunity, and let loose on the Mime while it’s vulnerable to bring it down more quickly. You can also use gradient attacks to deal out damage and get in a few extra strikes against the Mime.
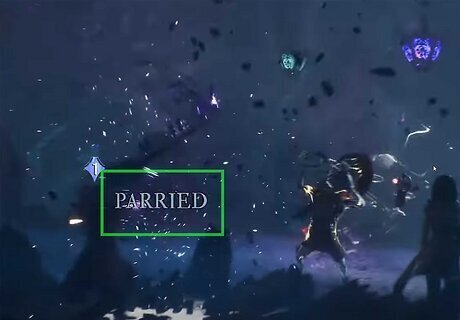
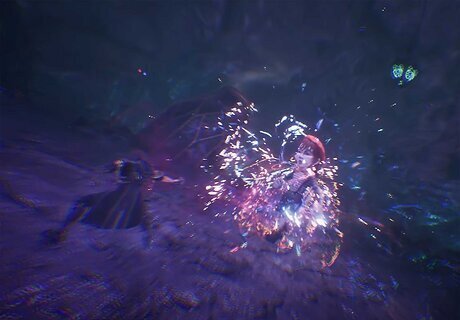
Dodge or parry the Mime’s combo attacks. There are two specific attacks you can dodge or parry: one is a three-hit attack with a right-hand slap, a left-hand slap, and a headbutt. The other is a slower combo attack in which the Mime delivers four hits with an invisible hammer. Both attacks can deal a lot of damage, so practice dodging and parrying as much as you can. As tough as Mimes can be in a fight, they all have the same moves and abilities—so once you figure out how to fight one Mime, you’ve basically learned how to fight them all.
Prepare thoroughly before taking on the Sunless Cliffs Mime. As the last Mime in the pack, the Sunless Cliffs Mime is also the toughest one to beat—mainly because you can only fight it with one character. So, gear up and prepare as much as you can before fighting this Mime. You’ll need the best gear in your arsenal, for sure. With that, you should have all the info you need to best every Mime in Clair Obscur: Expedition 33. Now, let’s look at where you can find them all!
All Mime Locations in Clair Obscur: Expedition 33
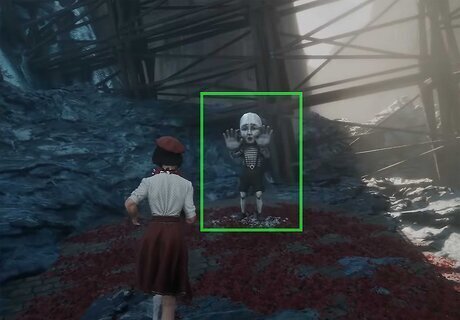
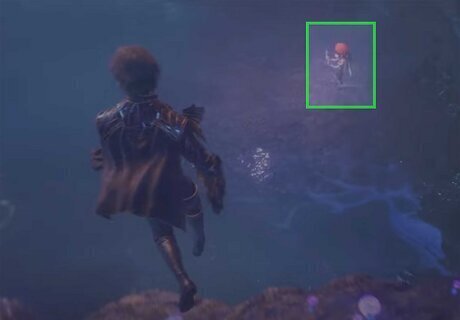
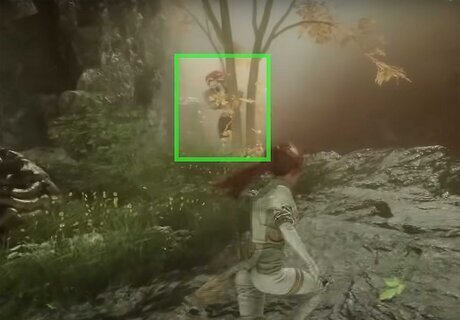
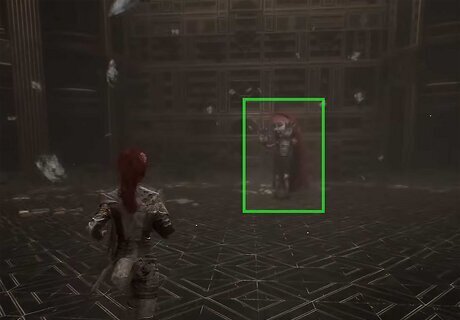
Lumiere MimeThe first Mime can only be encountered during the game’s prologue, so make sure you take it on before moving forward with your playthrough! You’ll find this Mime near a stage where some children are performing; just take the waterfront steps down toward the harbor until you see the stage, then go right. The Mime is a short way away, collapsed on the ground. Reward for killing the Mime: Lumiere music record
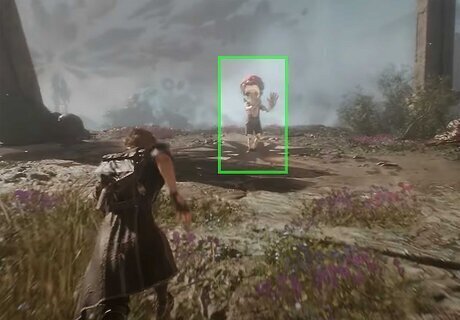
Spring Meadows MimeThe Spring Meadows Mime is located past the Grand Meadow fast travel point. When you reach the Grand Meadow expedition flag, don’t go right—take the left path instead. You’ll have to defeat a Lancelier along the way. Then, use the grapple points to keep traveling along the cliffside until you get to a circular platform. You’ll find the Mime standing between four broken pillars! Reward for killing the Mime: Baguette Outfit and Baguette Haircut (Gustave)
Flying Waters MimeThis Mime is waiting in the Flying Waters region, past the Coral Cave fast travel point (where you’ll see a huge Nevron). Turn right when you reach the Nevron, and you’ll find a path through the reeds that runs left of the climbing ledges. Follow the path to another set of climbing ledges; at the top, you’ll find the Flying Waters Mime. Reward for killing the Mime: Short Haircut (Maelle)

Ancient Sanctuary MimeTo find the Ancient Sanctuary Mime, start from the Sanctuary Maze expedition flag (which is the second rest point you’ll encounter in the area). Head right, passing under a fallen tree branch and through a gap in the rock as you go. Keep following the path until you come to a clearing with a rundown wooden hut in it; you’ll find the Mime behind the hut, by a windmill. Reward for killing the Mime: Baguette Outfit and Baguette Haircut (Lune)
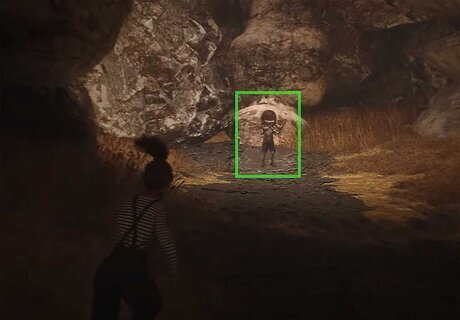
Esquie’s Nest MimeYou’ll naturally travel to Esquie’s Nest as you progress the main story. Once there, head down the central tunnel beyond the Entrance expedition flag until you come to an open area of the cave. Just look down and to the right—you’ll see the Mime there. When you’re ready to fight, jump down to the lower section of the cave where the Mime is! Reward for killing the Mime: Baguette Outfit and Baguette Haircut (Sciel)
Yellow Harvest MimeTo find this Mime, you’ll have to visit the Yellow Harvest area (which is totally optional). Yellow Harvest is located east of Esquie’s nest; start by the Harvester’s Hollow expedition flag and take the path to your right. Keep going until you find the dead Nevron in a field (with another Nevron walking around it), and go right again; you’ll find a cave opening with a Mime inside. Reward for killing the Mime: Braid Haircut (Maelle)
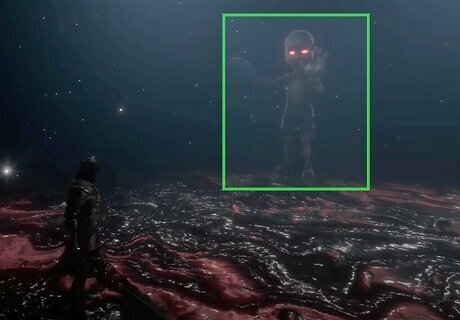
Frozen Hearts MimeThis Mime is waiting beyond the Iced Heart expedition flag in the optional Frozen Hearts region (which is accessible through the back of Monoco’s Station). From the Iced Heart flag, use the grapple points to navigate up the bridge of frozen train cars until you get to the Gestral merchant. Then, go right—the Mime will be sitting near some pillars. Reward for killing the Mime: Short Haircut (Lune)

Old Lumiere MimeThe easiest way to reach this Mime is to complete the Old Lumiere area first, then go back and enter it from the north. Go to the Right Street fast travel point, then go forward along the path until you pass the Fading Man and reach a series of climbable ledges. Climb them, and you’ll find the Mime up top! Reward for killing the Mime: Braid Haircut (Sciel)
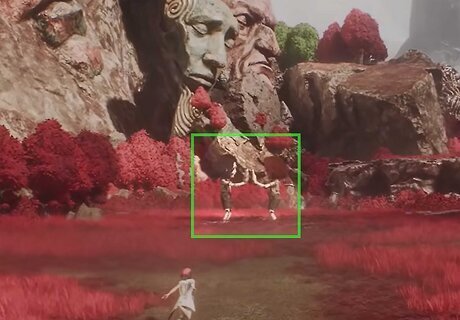
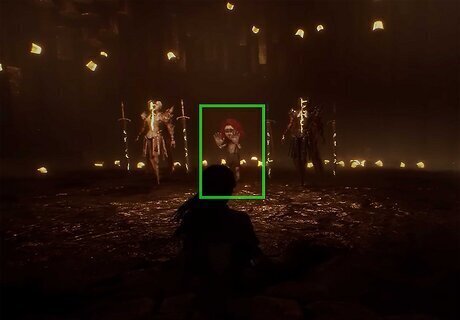
The Continent MimesThat’s right: there’s a pair of Mimes to battle after you leave Old Lumiere (in act two). You’ll find this creepy pair northwest of Old Lumiere, at the center of a small island with red trees and grass on it. This island is also southwest of Visages (if you need help navigating). Unlocking Esquie’s Breaking Corals ability is a prerequisite to reaching the two Mimes. Reward for killing the Mime: Voluminous Haircut (Sciel and Lune)
Visages MimeYou’ll travel to the Visages area in act two, while hunting one of the Axons. Reach the Joy Vale expedition flag, then go left. After passing some leafy bodies tangled up in branches, turn right to find a path between the rocks there. When you reach the cliff edge, you’ll find the Mime hiding behind a tree to the left. Reward for killing the Mime: Baguette Outfit and Baguette Haircut (Verso)
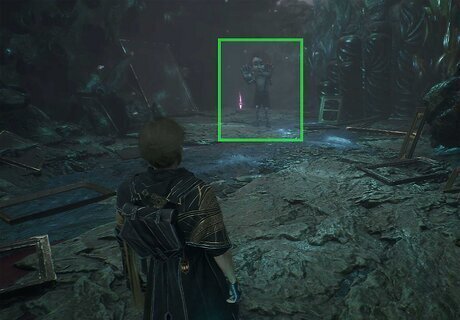
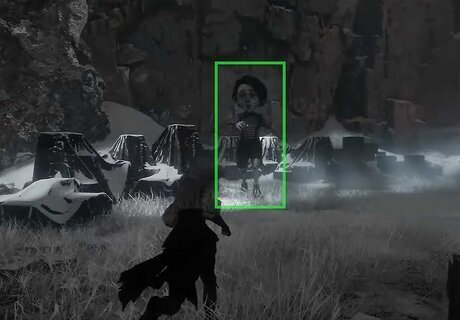
Sirene MimeSirene is another location you’ll visit while hunting one of the Axons in act two. You can start looking for the Mime when you reach the Sewing Atelier expedition flag (which is placed right before the Tisseur boss fight). Backtrack a little, going down the path opposite the Tisseur, and go up the stairs toward a statue. Turn right, and you’ll find the Mime hiding in a dark room. Reward for killing the Mime: Sirene Haircut (Lune)
The Monolith Mime This Mime is located beyond the Tainted Cliffs expedition flag point. Keep going up the path past the flag, which leads up some stairs and along a cliff. You’ll encounter a couple of patrolling enemies along the way! Stick to the left wall until you come to a rope you can climb down, and descend into an arena structure with the Mime (and two Obscur Nevrons) inside. Reward for killing the Mime: Voluminous Haircut (Maelle)
The Reacher MimeStart from the Ladder Area expedition flag to find this Mime. From there, go across the bridge and look for a rope to the left that you can climb down. The Mime will be waiting at the bottom of the rope! Note that you’ll need to complete the Monolith and unlock Esquie’s Flight ability to access this area. Reward for killing the Mime: Baguette Outfit and Baguette Haircut (Maelle)
Flying Manor MimeGet to the Central Plaza expedition flag and keep going forward to the elevator. Take the elevator to the upper level and get across the bridge; there, you’ll find a rope to climb down on the left. At the bottom, go right—you’ll come to another rope before long, this one going up. Climb the rope, and you’ll find the Mime at the top. This is another area you’ll need to reach once Esquie’s Flight ability is unlocked! Reward for killing the Mime: Clea Haircut (Maelle)
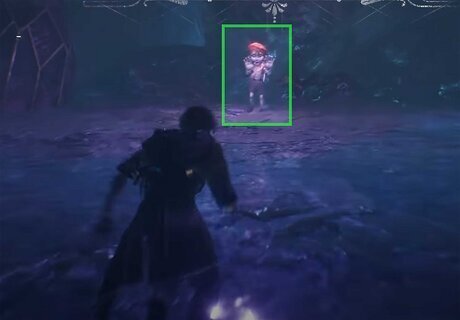
Sunless Cliffs MimeIt’s time for the final Mime! Reach the Chroma Portal fast travel point and simply go through the portal ahead; the Mime will be waiting on the other side. Once again, you’ll need Esquie’s Flight ability to get here! And, unlike other Mimes, you can revisit this one with different characters to unlock cosmetics for all of them. Reward for killing the Mime: The One (Picto), Bald Haircut (all characters)
Should you fight the Mimes in Clair Obscur: Expedition 33?
It’s optional, but fighting Mimes will help you learn the Break mechanic. Since you’ll need the Break mechanic for other (mandatory) fights in the game, it’s a good idea to get comfortable with it as soon as possible—ideally by fighting Mimes! Plus, you’ll unlock various hairstyles and cosmetics for your characters, so fighting Mimes is a win-win scenario, all things considered. Luckily, only one of the Mimes in Expedition 33 is missable—the one in the prologue, since you can’t go back there. Every other Mime can be found (and fought) when you’re ready.


Comments
0 comment