
Using Adhesives
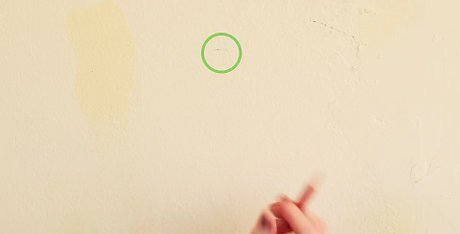
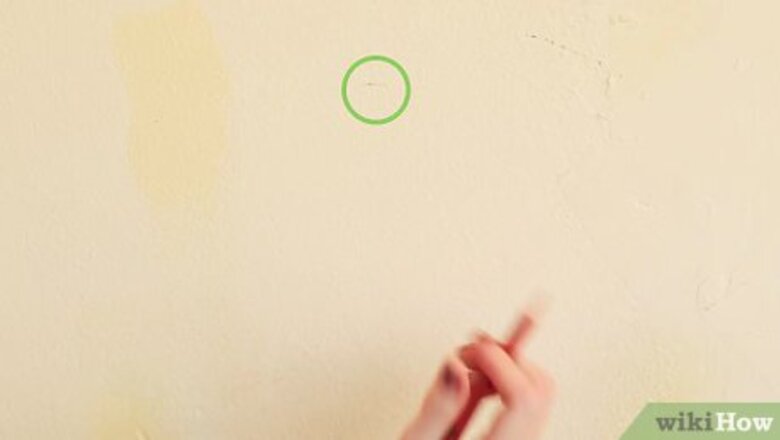
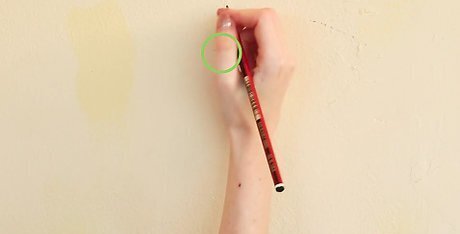
Mark the spot where you want to hang the letter. Hold your letter up against the wall and adjust it until you think it looks good. Then, using a pencil or the corner of a sticky note, mark the wall at the top center edge of the letter. If you’re putting up multiple letters, make marks for each before hanging anything up to avoid issues with spacing. Lay the letters on the floor to check the spacing before you make marks on the walls. Use a laser or bubble level at the base of where the letters will go to make sure your letters are even.
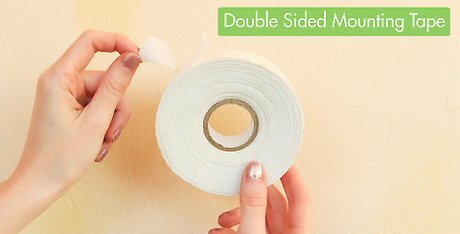
Choose an adhesive based on the size and weight of the letters. For heavier letters, grab double sided mounting tape, large Velcro strips, or another thick, durable adhesive. For medium-weight letters, try Command strips or a similar resealable fastener. For small letters, you may be able to use sticky tack or a generic brand of tape. Make sure to choose an adhesive that won't damage wall paint.
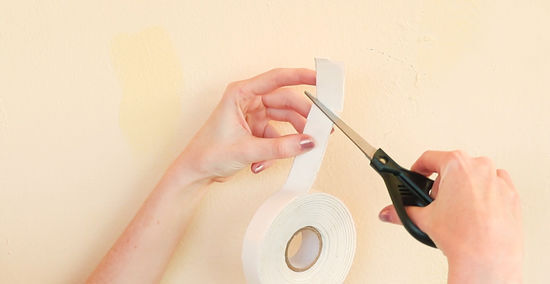
Prepare the adhesives. If you’re using tape, rip off multiple pieces and roll them into small, hollow tubes with the sticky sides facing out. If you’re using fasteners or similar items, remove the small strips of paper covering the sticky sides of the adhesives. For tack, pull off multiple pieces and roll them into small balls.
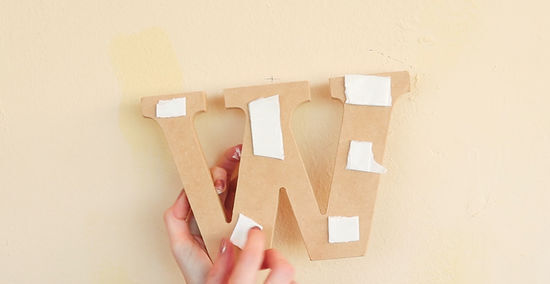
Press the adhesives to the back of your letter. Place the adhesives at multiple points on the back of the letter, spacing them out evenly so that each area has some support. If you’re using tape, tack, or other small adhesives, focus on joints and corners since they will help keep the letter flat against the wall. If you’re using large fasteners or Velcro strips, place them on long stretches of wood so they can support the bulkiest part of the letter. For Velcro and other adhesives that come in 2 parts, press both parts together before sticking your letter to the wall.
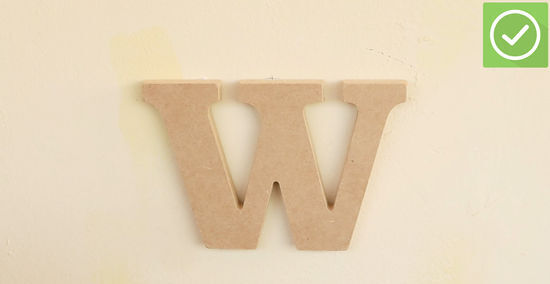
Stick your letter to the wall. Hold your letter up so that the top center edge touches the mark you made earlier. Then, press it to the wall. Make sure to push down on every area containing an adhesive to ensure the letter is fully attached. If you’re using adhesives like Command strips, hold them down for the amount of time listed on the packaging.
Mounting a Wooden Letter with Nails
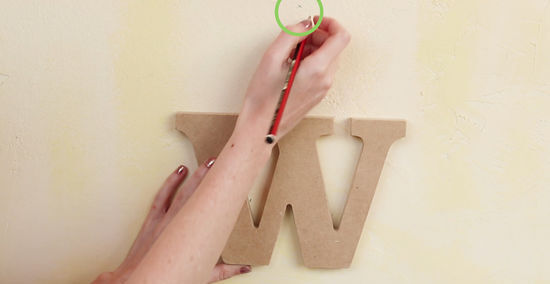
Mark the spot on your wall where you want to hang the letter. Press your letter to the wall and move it around until you’re happy with the position. Then, mark the top center edge of the letter with a pencil or the corner of a sticky note. To avoid spatial conflicts, make marks for every letter you intend to put up before hanging anything. If you're hanging several letters, place them on the floor so you can visualize the space you want between them.
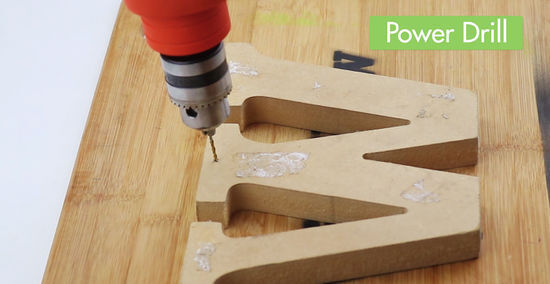
Drill small holes in the back of your letter if necessary. Grab a power drill and, with the speed on low, create small holes in the back of your letter. Use a drill head that can create holes larger than the nail you plan on hanging your letter from. The thicker the letter, the deeper the holes should be. If your letter came with pre-drilled holes, skip this step. If your letter is symmetrical, drill 1 or more holes near the top center of the object. If your letter is not symmetrical, in addition to a hole near the top center of the object, drill holes in any areas where the weight is strangely distributed, such as the bottom hook on a ‘J.’
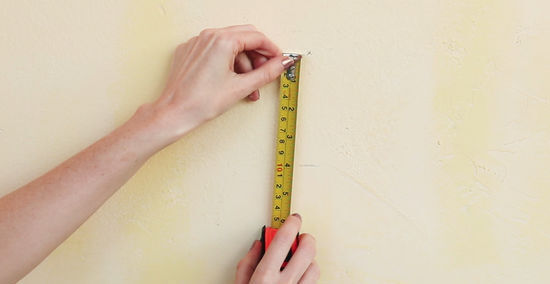
Make marks on your wall where the nails will go. Hold your letter up to the wall so that the top center edge touches the mark you made earlier. Then, create small pencil marks on the wall that correspond with the holes in the back of your letter. To make sure the marks are accurate, use a tape measure to find the distance between them and compare them to the distance between the holes in your letter. Also, use a laser level or ask someone to hold a bubble level where you want the base of the letters to go. This will help you make sure the letters are straight.
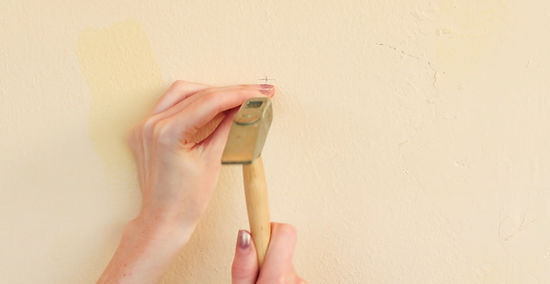
Hammer nails into the marked areas. Grab a nail with a head that is slightly smaller than the holes in the back of your letter. Hold it up against one of your marks and, with a hammer, gently pound it into the wall. Leave enough of the nail exposed that you can easily hang your letter on it. Repeat this for each mark. For heavier letters, try using wall anchors instead of nails.
Hang your letter on the nails. Place the holes in the back of your letter over the corresponding nails. Then, remove your hands from the letter to make sure the nails can fully support it. If the nails are positioned incorrectly, move them to a new spot. If they cannot hold the letter, try replacing them with a sturdier object like a wall anchor.
Hanging a Wooden Letter Using Ribbon
Make marks on your wall where you want your letter and ribbon to sit. Press your letter onto the wall at the spot you want to hang it from. Adjust the letter until you’re happy with the placement, then mark the top center edge of it with a sticky note or pencil. Using the same method, mark the position directly above your letter where you want the top of your ribbon to sit.
Find the distance between the 2 marks. Using a tape measure, find the distance between the ribbon mark and the letter mark. The tape measure should go from just below the letter mark to just above the ribbon mark.
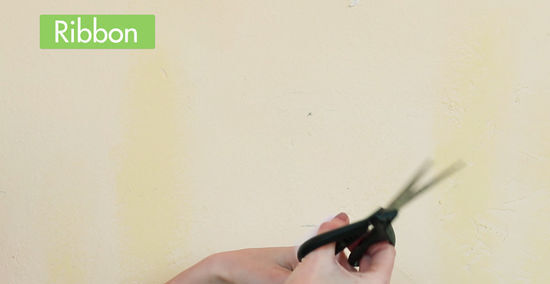
Cut out a piece of ribbon just over twice as long as your measurement. With your tape measure as a guide, stretch out a piece of ribbon that is twice as long as the distance between the 2 marks. Before cutting, pull out an extra 1 to 2 inches (2.5 to 5.1 cm) to account for the fact that you’ll be attaching the ribbon to the back of the letter, not the top edge. Then, cut the ribbon off the spool using scissors.
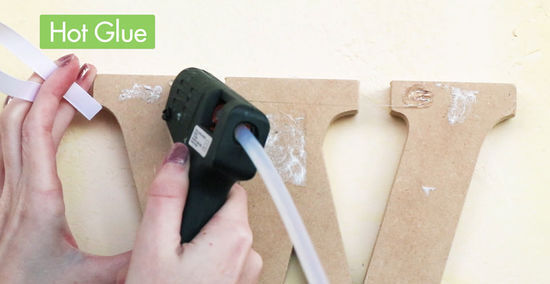
Fix the ribbon to the back of your letter using hot glue. With a glue gun, place 2 patches of hot glue on the back of your letter. Make sure the patches are spaced evenly apart. Then, press the ends of your ribbon onto the glue, creating a loop. Let the glue dry for 1 to 2 minutes.
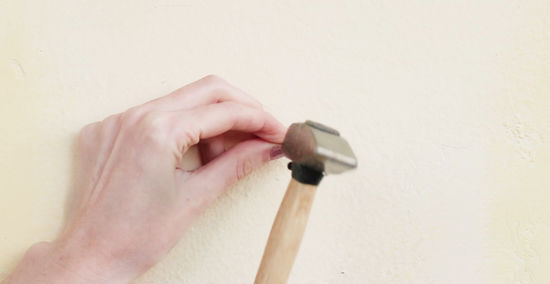
Hammer a nail into the ribbon mark. Grab a nail strong enough to hold your letter; for most letters, a 4D or 6D nail will be more than enough. Then, place it directly over the ribbon mark and gently hammer it into the wall. Leave a portion of the nail exposed so you can hang your ribbon from it.
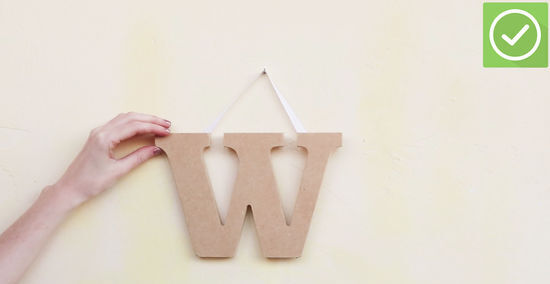
Hang your ribbon from the nail. Place the center of your ribbon loop over the nail. Let it sit for a few minutes to make sure both the hot glue and nail are sturdy enough to hold your letter. If the letter doesn’t hang where you want it to, try adjusting the ribbon or moving the nail. If the nail can’t support your letter, try replacing it with a strong screw or wall anchor.


Comments
0 comment