views
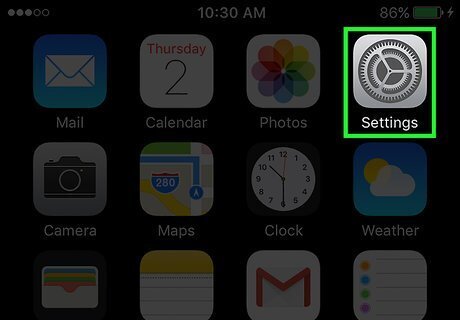
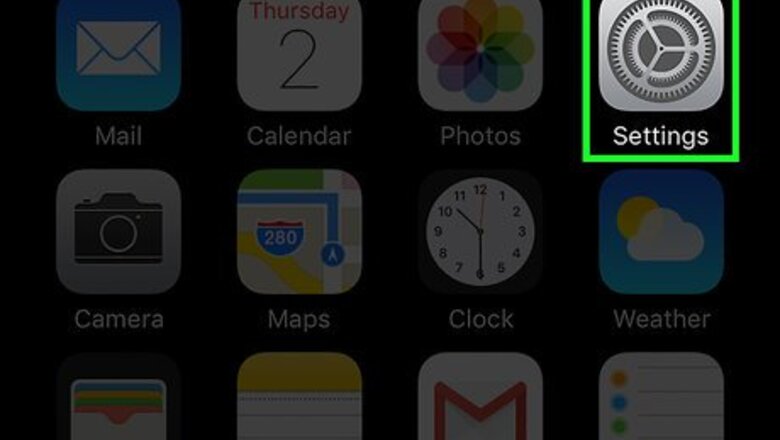
Open your iPhone's Settings. It's a gray app icon that contains an image of sprockets; it is usually found on one of your home screens. If you can't find it on your home screen, it may be in a Utilities folder.
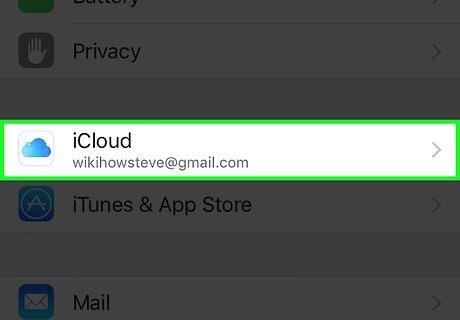
Scroll down and tap iCloud. It’s at the top of the fourth section of the settings menu (below "Privacy"). If you have not already signed into iCloud from your iPhone, enter your Apple ID and password.
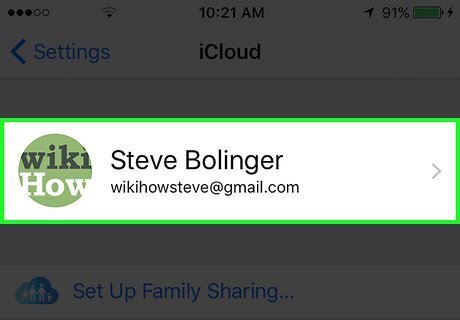
Tap your Apple ID. It's the first section at the top of the menu.
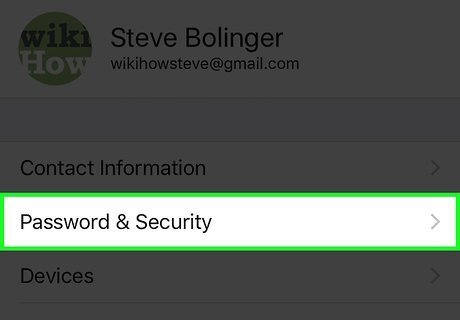
Tap Password & Security. It's the second selection in the menu.
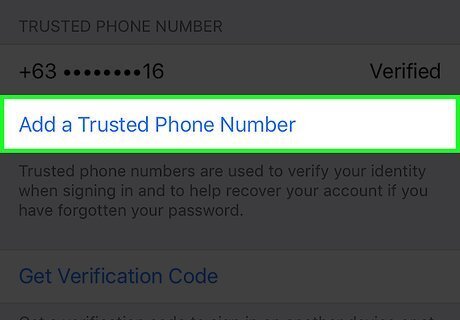
Tap Add a Trusted Phone Number. It's in the third section of the menu. If this option does not appear, you will need to turn on Two Factor Authentication in the second section of the menu. Follow the onscreen prompts to complete the process.
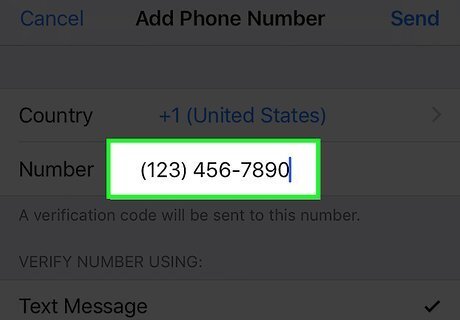
Enter a phone number. Type in the verification phone number you'd like to change to.
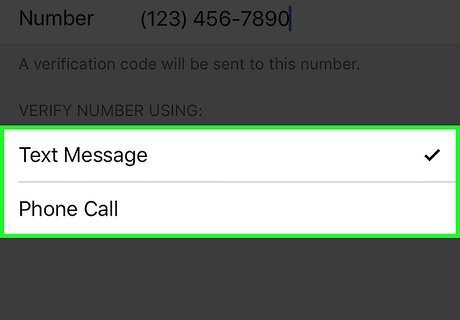
Select a verification method. Tap either Text Message or Phone Call to select how you want to receive the code that verifies the new phone number.
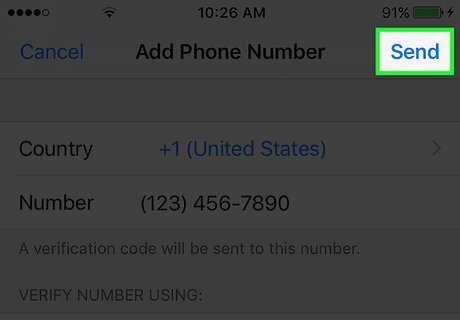
Tap Send. It's in the upper-right corner of the dialog box. A dialog box where you'll enter a six-digit verification code will open on your iPhone. The six-digit code will be sent to the supplied phone number by either text or phone call.
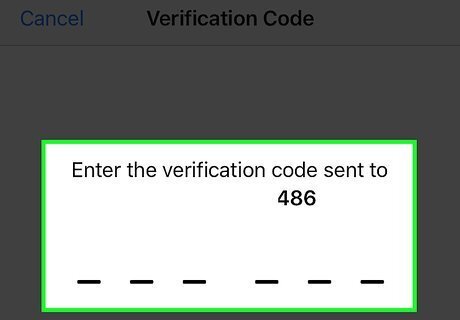
Enter the verification code you received. The new phone number will appear in the list of trusted phone numbers.
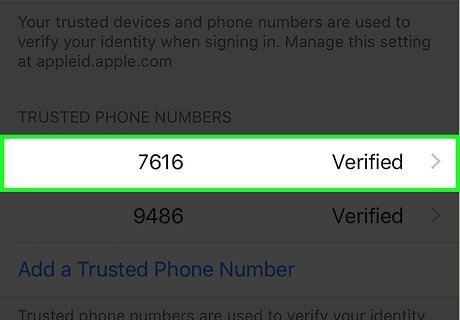
Tap the old phone number. This is the phone number that you want to change from.
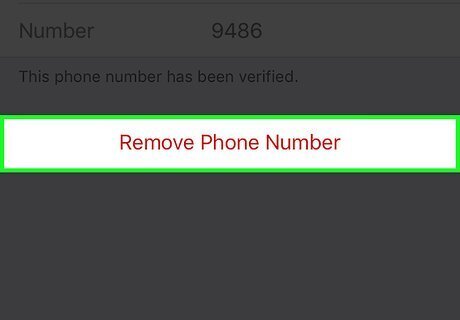
Tap Remove Phone Number.
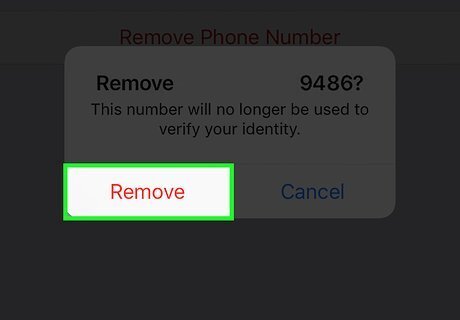
Tap Remove. You've now changed the phone number that will be used to verify your iCloud identity. Future security notices and verification codes will be sent to the new number you entered.


Comments
0 comment