views
Cleaning and Cutting the Fruit
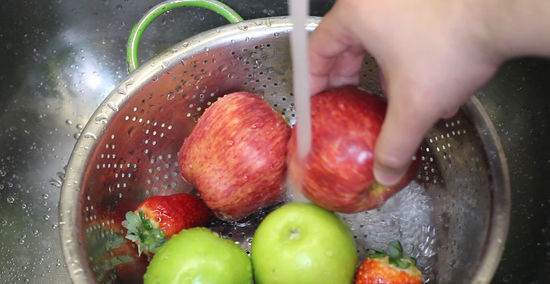
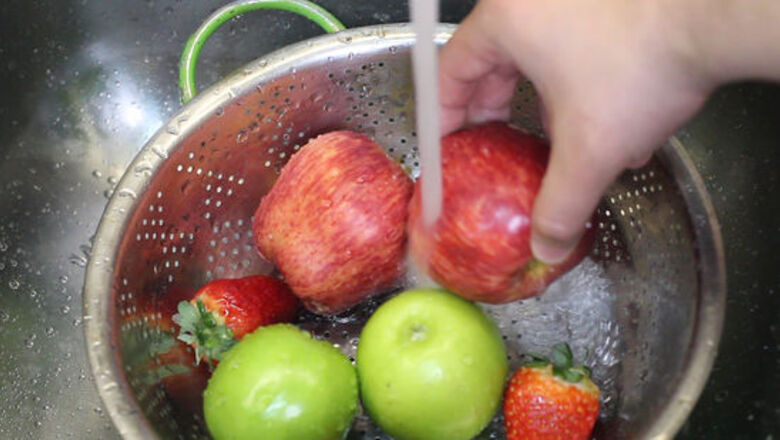
Wash and scrub the fruit with cold water to remove dirt. This will ensure that you don’t consume any pesticides that may be on the surface of the fruit. Be sure to scrub the fruit with your fingers or use a bristle brush. Then, pat your fruit dry with a paper towel. Be gentle when you’re washing the fruit, especially if it’s ripe. You can easily bruise ripe fruit, like peaches. For fruits like bananas, where you won’t be eating the peel, you don’t need to wash them.
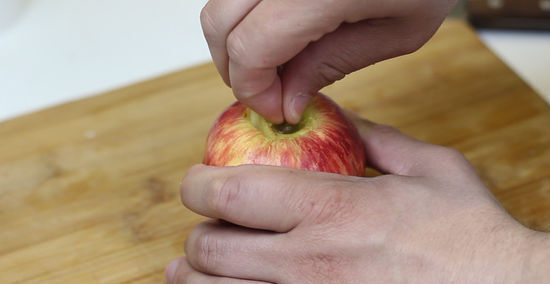
Remove the peel and seeds of the fruit if necessary. Some fruits, like peaches and nectarines, have large pits that you should remove before freezing. As a general rule, always remove the core, the stem, and as many seeds as possible from the fruit before you freeze it. For apples and pears, be sure to remove the core before cutting the fruit. You can choose to leave the peel on, or you can remove it. For stone fruits, like nectarines, peaches, and plums, be sure to remove the pit. You can leave the peel on or remove it. Remember to remove the stems and pits of cherries. If you’re freezing strawberries, hull them before you begin cutting them.
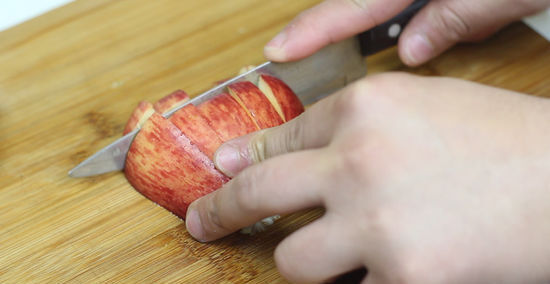
Chop the fruit roughly if you want to use it in a smoothie. Since you’re blending the fruit, it doesn’t have to look pretty. Use a sharp knife to cut the fruit into manageable chunks that will freeze quickly, and check each chunk for seeds before you freeze them. If you’re freezing berries for a smoothie, you don’t have to cut them at all. Since they’re so small, they’ll generally freeze quickly even if they’re whole.
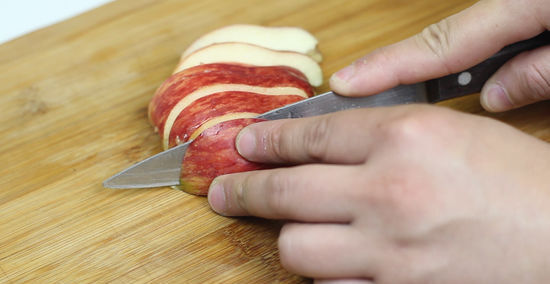
Cut the fruit into slices or wedges if you plan to use it in a pie. If you’re freezing the fruit to use for baking or cooking, you might want it to look pretty. Slice the fruit into equal-sized wedges or pieces to ensure that they look presentable and cook evenly in the oven. If you aren’t concerned about how the fruit in your pie looks, you should still try to keep the pieces the same size. This will ensure that all parts of the pie are baked evenly.
Freezing the Fruit
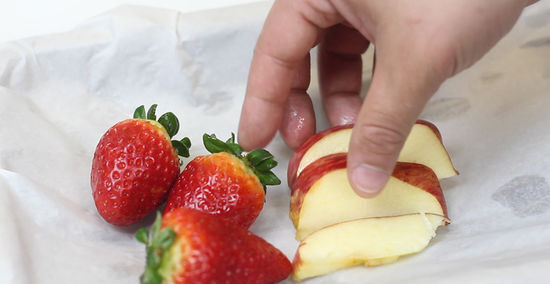
Place the fruit in a single layer on a baking sheet. Lay a piece of parchment paper on the baking sheet and arrange the fruit with about ⁄4–⁄2 in (0.64–1.27 cm) in between each piece of fruit. If they overlap while they freeze, your pieces might fuse together. If you don’t have parchment paper, you can use wax paper or another non-stick lining to keep the fruit from sticking to the baking sheet. Make sure the baking sheet will fit in your freezer before you put your fruit onto it!
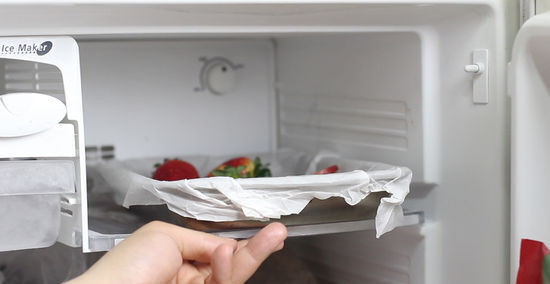
Place the fruit on a flat surface in the freezer. To prevent the fruit from shifting in the refrigerator, place it directly onto a shelf. If the sheet is crooked, the fruit can slide into each other and fuse together while freezing. It’s best to clear off a shelf in your freezer specifically for the fruit. This will also keep other items in the freezer from falling on the fruit as it freezes, potentially contaminating it.
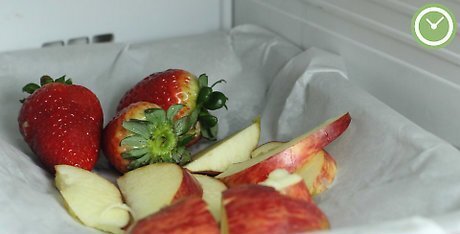
Leave the fruit in the freezer until the fruit pieces are frozen solid. Depending on what kind of fruit you’re freezing, this can take anywhere from 3 to 12 hours. Try not to leave the fruit uncovered in the freezer for over 24 hours, as the pieces can start to get frost burn. It’s safe to check on the fruit every 3 or so hours to make sure it’s freezing properly and that none of the pieces are stuck together. Don’t remove the fruit from the freezer until you’re ready to transfer it to containers.
Storing Frozen Fruit
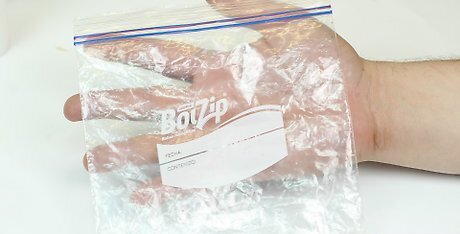
Gather a few resealable, freezer-safe containers or bags. Look for resealable plastic containers with airtight lids to keep out moisture. Make sure the plastic is safe for use in the freezer, as some plastics can get brittle and break at cold temperatures. If you don’t have a container available, you can use resealable freezer bags to hold the fruit. It’s also a good idea to label the container or bag with the type of fruit and the date that you froze it.
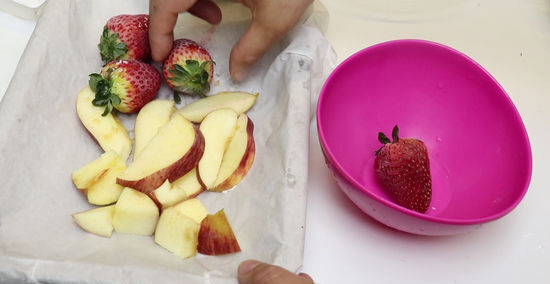
Transfer the fruit into the freezer-safe container. Once your fruit has frozen completely, you can take it off the baking sheet and move it to the prepared containers. Use a spatula or knife to separate any sticky pieces from the parchment paper, and try to store only 1 type of fruit in each container. As you’re transferring the fruit, avoid touching it with your finger because the pieces can thaw quickly. If you want to use your hands, put on a pair of plastic gloves to keep the heat from your hands from defrosting the fruit! If you’re using freezer bags, press out as much air as possible before resealing the bag.
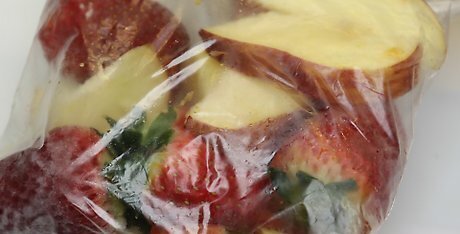
Use a vacuum sealer to keep frozen fruit very fresh. Sometimes, frozen fruit can lose its taste when it's in the freezer for long periods of time. To prevent this, pack the fruit in the vacuum-seal bags, and place the open end into the vacuum sealer. Turn it on and wait for all of the air to be sucked out of the bag. Then, you can remove the bag from the sealer. Depending on what kind of sealer you use, you may have to cut the bags open to use the fruit.
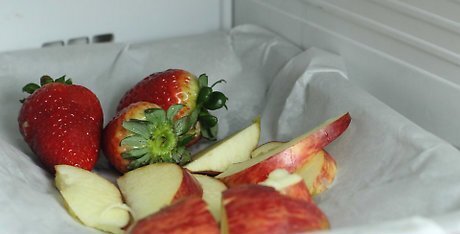
Place the fruit back in the freezer for up to 3 months. Frozen fruit can last a very long time in the freezer before it starts to taste less fresh. When you’re ready to use your fruit, you can defrost the fruit, or use the pieces while they’re still frozen. If you’re not sure how to use your frozen fruit, you can bake an apple pie, make blueberry muffins, make a refreshing fruit smoothie or even create a beautiful yogurt parfait.


Comments
0 comment