
views
Preparing Your Attic

Call professionals to determine if your ceiling can carry the load. You must make sure that your ceiling trusses will be able to handle the load of the new floor and the weight from storage or people walking around. Call contractors in your area and get multiple quotes for adding a floor. This will give you an idea of whether you’ll need to make structural changes before you can add the floor. Adding a new floor to weak attic trusses may interfere with the structural integrity of your house and can cause your ceiling to cave in. If the ceiling joists won't be sufficient to support a floor, you may need to add additional joists. You can either add larger floor joists between the existing ones, or you can double the joists that are already there to strengthen them—a process called sistering.
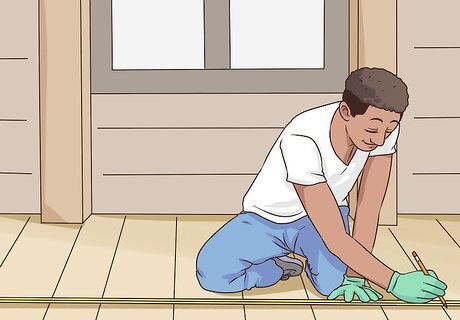
Measure the space where you want to lay the floor. Use a tape measure to measure the length and width of where you want to place the flooring. Measure perpendicularly across the existing floor trusses. Write down the measurements after you take them. The subfloor that you will install must run perpendicularly across the existing attic trusses to distribute the weight across multiple trusses. When measuring in your attic, make sure you are only putting your body weight on the trusses. If you step on a piece of drywall you may go through it.
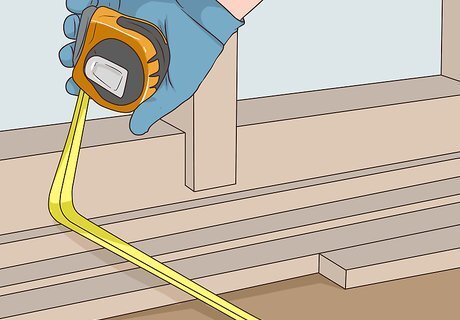
Measure the space around obstructions. You’ll also want to measure the spaces around electrical outlets, equipment, or ceiling joists. You’ll have to create the flooring around these obstructions, so take accurate measurements of each one. You may also want to consider adding a partial floor for storage rather than flooring your entire attic.
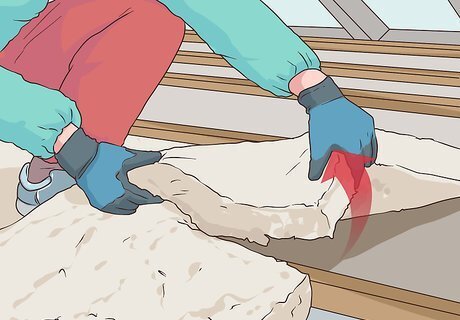
Clear away insulation. Sometimes, insulation will cover up the ceiling trusses. You’ll need to use the trusses to support the new subfloor that you’re going to install. Remove the insulation and set it aside. Wear long sleeves, thick pants, and a respirator when removing the insulation to prevent inhaling dust and debris.
Creating the Subfloor

Determine how many boards you need to create your subfloor. A subfloor is a grid of boards that will support your plywood flooring. Take the measurements of where you want to add flooring and calculate how many boards you’ll need if you lay boards 16 inches (40.64 cm) apart. You’ll also need two additional boards to close the frame on both ends of your subfloor. For instance, if your floor is 6x6 feet (182.88x182.88 cm) large, you’ll need a total of five 6 foot (182.88 cm) long boards that run across the trusses, as well as two 6 foot (1.8 m) (182.88 cm) long boards to cap off both ends of the subfloor.
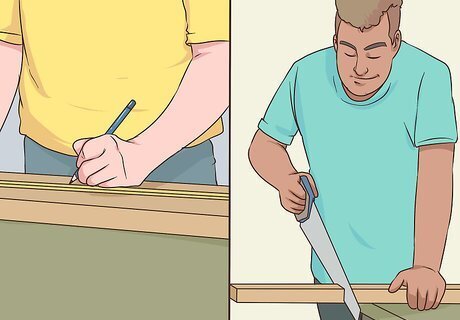
Measure and cut boards to size. Go to a hardware store and purchase 2x4x100 inch (5.08x10.16x254 cm) boards. Measure and mark the length of the boards so that they run across the attic trusses. Use a handsaw or circular saw to cut the boards to your measurements. If your boards aren’t long enough, cut multiple boards. Continue to cut the boards until you have enough boards to lay your subfloor. If you have to cut multiple boards, make sure your boards meet on a truss so that both ends have support. Screw a piece of wood onto the side of the truss to give your subfloor ends even more support. You should purchase a couple of extra boards in case you accidentally make an incorrect cut.
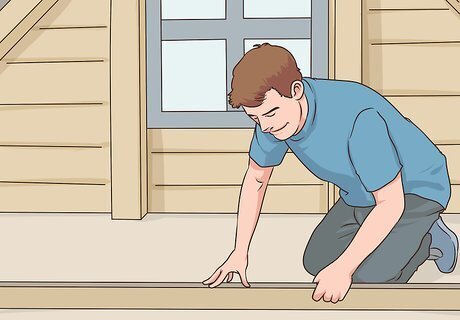
Lay the boards perpendicularly across the trusses. Lay the boards so that the thin 2-inch (5.08 cm) side is laying on the top of the ceiling truss. Line up your boards and use a level to make sure that it’s level with the ceiling trusses.
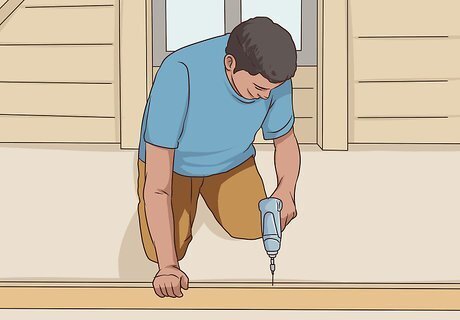
Screw the boards into the ceiling joists. Use an electric screwdriver to screw through the sides of the boards, down into the ceiling trusses. This will attach your frame or subfloor to the trusses and will prevent potential damage to the interior ceiling, which typically can’t carry a heavy load. Do not use a hammer or you may damage the underlying ceiling. Be particularly cautious of any electrical wires that may be sitting on top of trusses. Avoid screwing through them. Ask an electrician to relocate the wires if necessary.
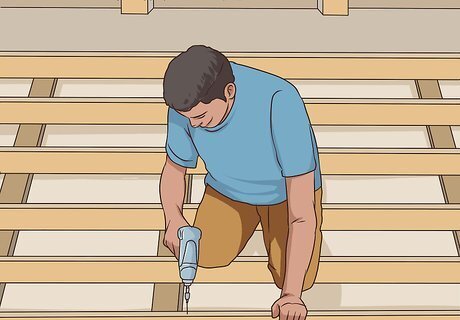
Continue screwing boards perpendicular to the joists. Lay the next set of boards 16 inches (40.64 cm) away from your original board. Line the new boards so that they run parallel to the first set of boards that you screwed into.
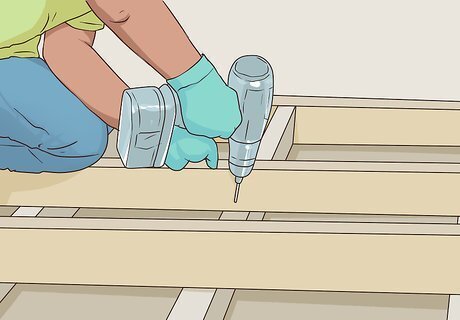
Cap off the ends of your subfloor with boards. Now that you have boards lined up across the trusses, you can cap off each end of the subfloor with boards on each end. Line up 2x4 inch (5.08x10.16 cm) thick boards on each end of the grid and screw them into the existing boards that you laid. Once you have boards screwed into the entirety of the floor, the attic should look like a grid.
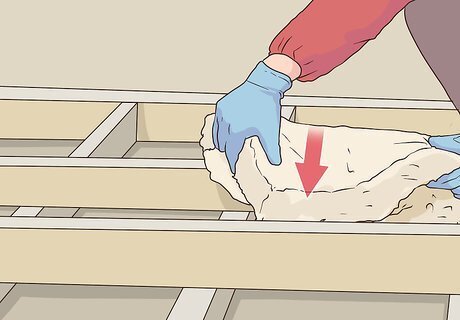
Place the insulation back in between the ceiling trusses. Now that the subfloor is finished, you can replace the insulation that you set aside. Place the insulation in between the new subfloor boards. Your plywood floor should not push the insulation down.
Laying Plywood Flooring
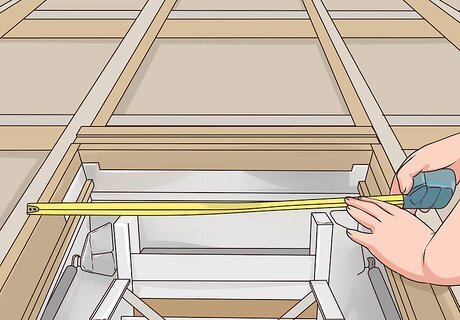
Measure the plywood and attic door. Purchase half-inch (1.27 cm) thick plywood to act as your flooring. You’ll need to make sure that the plywood can fit through your attic door. Take the measurements for your subfloor and measure enough plywood so that you can cover the entire frame. It’s a good idea to rip long, thinner strips of plywood that will fit through the attic door. You may have to cut the flooring into multiple pieces to cover the entirety of your subfloor.
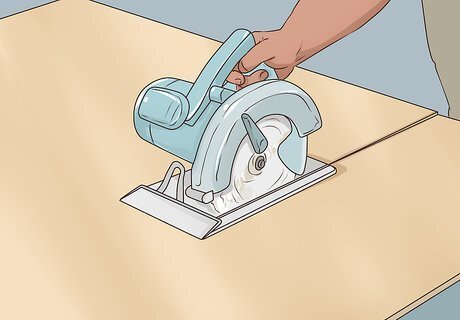
Cut the plywood. Use a handsaw or a circular saw to cut the plywood to your measurements. Make sure that the edges of the plywood are straight as you do this. Keep in mind that the plywood floor will have to fit around outlets and obstructions. Take the measurements that you took earlier and measure and cut out spaces so that your plywood can fit against the obstructions.

Screw the plywood into the subfloor. Place four screws into each corner of the plywood, making sure to line it up with the boards on the subfloor. The plywood should be laying on top of the subfloor with no overhang. Once the boards are in place, place more screws placed 16 inches (40.64 cm) apart to hold the plywood to the subfloor frame. Once you’re done laying down all of the plywood, your attic floor is finished. If you're planning to finish the attic to use as a room, you can put carpet, tile, or linoleum to go on top of the plywood.


Comments
0 comment