
Open your project in InDesign. You can open InDesign from your Start menu or the Applications folder in Finder, then click File > Open or you can right-click the project file in Finder and select Open with > InDesign.
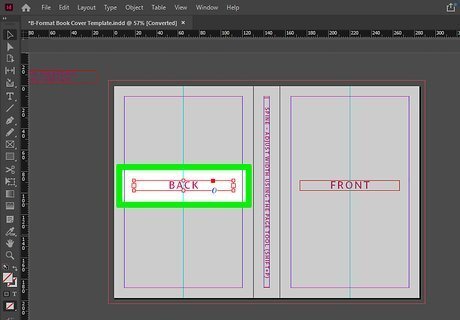
Select the object you want to fill with color. Click the object once to select it. You should see markers around the object to indicate that it is selected.
Click the colored square. It's in the editing menu at the top of your screen and opens a drop-down menu of color selections. You can also change the color by double-clicking the colored box in the toolbar on the left side of your screen or in the Swatches menu on the right side of your screen (if it's enabled). To enable it, go to Window > Color > Swatches.
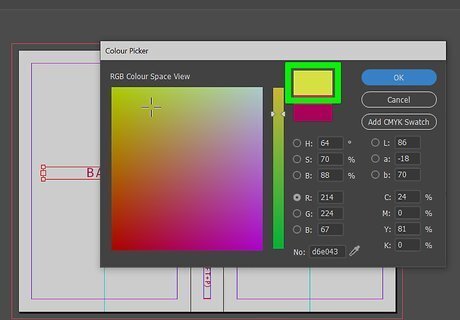
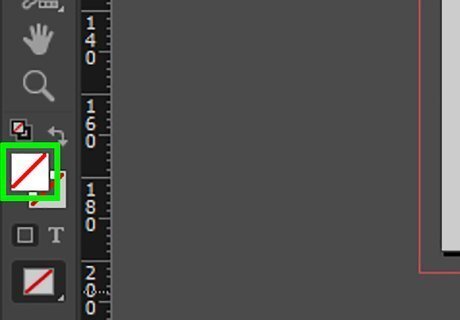
Click the color you want to fill the object with. If you're using either the toolbar on the left or the Swatches menu on the right, you should make sure the colored box is in front of the box with a line through it. Whichever icon is in front shows you which color style is active; so if the colored box is in front, your selected color will fill the object. However, if the box with the line through it is in front, the color you choose will only apply a stroke effect to the object, which acts similarly to an outline. To change which icon is in front and active, click the curved arrow. If you're trying to fill text instead of the space around the text, click the T icon in either the toolbar menu on the left, the Swatches menu on the right, or in the editing area above your project.


Comments
0 comment