views
Choosing and Testing Your Dye

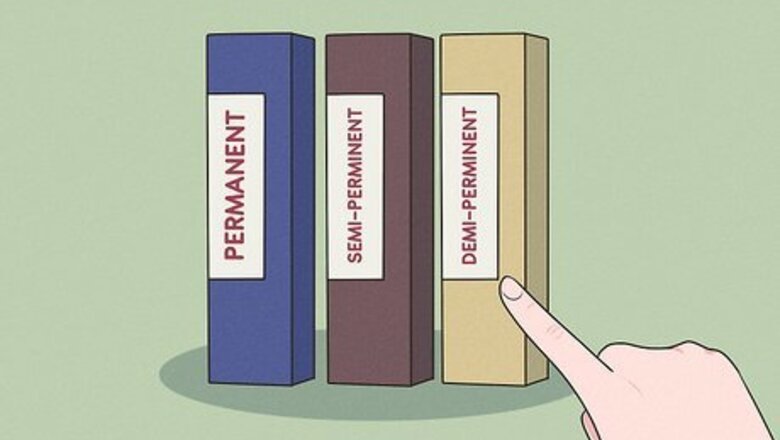
Choose between a permanent, semi-permanent, or demi-permanent dye. Permanent dye will last the longest and can cover gray hairs and roots. Semi-permanent dye can only darken hair, and will last up to 8 washes. Demi-permanent dye can slightly lift your hair color, and will last up to 25 washes. If you’re using permanent dye, apply it to your hair when it’s dry. For semi-permanent dye, shampoo your hair and dye it while it’s still slightly damp.
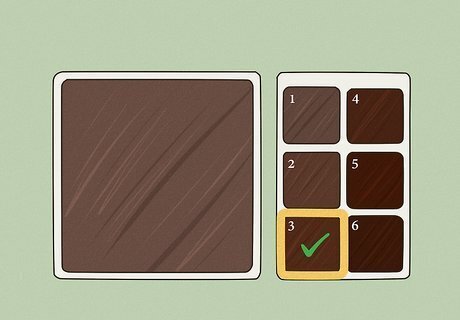
Go with a dye 2 to 3 shades lighter or darker than your current color. When deciding between 2 colors, stick with the color that is closer to your natural color. Making a big change, like bleaching dark hair, is best done with a professional salon colorist. If your hair is longer than shoulder-length, buy at least 2 boxes of dye in case you run out during the process. You should only need 1 box if your hair is shoulder-length or shorter.
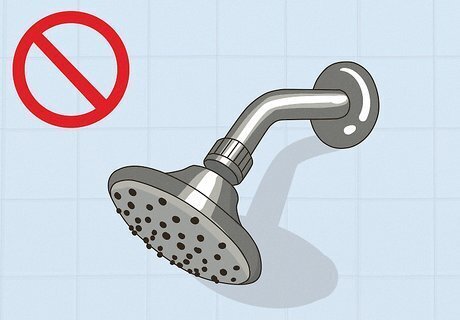
Leave your hair unwashed for 2 days before you dye it. Your scalp will have built up enough natural oils to protect your skin from irritation. Washing your hair removes those natural oils, so it’s best to wait 2 days before dyeing.
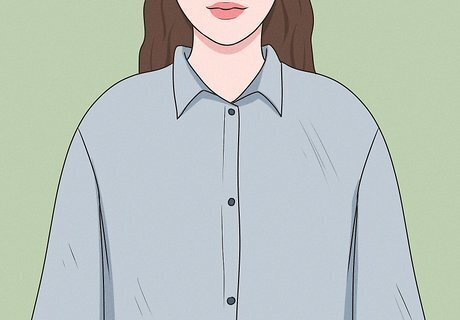
Wear an old button-front shirt or robe to avoid stains. If you pick an old shirt or robe that closes in the front, you won’t have to lift anything over your head when it’s time to rinse out your dye. You can also wrap an old towel around your shoulders and fasten the ends together for an extra layer of protection. You can also lay down newspaper or garbage bags to protect floors and surfaces from dye stains. Work in a room with natural light if possible, so you can accurately check your new hair color. The bathroom is generally the best place to work, especially if you have a window that lets in natural light. You can use the mirror to check up on your progress, use the countertops as a workspace, and the sink and shower are readily available in case you need to rinse off.
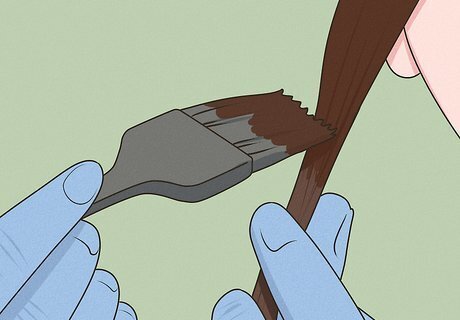
Test dye on a small section of your hair before dyeing the rest. If your dye doesn’t have instructions for a strand test, mix 1 teaspoon (4.9 mL) of color and 1.5 teaspoons (7.4 mL) of developing cream. Using disposable gloves, apply the dye to a 1 inch (2.5 cm) section of your hair. Not all kits have the same mixing ratio (for example, some might require a 1:1 mixture of color and developing cream for the strand test), so check the instructions before you start mixing the dye. If you’ve dyed your hair before, work the dye from root to tip, taking care not to get dye on your scalp.
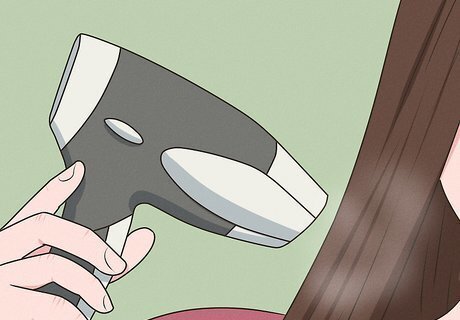
Rinse and dry your test strands to check the color. After the instructed time has passed, which is usually 20 to 30 minutes, rinse your test strands with lukewarm water. Dry it with a blow dryer, and then check the color. If you’re happy with it, you’re ready to dye the rest of your hair. If you’re not happy with your test strand’s color, you can try a new color on a different strand of hair.
Applying the Dye
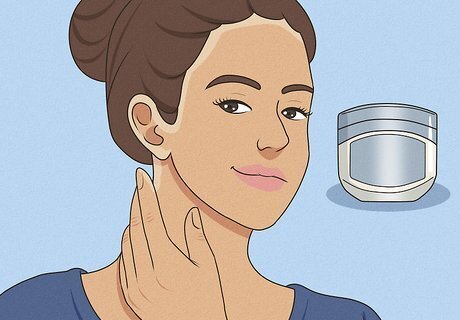
Smooth Vaseline or lip balm along your hairline, ears, and neck. This trick will protect your skin from the dye and prevent stains, which can be tough to remove. You can also use a thick lotion or moisturizer to create a protective barrier. Remember to remove any jewelry you don’t want to get dye on, like earrings or rings.
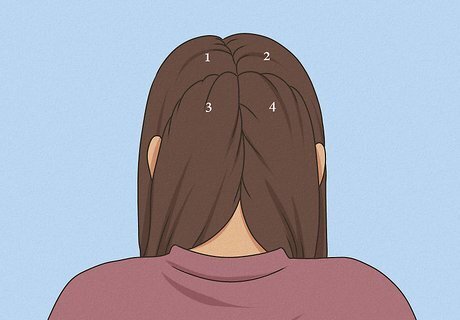
Divide your brushed hair into 4 gridlike sections. Use a comb to part your hair down the middle. Then part both sections in half horizontally from ear to ear, creating a grid of 4 sections. This will keep any hair you’re not working on out of the way. If you have very thick hair, you can divide your hair into 6 sections.
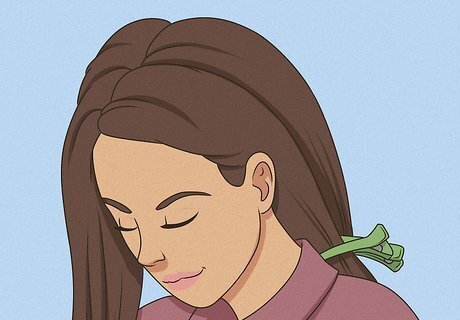
Clip back all the sections except for 1 top section near your face. This is the section you’ll start applying dye to first. Make sure your hair is brushed and free of tangles to make applying dye easy.
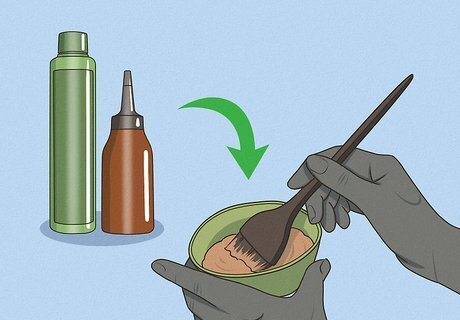
Mix together hair dye and developer in a disposable bowl. Follow the instructions that come with your kit, and mix the dye with the developer in a disposable bowl. Your kit might come with a squeeze bottle for applying the dye, but using an applicator brush and bowl will make your dye job look more professional. You can find bowls and brushes for hair dye at supermarkets or beauty supply stores.
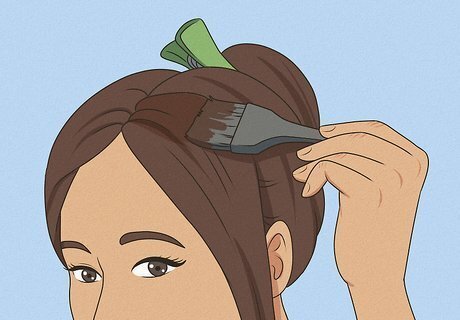
Apply the dye to 1 inch (2.5 cm) sections using an applicator brush. Saturate your brush with the dye and start applying it to your hairline in sections, working your way down your strands to the tip. Make sure all strands in this section of hair are covered with dye. Your roots need the most color and processing time, so it’s best to apply dye there first, and work your way downwards. Ask a friend to help you apply dye. Certain areas, like the back of your head, can be tricky to do on your own.
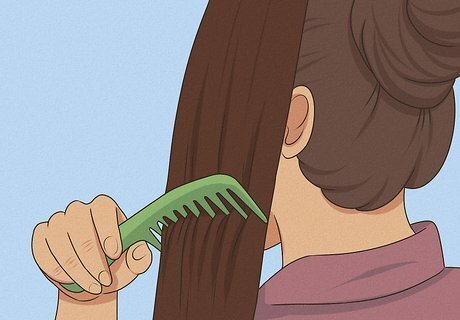
Use a wide-tooth comb to distribute dye through each section of hair. After you’ve applied dye to one section of hair, comb through it using a wide-tooth comb. This will make sure all your hair is coated with dye, and evens out the amount of dye. Once you’re finished, clip and hold this completed section of hair. Dye and comb the remaining sections until you’ve applied dye to all your hair.
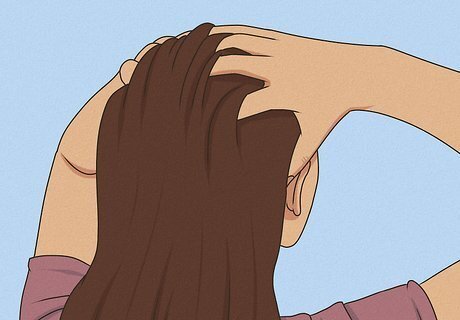
Release all your hair to give your hair a quick massage. Gently massage your scalp to generate heat. Quickly run your fingers through your hair from root to tip to make sure the dye is distributed evenly throughout each section. Then gather your hair up and clip it.
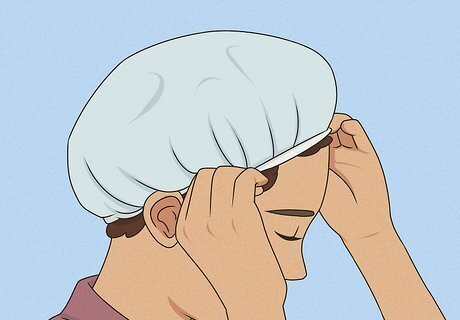
Cover your hair with a shower cap. While waiting for the dye to set, you can cover your hair with a shower cap to trap in heat. It’ll also keep hair dye from getting onto your furniture or belongings at home. You can even use a plastic shopping bag to cover your hair. Wrap it around your head and clip it in place so that it stays put.
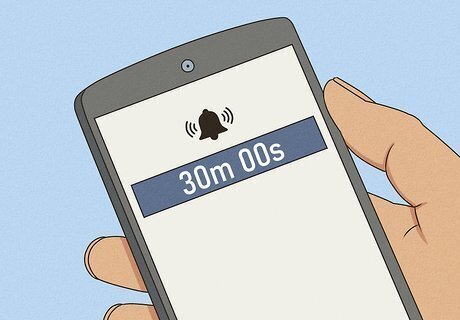
Set a timer for the recommended time to leave in your hair dye. It’s very important to leave in the dye only for the instructed amount of time on the box. Leaving it in too long or washing it out too early can affect the color. Most dyes take 20 to 30 minutes. Take off the disposable gloves you used to apply the dye, and use a fresh pair of gloves for washing it out.
Rinsing the Dye
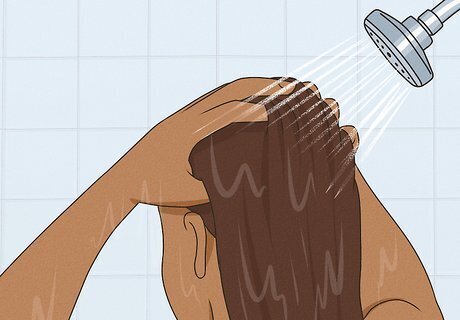
Rinse your hair with lukewarm water. Once the instructed time has passed, release your hair and rinse it with lukewarm water. You can hop in the shower and do this, or use a shower hose to spray your hair. Rinse your hair until the water runs clean and free of dye.
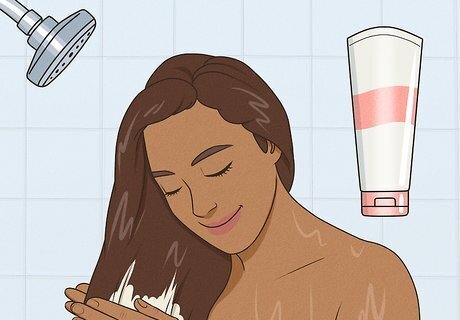
Apply the included conditioner to your rinsed hair. Comb your hair and squeeze out any excess water, then apply the conditioner that comes with your kit. Leave the conditioner on for the recommended time before rinsing it out. The conditioner that comes in dye kits is specially formulated for color-treated hair.
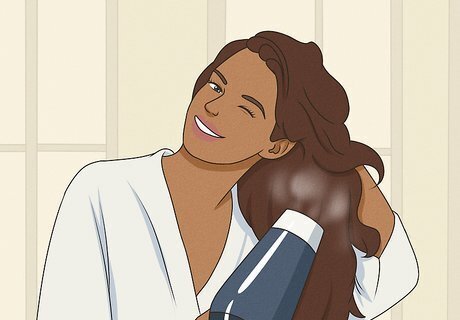
Dry your hair with a blow dryer to make sure you’re happy with the color. Examine your hair under natural light to check your hair color. Your hair can also look quite different when it’s wet, so you’ll get a good idea of the color after you’ve dried it. Your hair will likely look significantly darker while it’s wet, then brighten up when it dries. If you’re not happy with your hair color, it’s best to see a salon colorist who can help you fix it.
Maintaining Your Color
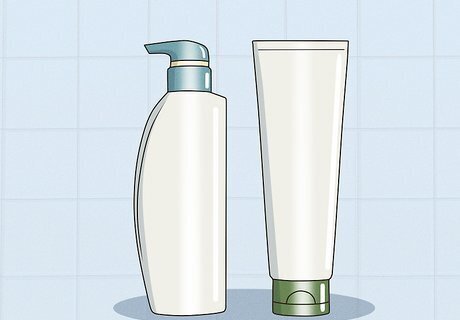
Use a color-preserving shampoo and conditioner. Shampoo and conditioner for color-treated hair is usually gentler than regular shampoo. Dye can dry out your hair, and color-preserving shampoo and conditioner often have vitamin A and vitamin E to help lock in moisture.
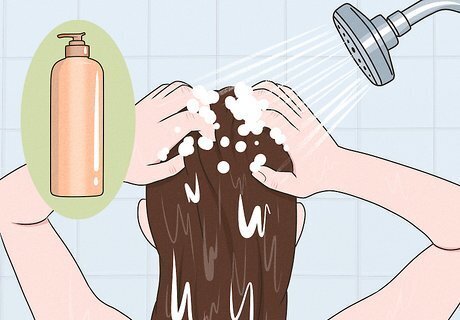
Shampoo your hair every other day at most to make color last. By washing your hair with shampoo every other day at most, you’ll maintain color in your hair longer. Use dry shampoo in place of liquid shampoo to help maintain color even more.
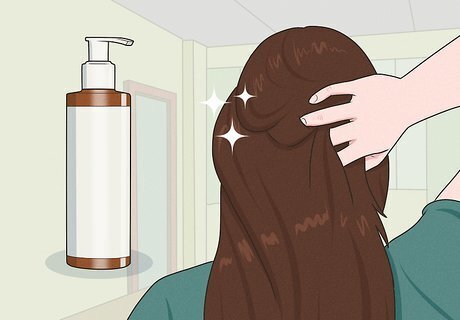
Apply tinted hair gloss every other week to boost color. A lightweight hair gloss can add a little life to your dyed hair. It will improve shine, reduce brassiness, and smooth your strands, making it look fresh. Choose a hair gloss that best matches your current color.

Protect your hair from the sun’s UV rays with a hat or spray. The sun can bleach your hair color. If you plan to spend time outside, wear a hat with a brim or rim to cover your hair. Or, spritz your hair from root to tip with a color-protecting spray. These formulas also help prevent dryness and breakage.
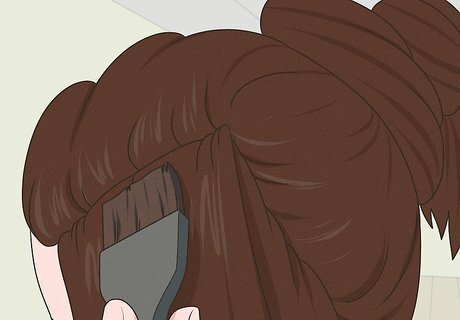
Touch up your roots every 4 to 8 weeks as needed. Touching up your roots with dye is very similar to dyeing your hair, but you’ll apply dye only to your roots. Work in sections, and brush dye onto your roots. Be careful not to dye hair that’s already colored, which can cause a discolored line. Rinse and condition all of your hair after you’ve let your hair dye develop in your roots.











Comments
0 comment