
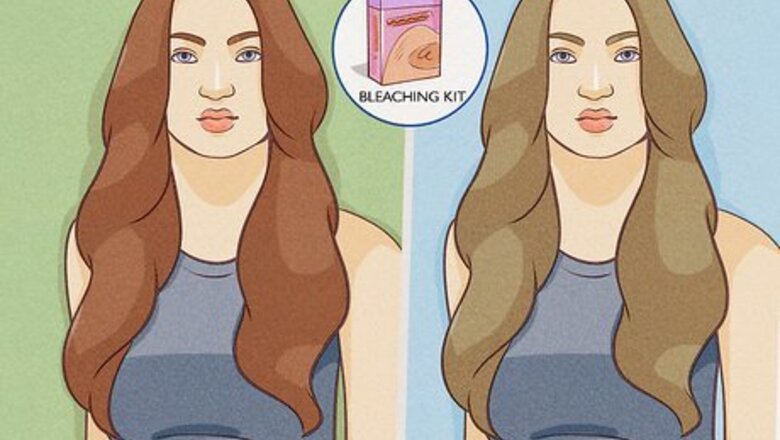
- You can’t dye your dark hair considerably lighter without using bleach, but if you have virgin hair, you can use a box dye with a developer to lighten it a few shades.
- Choose a demi-permanent or permanent hair dye that’s considerably lighter and more cool-toned than your natural hair color. Prepare the kit according to the box.
- Section off the top layer of your hair and secure it with a clip, then split the bottom layer and apply the dye from root to tip. Apply the dye to the top layer the same way.
Can you dye dark hair without using bleach?
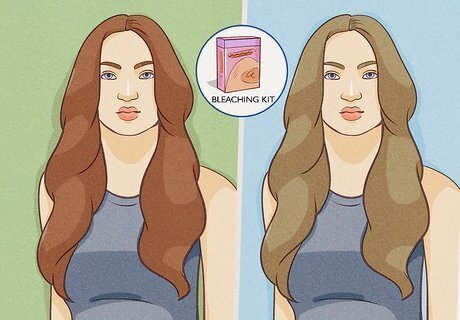
You can’t dye your hair bright colors without using bleach or a developer. However, you can dye your hair a different color that's the same value, like dark brown to light brown or black to dark or medium brown. It’s not possible to go from dark brown to blonde without using a bleaching chemical, whether you use a bleaching kit or a box dye with a developer. A developer is a kind of hydrogen peroxide that lifts the cuticle layer of the hair and shifts its natural shade to a slightly lighter color. It’s specially formulated for dark hair colors and often included in hair dye kits, but you can also buy it as a separate product. You can also try naturally lightening your hair 1 to 2 shades using lemon juice and sun exposure, apple cider vinegar, or a pot of cooled chamomile tea. There’s no way to get pastel or brightly colored hair without bleaching your hair.
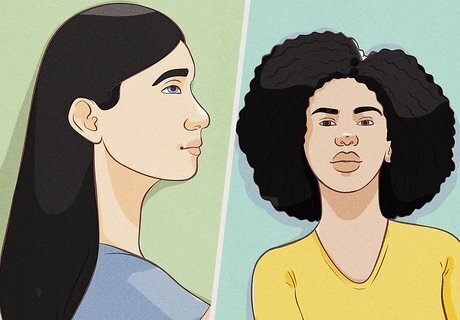
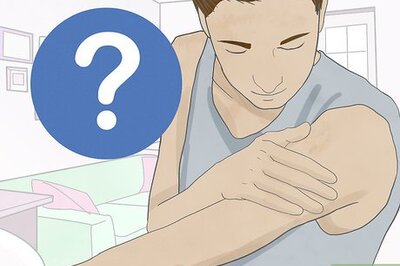
Virgin hair and some hair textures may take dye better than others. Everyone has different hair types with varying levels of texture and porosity, which can affect how well your hair can take dye. If you have non-virgin (recently dyed or chemically treated) hair, a new color will probably not get rid of the old color and may require color correction or even bleach. If you identify as Asian, your hair might be more difficult to dye because your hair might be darker and your cuticle layer may be stronger. Textured curly or kinky hair might also be tricky to dye because of how fragile and prone to breakage it is.
Visit a professional to lighten your hair more than 3 shades. Professional hair stylist Gina Almona doesn’t recommend trying to bleach (or pre-lighten) your hair at home because “it could break the bond of the hair severely.” You may risk creating unnecessary damage or unwanted tones throughout your hair, especially if you’ve never dyed your hair yourself before. During a consultation, Gina Almona says that a hairstylist will ask you questions like, “Is your hair natural or pre-colored? If it is pre-colored how long has it been since your last color service, or did you use box dye?”
Choosing the Right Hair Dye
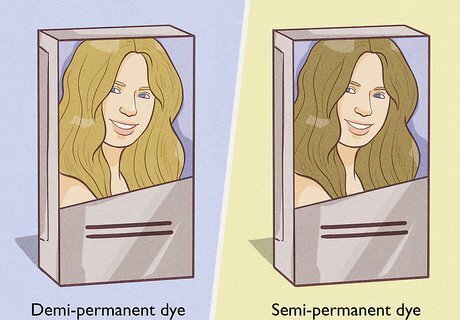
Opt for demi-permanent or permanent hair dye over semi-permanent. Demi-permanent dye can last from anywhere between 12 to 26 washes and contains low amounts of peroxide, so it can lighten your hair slightly. Permanent dye lasts until your colored strands grow out and can lighten your hair more than demi-permanent dye. Choose a hair dye that only lightens your hair up to 4 levels—any more than that can damage your strands. Semi-permanent hair dye doesn’t contain peroxide, which means it can only make your hair darker, not lighter. If you’re looking to dye your hair red, purple, or blue, look for dyes that are specially made for dark, black, or brunette hair, like Splat or Manic Panic hair dye. Hair dye is translucent, so if your hair is brown and you dye it one of these colors, it may end up darker than what's on the box or only appear as highlights in certain lighting. Look for a box dye with a developer formula that has a low peroxide volume, like 20 (6%). Higher peroxide volumes may damage your hair.

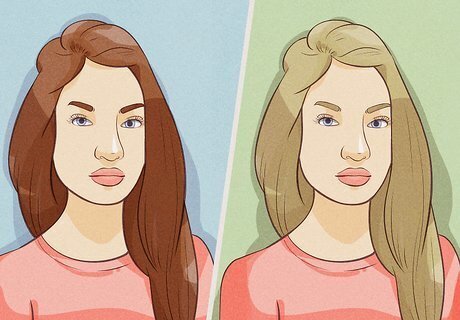
Choose a dye in a brighter cooler tone than your natural hair color. If you’re trying to dye your hair a lighter shade of the same color, look for ash hair dyes that are at least 1 to 3 shades lighter than your own. “Ash” dyes have cooler undertones and may prevent your hair from turning brassy or orange after you dye it. If you have dark hair and you’re trying to lighten it as much as possible, choose an ash-blonde box dye instead of a brown or black shade.
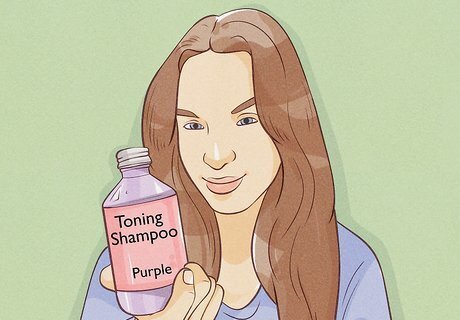
Use a toner after dyeing your hair to prevent it from turning brassy. When dark hair is lightened, it can leave behind an orange color. A toner is a gel-like hair coloring product that can soften out the contrast and even out the color while adding shine. If you’re lightening your hair more than a couple of shades, use a gloss or demi-permanent toner. Follow the instructions exactly as they’re outlined on the box and try to avoid toners that contain ammonia, which can turn your hair even more orange. If you’re getting your hair professionally dyed, your stylist will probably use a toner or gloss as part of the service, but you can ask your stylist to make sure. Purple or blue-tinted toning shampoos and conditioners can also help neutralize brassy, orange tones. They’re also key for taking care of your color-treated hair after you’re done.
Dyeing Dark Virgin Hair
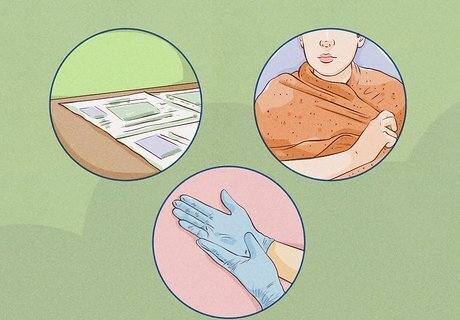
Wear an old T-shirt and apply petroleum jelly to your hairline. You can also put an old towel or a dyeing cape around your shoulders. Apply petroleum jelly around your hairline, the back of your neck, and your ears. Protect your workspace with newspaper or a plastic table cloth and wear a pair of disposable plastic gloves to protect your hands. Most hair dyeing kits come with a pair of plastic gloves to wear.
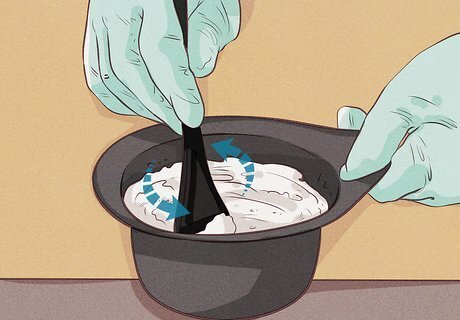
Prepare the hair dye kit according to the instructions. In most cases, all you have to do is pour the dye into the applicator bottle containing the cream base, then shake the bottle to mix. Some kits also contain a shine oil to add in as well. Make sure to all the instructions included in the kit. Most box dye brands recommend applying the product to dry hair, but some may require you to wet your hair first. You can also mix your dye in a non-metal bowl (metal can oxidize the dye and alter the color) using an applicator brush. Most box dye kits come with a brush for you to use. Prepare 2 boxes of hair dye if your hair is shoulder-length or longer, very coarse, or very thick.
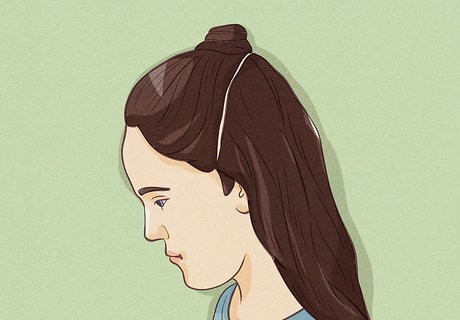
Section off the top layer of your hair and secure it with a clip or hair tie. Gather the hair located above the middle of your ear. Twist the top layer into a loose bun at the top of your head, then secure it with a clip or hair tie. If you have thick hair, separate each section into 2 to 3 smaller sections to make sure you saturate all of your hair with the dye.
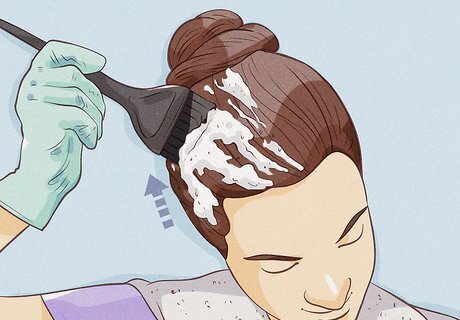
Split the bottom layer of your hair and apply the dye from tip to root. Most hair is naturally lighter on the crown of your head, so it can be better to start at the back. Use a brush to split your hair into two even chunks. Apply the dye about ⁄2 inch (1.3 cm) from the roots and blend it down towards the ends using your fingers or an applicator brush. Apply more dye as needed. You can also apply the dye directly to your hair using the applicator tip on the bottle you mixed it in. If you prepared the dye in a bowl, use an applicator brush to apply the dye to your hair instead.
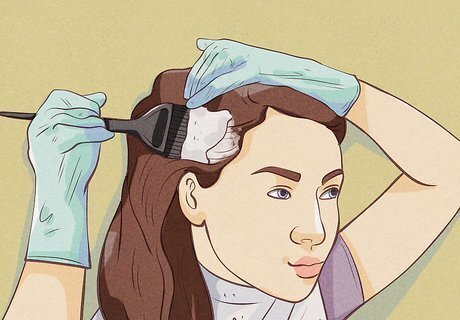
Apply the dye to the top layer of your hair, working in chunks. Undo the clip or hair tie holding the top layer of your hair. Take a small chunk of hair and apply the dye about ⁄2 inch (1.3 cm) from the roots, blending down to the ends. Work with one small section of hair at a time to apply color as evenly as possible. Cover all the sections of your hair people might see, including your sideburns, baby hairs, part, and cowlicks. Dye the roots of your hair about halfway through the processing time because the heat from your head can make the color develop faster at the root.
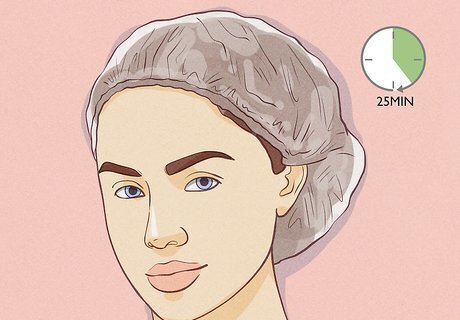
Pin your hair up, cover it with a shower cap, and let it process. If you don’t have a shower cap, cover your hair with a plastic grocery bag. Most brands will ask you to wait between 30 to 45 minutes, but some may have a longer processing time. Check the package to be sure. Take your gloves off by pulling each one from the wrist down to the fingertips, turning the glove inside out as you remove it. A shower cap or grocery bag can allow the heat from your scalp to open up your hair cuticles, allowing the dye to penetrate more deeply.
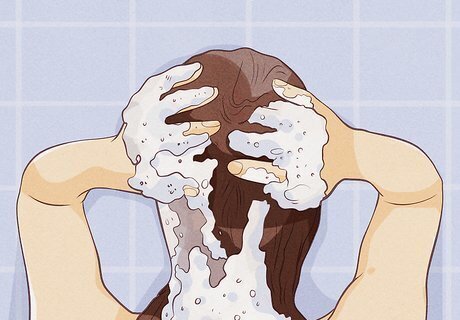
Wash the dye out with cool water, then condition your hair. Once the processing time is up, rinse your hair with cool water until it runs clear. Apply a color-safe conditioner, wait 2 to 3 minutes, then rinse it out with cool water to seal the hair cuticle. Skip the shampoo for at least a few days to lock the color in. Many dye kits include a conditioner to use after you finish dyeing. If you get dye on your hairline, hands, or workspace, scrub the area with oil, petroleum jelly, or a mix of equal parts baking soda and soap to remove it.
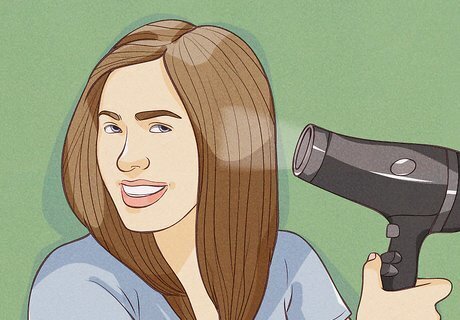
After you’re done, dry and style your hair as desired. You can allow your hair to air dry, or blow dry it instead. Try to limit washing your hair to 2 to 3 times a week to improve the longevity of your hair color. If your hair color turns out too brassy or orange after you dye it, simply wash with a purple or blue toning shampoo, following the instructions on the bottle. If your hair still turns out too brassy, use a stronger gloss or demi-permanent toner or visit a professional hairdresser to correct the color. Use color-safe shampoos and conditioners to preserve the color, maintain shine, and keep your hair healthy.


Comments
0 comment