views
Choosing Clothing
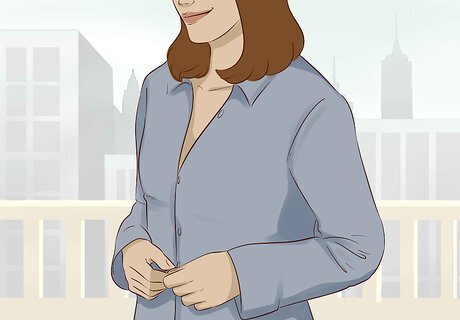
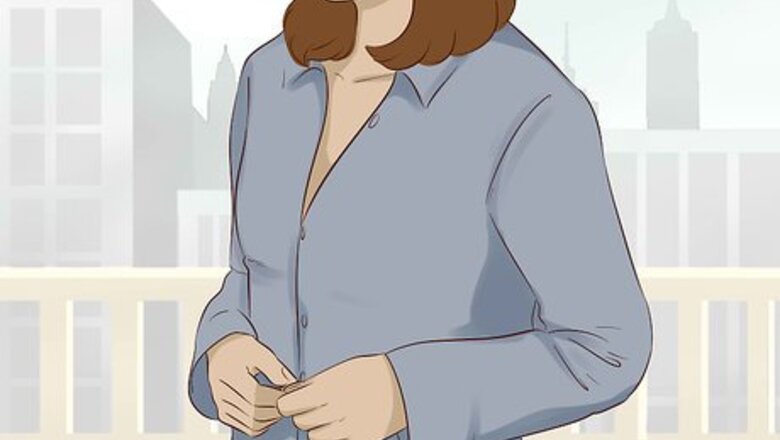
Opt for front-opening garments. Shirts, jackets, dresses, and other garments are much easier to get on using just 1 arm if they open completely at the front. Opt for clothing that buttons, zips, or Velcros all the way up the front in order to make dressing as quick and easy as possible.
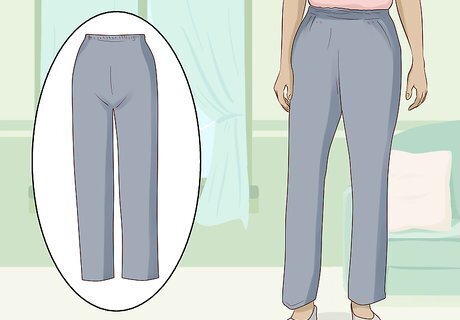
Wear pull-on elastic waist pants. It’s typically much easier to put on and take off loose-fitting sweatpants or stretchy leggings than it is to put on and take off fitted jeans or dress pants. While in recovery, opt for pants that are made of stretchy materials to simplify the dressing process. Wearing this type of pant may also keep you from having to deal with fastening buttons or zippers on your lower body.
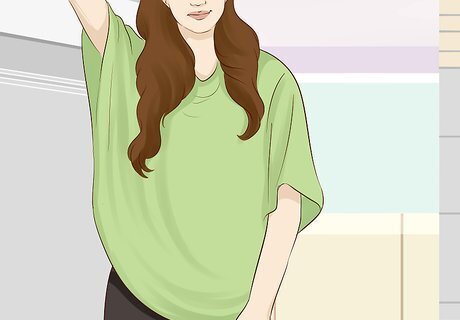
Go for loose-fitting clothing. Baggy clothes are also much easier to put on when you can’t use one of your arms. Pick out clothes that are a few sizes too big so that they’re easier to slip on. For example, if you usually wear a medium size T-shirt, wear extra large T-shirts instead immediately following your surgery.
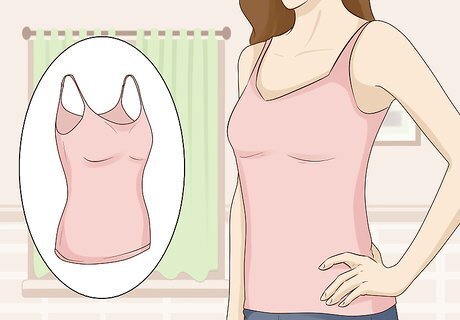
Wear camisoles that have a built-in bra. Bras are difficult to put on and take off each day while your shoulder is healing. If possible, skip your regular bra and wear a camisole with a built-in bra underneath your shirt. As an alternative, you can wear a plain fitted tank top underneath your shirt. If you need more support than camisoles and fitted tank tops can provide, opt for front-closing underwire bras, or wear regular back-closing underwire bras and ask a loved one who lives with you to hook it on for you.
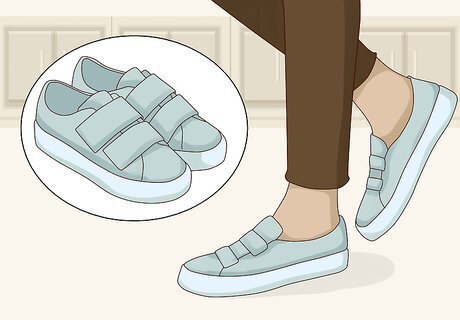
Wear slip-on shoes. Tying your shoes is very difficult, if not impossible, to do with only 1 hand. To save yourself a headache, only wear shoes that slip onto your feet easily while you’re in recovery. Some examples of these kinds of shoes include: Flip flops Velcro sneakers Clogs
Wearing Front-Opening Shirts
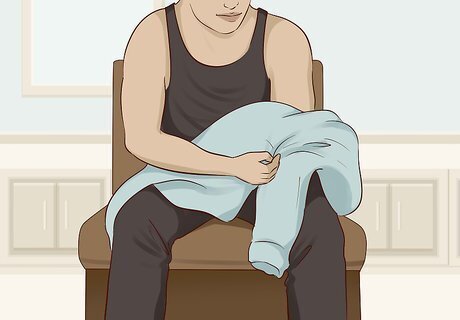
Lay your shirt in your lap and put your affected arm in its sleeve. Sit down and make sure that your garment is completely unbuttoned. Lay it across your lap with the inside facing up. Let the sleeve that will go on your affected arm hang between your legs. Start working the sleeve onto this arm with the arm that wasn’t operated on. Just let your affected arm hang down; don’t use it at all.
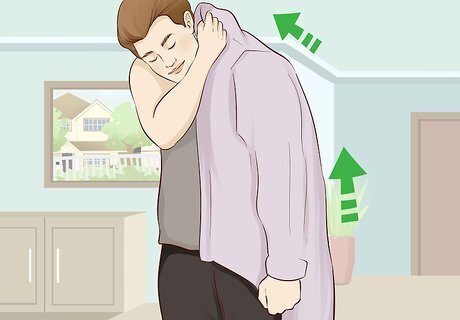
Use your unaffected arm to work the correct sleeve onto your other arm. Stand up as you finish using the arm that wasn’t operated on to pull the correct sleeve onto the other arm. Carefully work the sleeve all the way up your arm and onto the shoulder.
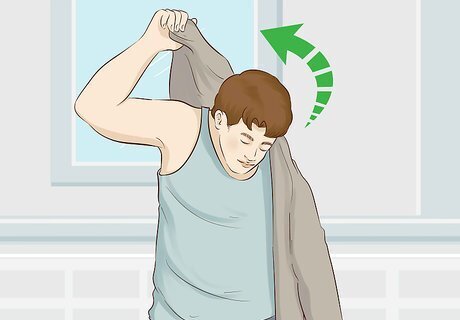
Bring the garment across your back with your unaffected arm. Grab the rest of the shirt with your unaffected arm. Gently throw the shirt behind you, across your back so that the remaining sleeve ends up near the arm it should go on.
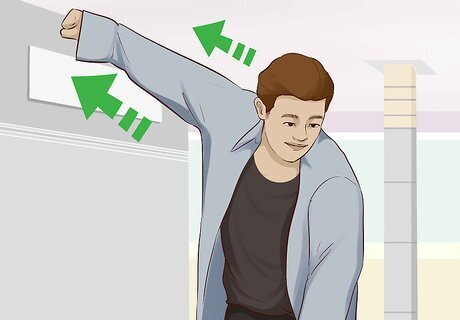
Put your unaffected arm in the other sleeve. Reach up toward the sleeve hole with the arm that wasn’t operated on. Work your arm up through the sleeve until you push your hand through the hole at the end.
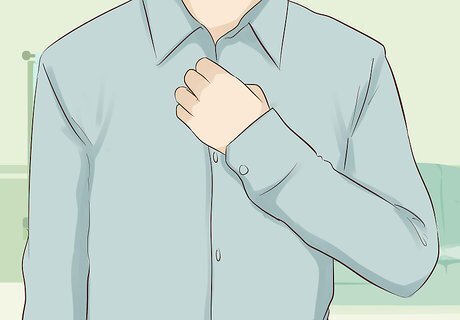
Adjust the shirt and button it closed. Use the arm that wasn’t operated on to pull at the garment in whatever areas it isn’t correctly fitted to your body. Then, use the hand of this same arm to pull both sides of your garment together in front of you. Button each button one at a time. If you struggle to button your shirt closed, try grabbing the side without the buttons with your pinky and ring fingers. Use your thumb, pointer finger, and middle finger to grab the other side of the shirt and push the buttons through the holes.
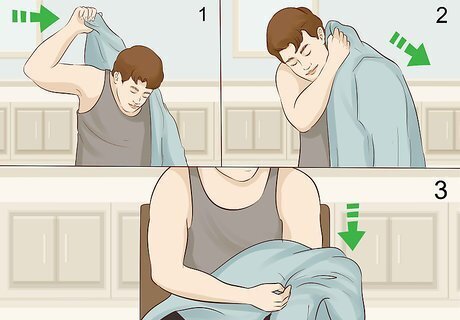
Reverse this sequence to take the garment off. When you’re done wearing your shirt, unbutton it with the fingers of your unaffected arm. Take off the sleeve that your unaffected arm is in with your unaffected arm, and toss the shirt across your back toward the arm that underwent surgery. Then, use your unaffected arm to carefully pull the sleeve down off of the other arm.
Dressing in Over-the-Head Shirts
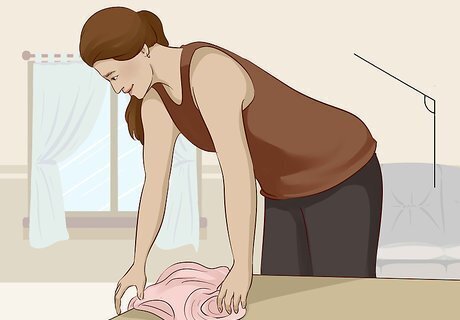
Bend at your hips and gather the garment in your hand. Bend forward and let the arm that was operated on passively hang down. Then, pick up your garment with the hand of your unaffected arm and gather it from the bottom edge to the neck hole.
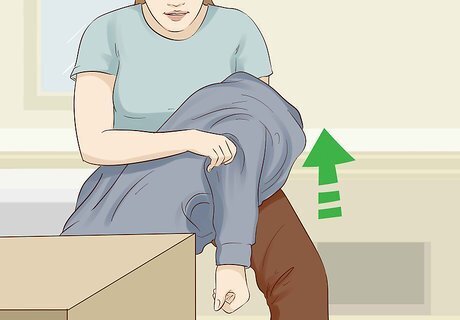
Use your unaffected arm to slide the correct sleeve up the affected arm. Without using the arm you had surgery on at all, use your other arm to pull the correct sleeve onto the arm that’s been operated on. Pull it all the way up you arm and over your shoulder.
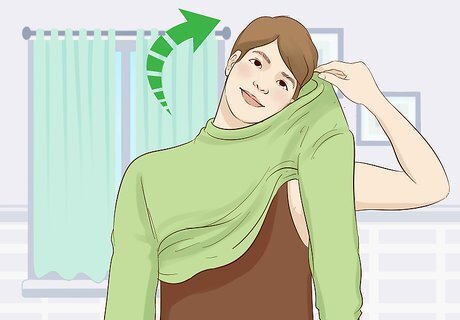
Slide the shirt over your head and stand up. It’s typically easier to slide your shirt over your head if you do so while standing up. Use the arm that didn’t undergo surgery to pull the garment down over your head through the neck hole as you stand.
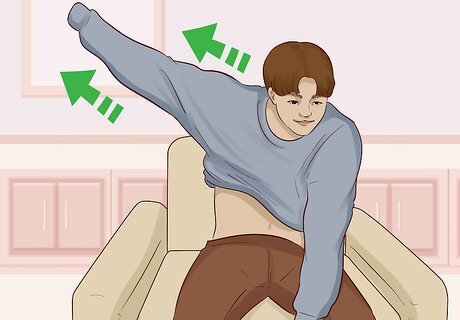
Push your unaffected arm through the remaining sleeve. Bring your unaffected arm up through the inside of the garment toward the remaining sleeve. Push your arm all the way through the sleeve.
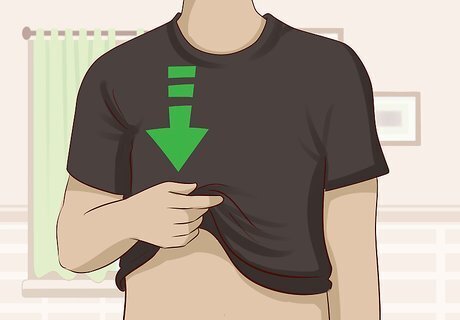
Pull your garment down with your unaffected arm. At this point, your shirt is likely on properly, but bunched up around your abdomen. Use only the arm that wasn’t operated on to grab the bottom edge of the shirt and gently pull down so that it’s no longer bunched.
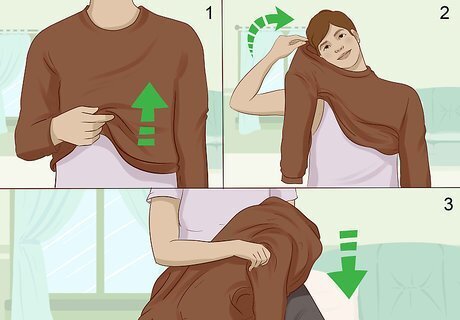
Reverse this process to remove the shirt. To take the garment off, use your unaffected arm to grab the bottom edge of the garment and bunch it up toward your chest. Then, bring this same arm toward you inside the shirt in order to get it out of the sleeve. Bend over at the hips as you pull the garment up over your head with your unaffected arm. Finally, work the garment down your affected arm with your unaffected arm.
Putting Your Immobilizer on
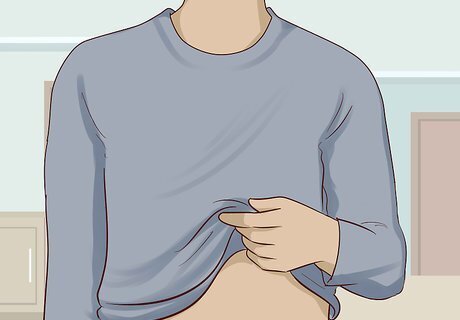
Get dressed. It’s much easier to put your clothes on and then put your immobilizer on than it is to do so in the opposite order. At least get your shirt on before you try to put your immobilizer on, as the immobilizer will go over the shirt, but probably won’t go over your other clothing items, such as your pants. Put heavy jackets on after you put your immobilizer on, and don’t bother trying to put your affected arm into the sleeve that it’s supposed to go in. Instead, just let it hang down by your side.
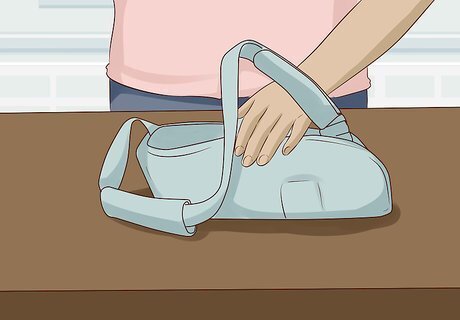
Place your immobilizer on a table. Set your immobilizer or sling on a table that’s about as high as your thighs. Make sure that the cushion is attached to the immobilizer and the clips and/or straps are unfastened.
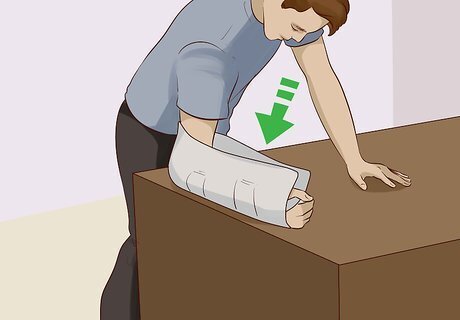
Bend your legs to lower your affected arm down into the immobilizer. Use the arm that didn’t undergo surgery to position the arm that did at a 90-degree angle. Your arm should be in a natural position across your body, just below your chest. Bend your hips and knees to lower the arm you had surgery on down into the sling.
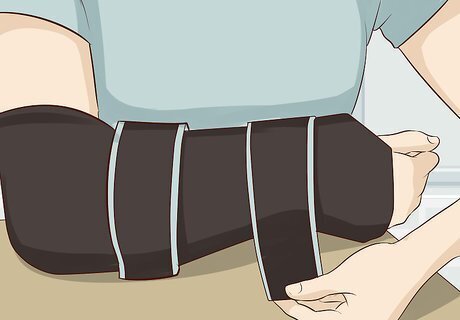
Fasten the wrist and forearm straps. There should be buckles or straps that connect over your wrist and your forearm in order to hold the immobilizer securely on. With the hand of your unaffected arm, fasten these straps or clips.
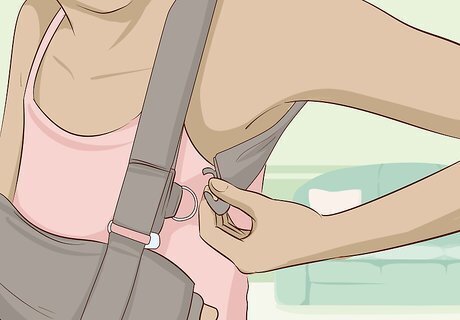
Use your unaffected arm to fasten your shoulder strap. Reach across the front of your body with the arm that wasn’t operated on and grab the shoulder strap. With this same arm, pull the strap behind your affected shoulder and around your neck. Fasten this strap to the immobilizer.
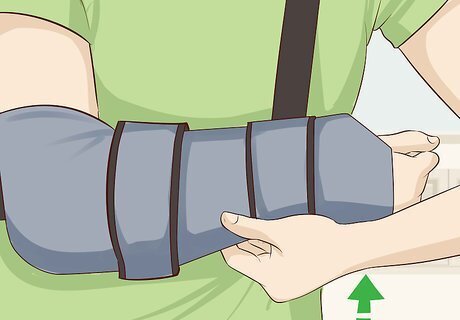
Support your affected arm with your unaffected arm as you stand up. Slip the hand of your unaffected arm underneath the immobilizer as soon as you lift off of the table. Use this arm to hold the affected arm in place as you stand the rest of the way up.
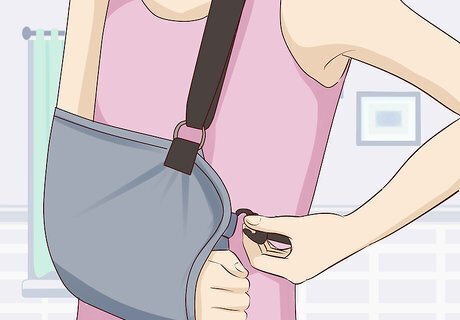
Fasten the waist strap with your unaffected arm. Once you’re standing, reach the arm that wasn’t operated on behind you and grab the waist strap. Bring it around to the front of your body and fasten it to the immobilizer.





Comments
0 comment