

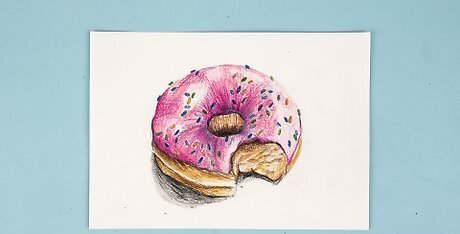
Drawing a Good Picture

Think of what you want to draw. Before you start, picture the image you want to draw in your head first. Planning ahead allows you to work out what particular techniques will work best with the chosen subject. Some examples of good drawing subjects include people, animals, still life (still objects) and landscapes. It might help to warm up first. Sketch without judging the outcome, to loosen up before you start on your picture.
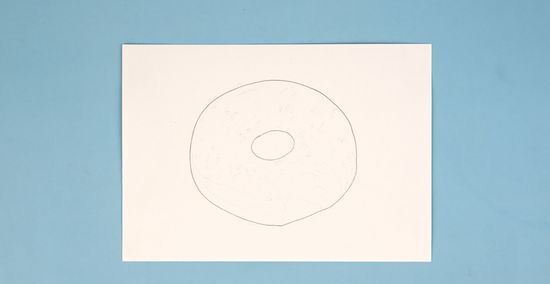
Sketch the basic form of the object you are trying to draw. Try to break it down to basic shapes or forms. Use circles, squares, triangles and rectangles to represent the largest parts of the object. Pay special attention to relationships; for example, one object is two and a half times taller than the one beside it and twice as wide. When sketching, use small, fine lines with a pencil to draw quickly and lightly.
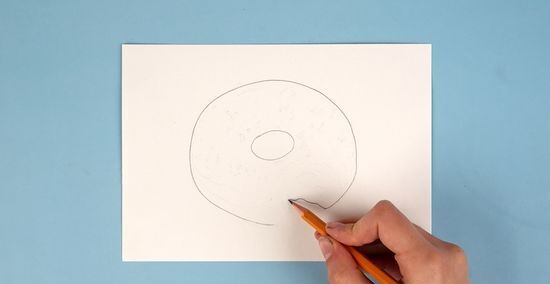
Erase and redraw as needed. This can be done as often as you like, until you are satisfied that the basic shapes look good. The more effort you make to draw the forms correctly, the more convincing and impressive your drawing will look. No amount of detail will compensate for unintentional inaccuracies or laziness.
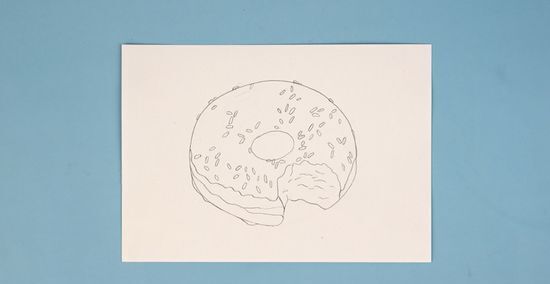
Go over the drawing when you're satisfied with the form and outline. Add small, wispy lines to increase detail and to show light and shadow.
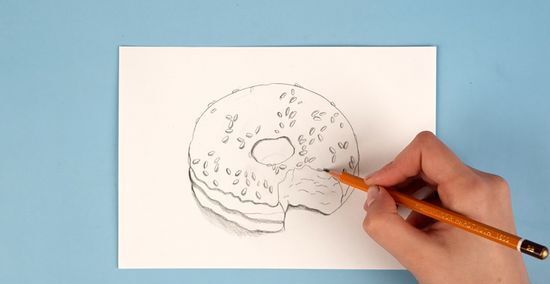
Finish the line work. Go over the lines with a fine tipped pen or sharp pencil. At this point, you can add details to the darker areas using solid lines. If you used pen, take an eraser (a rubber eraser is better than the standard pencil eraser) and erase all of the original fine lines you made with the pencil.
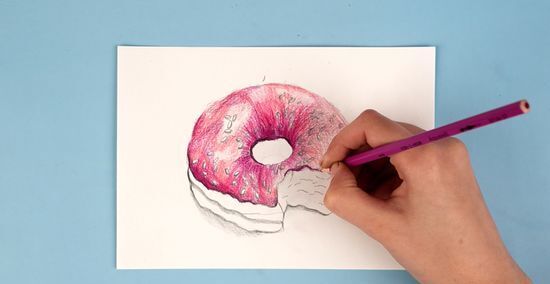
Color if you wish. This is optional. If you do color, use the technique of making wispy lines.
Continue working on improving your drawing skills. Whether or not the drawing turned out as you wanted it to be, keep learning, keep improving. No artist sits still and thinks they've reached a pinnacle; art is an ongoing journey of improving and changing throughout life. The best artists are those who try hard, have patience, take their time, and have pride in their own work. Read a lot about drawing. Make sketches. Find a teacher who can help you to develop an artist's eye.
Preparing for Drawing
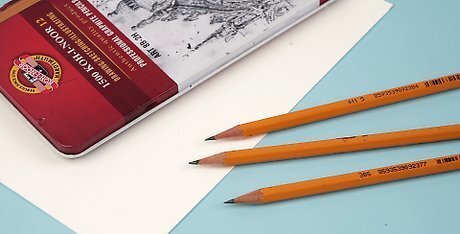
Choose a good quality drawing pencil. A school pencil will give you a good medium shade line and a medium width of the line. If you want a darker pencil use a B pencil. Most craft and art stores sell drawing pencils. The best drawings use a variety of pencil shades. The higher the number, the darker you can go. For example, 6B is much darker than 2B. If you want a really light line use an H pencil. The higher the number the lighter the line. For example, 6H is much lighter than 2H.
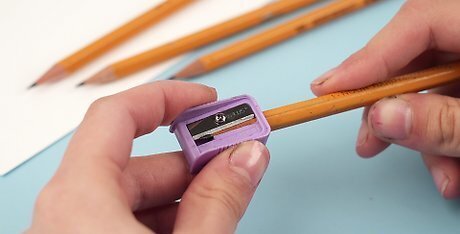
Keep the pencil point sharp. The sharper the point, the better you can draw. Sharpen it often as you draw.
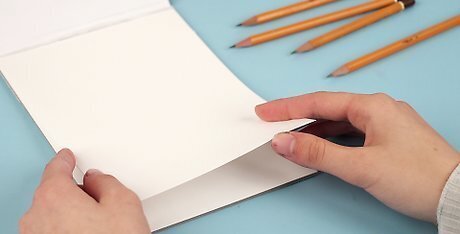
Choose the perfect paper. The “tooth” of a paper is how rough and textured the surface is. Paper that is rougher, with a higher tooth, will collect more graphite for deeper shading, but the texture will show through and it may be difficult to add details and polish to your art. Paper that is very smooth, like Bristol board, will make for a cleaner looking finished product and an easier time adding small detail. However, it may make it impossible to get darker shades without “burnishing” the graphite. Burnishing comes from smoothing the surface of the paper with the pressure of the pencil until it becomes reflective and appears light rather than very dark. If this is a problem for you, choose softer pencils and don’t press down as hard.
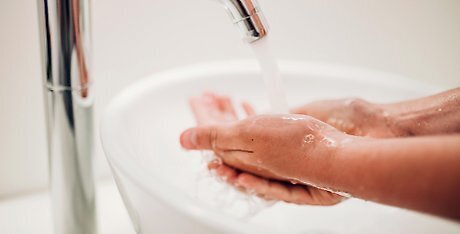
Keep your paper clean by washing your hands before starting. This prevents smudges and stains. If you’re left handed, consider getting a hand glove. This prevents your drawing to smudge while drawing from left to right. If you’re left handed, it will be easier to draw without worrying about smudges. If you get up to grab a snack, wash your hands again before getting back to your drawing. Never rest any part of your hand on any part of your paper that has pencil on it. In other words never rest your hand on your actual drawing. Try to keep your hand on the blank parts of the paper. This prevents blurring your lines. Lay a piece of scrap paper between your hand and the art if you need to work on an area that isn’t near any blank space. Wear gloves. This way, you don't have to worry as much about washing your hands. You can use gloves that only cover half of your hand and are designed for drawing.
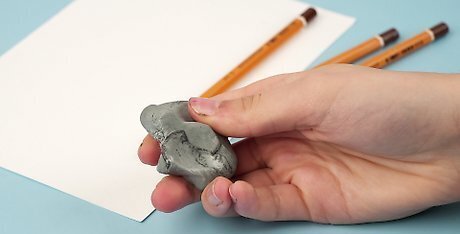
Use a 'kneaded eraser'. These are special erasers which will erase pencil lines without scratching the paper. They can also make lines less dark without completely removing them.


Comments
0 comment