views
Making a Simple Scarf
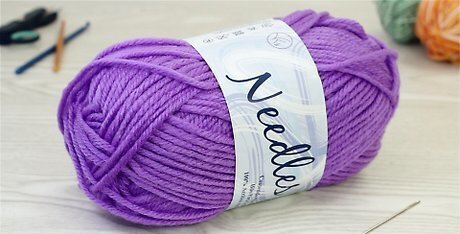
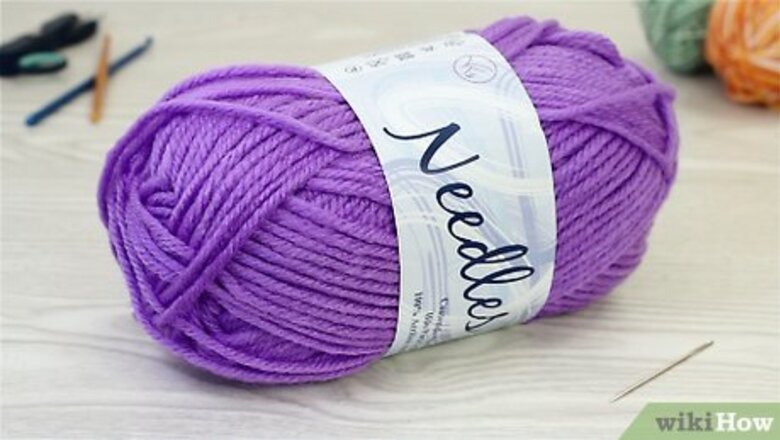
Gather your supplies. Making a simple scarf is easy and you only need a few items to do it. To make a simple scarf, you will need: At least 200 yards (180 m) of a worsted-weight yarn A crochet hook in a size that is appropriate for your yarn. Check the yarn label to find the recommended hook size. Scissors A darning needle or plastic crochet needle to finish off the scarf at the end.
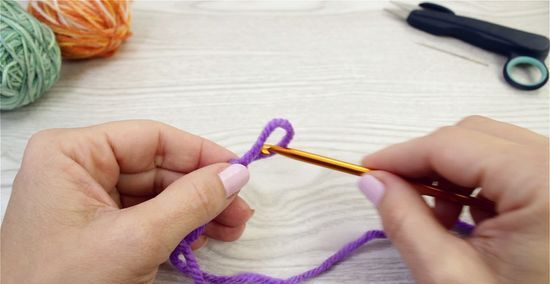
Make the first loop. To create the start of your foundation row, you’ll have to create a slipknot to slide onto the crochet hook. To do this: Wrap the end of the yarn (several inches from the tip) around your left index finger in a loop. At the top of your finger/loop, you should tuck the center section of the yarn in a 2nd loop through the first. Slide this off of your finger, and tug on the top loop that you just slid through in order to tighten the slipknot. Place the knot on the end of your crochet hook, and adjust it by pulling the strings to tighten/loosen the knot.
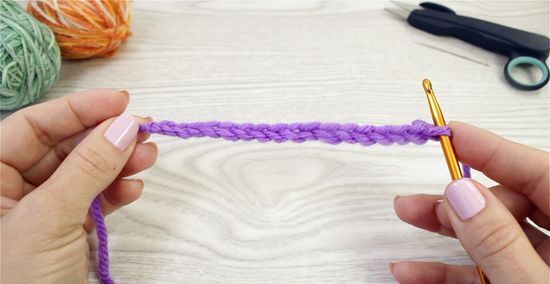
Chain 13 plus three stitches. To make a chain, loop the working end of the yarn over your hook in front of the slipknot. Then, pull this yarn through the slipknot to make your first chain. Chain 13 stitches and then chain three more for a total of 16 stitches. The extra three stitches will be your turning chain. These stitches provide some slack to start the new row. You will need to chain three before each new row for the entire scarf. Be careful not to make the chain links too tight or too loose. Try to keep them all at about the same size and tension.
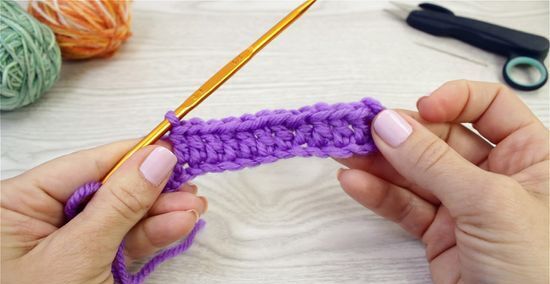
Do double crochet stitches for the first row. After you have your chain of 13 plus three, count back from the hook to the fifth chain from the hook. Then, double crochet into this chain. To double crochet, loop the yarn over the hook, and then insert the hook into the chain. Then, yarn over again and pull the yarn through the first stitch. Then, yarn over again and pull through two stitches. Then, yarn over again and pull through the remaining two stitches. This will complete your first double crochet stitch. Continue to double crochet to the end of the row.
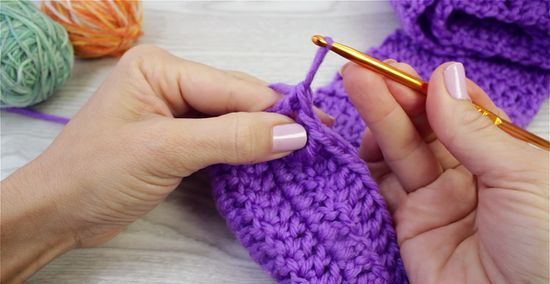
Chain three, skip one, and double crochet. For the second row, you will need to chain three again for your turning chain, then skip the first stitch, and then double crochet. Continue to double crochet to the end of the row. Repeat the same sequence for the next row and all rows after until the scarf is the length you want it to be.
Finish the scarf. After your scarf is the length you want it to be, you will need to finish it off. To finish the scarf, complete the last double crochet stitch, and then pull the loop to widen it so that it is at least a few inches long. Cut the loop in the center, and then pull out the cut yarn attached to the skein (ball of yarn). Then, pull the tail to tighten the knot that this will create. You can also tie a second knot through the last stitch to secure the tail even more. To hide the tail, thread the yarn through the darning or crochet needle and then weave it into the edge of the scarf. When you get close to the end of the tail, tie the yarn through another stitch to secure it and trim off the excess. EXPERT TIP Sarah Stearns Sarah Stearns DIY Specialist Sarah Stearns is a DIY Specialist, Artist, Maker, Blogger, and the Founder of SarahMaker.com. With over ten years of experience, she specializes in fun, approachable crafts like crocheting, making polymer clay jewelry, quilting, and creating Cricut projects. Her work has been featured in several publications, such as Scientific American, Good Housekeeping, Vox, and Apartment Therapy. Sarah holds a BA in Psychology from Vanderbilt University. Sarah Stearns Sarah Stearns DIY Specialist Find the right crochet projects for beginners. Start with small crochet projects like potholders or scarves that are stitched in easy, flat rows. Once you feel comfortable working in flat rows, you can move on to crocheting in the round by tackling fun projects like granny squares for a blanket or a basic beanie hat.
Customizing Your Scarf
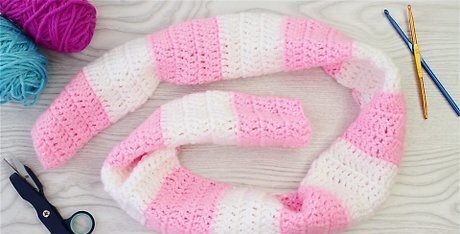
Use a special type or color of yarn. The yarn you use can change the whole look of your project. To make this scarf something you will want to wear for years to come, be sure to choose a special type or color of yarn. For example, you could use a smooth yarn, or one with texture. You could choose a solid color yarn, or one that is multicolor. Check your local craft store for the best variety of yarns and choose one that appeals to you.
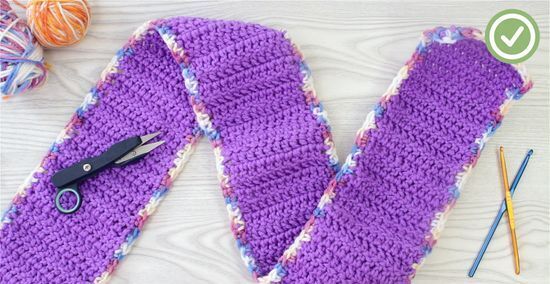
Add a border. Adding a border to your scarf is one easy way to embellish it and it will give you an opportunity to practice a new stitch or master the one you used for the scarf. To add a border, tie the end of your working yarn to a corner of your scarf and then begin working in the stitch along the long edge of the scarf. Loop all the way around the scarf one, two, or three times, and then finish the border the same way you finished the scarf. Some border stitches you might use for the scarf include: Single crochet Double crochet Triple crochet Petal cone edging (intermediate level)
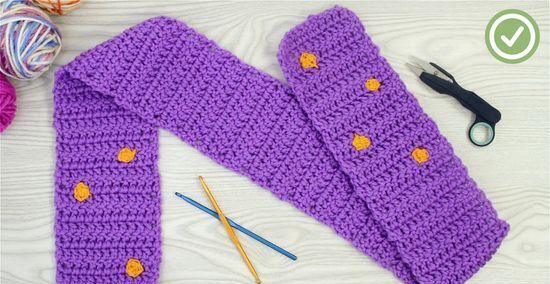
Try a surface stitch. Surface stitches allow you to easily add details to your finished crocheted project. You can use surface stitching to add stripes, dots, and edging. To do a surface stitch, you will need to have some contrasting yarn and a crochet hook. Then, you will need to anchor the yarn to the place on your scarf where you want to begin the surface stitch. For example, if you wanted to add dots, then you would start an inch or two in from the edge of your scarf. If you wanted to add edging, then you would start at a corner of your scarf. To add surface embellishments, work with the top stitches of your scarf. Do not go all the way through the garment. To do edging, you will need to go all the way through the stitches on the edge of the scarf.
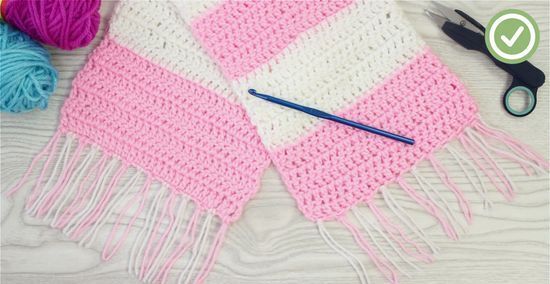
Create some fringe for the ends. Adding fringe is another neat way to embellish a scarf. To add fringe to the ends of your scarf, cut some yarn into equal sizes. Then, line up a few strands and insert them through one of the corner stitches. Line up the ends so they are even and then tie the strands in a knot to secure them. Repeat the process for every stitch all the way to the end of the short side of the scarf, and then repeat again to add fringe on the other end. One easy way to ensure that all of your fringe is the same size is to cut a piece of cardboard so that it is the length you want your fringe to be. Then wrap the yarn around and around the cardboard several times. Then, cut the yarn along one edge of the cardboard.
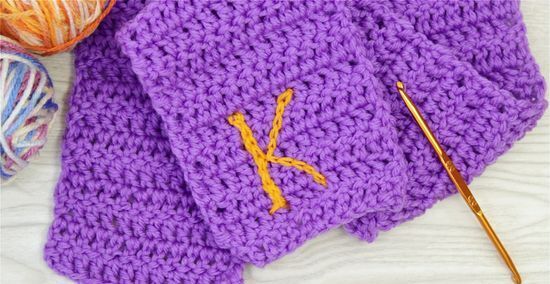
Weave in a monogram. You can embroider onto a crocheted project to embellish it as well. Try embroidering your crochet with your first initial or with your first and last initial. To do this, thread a darning needle or crochet needle with a contrasting color yarn. Then, insert the needle through one of the stitches, and bring it back through to the same side. Tie the yarn to anchor it to the scarf. Then, begin to stitch in and out of the scarf to create your desired letter. When you are finished, tie off the end and cut the excess yarn.







Comments
0 comment