views
Using a USB Cable to Sync
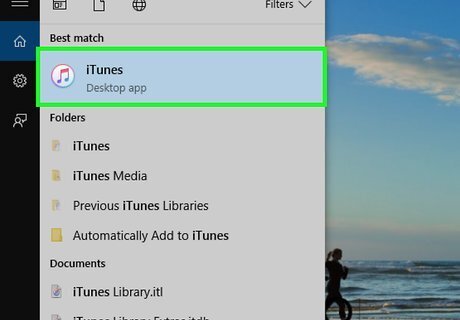
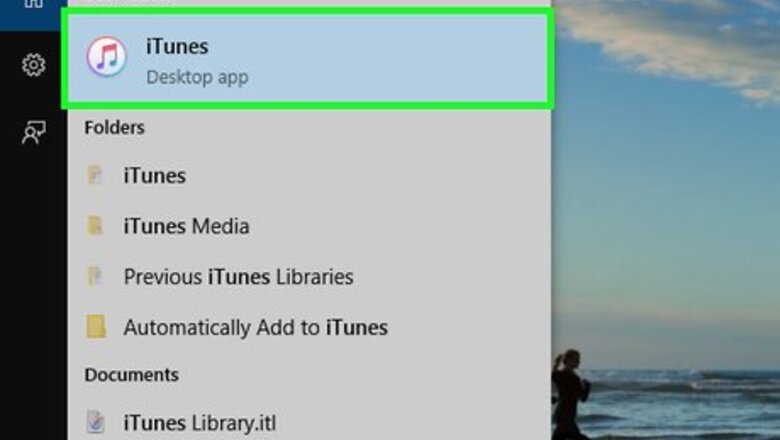
Open iTunes on your PC or Mac. If you’re using Windows, you’ll find iTunes in the Start menu (sometimes in a folder called All Apps). If you’re using macOS, click the music note icon in the Dock that runs along the bottom of the screen. If you don’t have iTunes on your computer, you can download the latest version for free from https://www.apple.com/itunes/download.
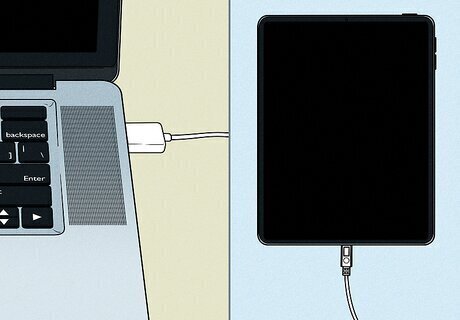
Connect the iPad to the computer using a USB cable. Use the cable that came with your iPad or a compatible replacement. You might be using a USB-C cable or USB to Lightning cable, depending on your iPad model. After a few moments, a button that looks like an iPhone or iPad will appear near the top-left corner of iTunes (to the right of the drop-down menu).
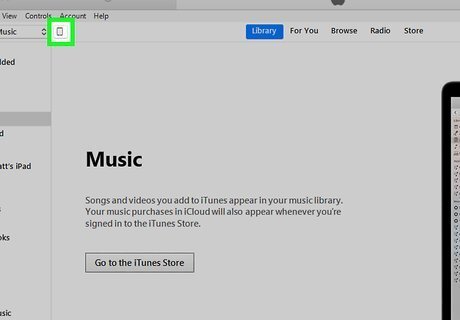
Click the iPad button. It’s the button near the top-left corner of iTunes next to the drop-down menu. Your iPad's name will appear at the top of the left panel. If you don’t see the button, make sure the iPad is turned on, unlocked, and open to the Home screen. If you see an alert on your iPad that says “Trust this Computer,” tap Trust, and then follow the on-screen instructions.
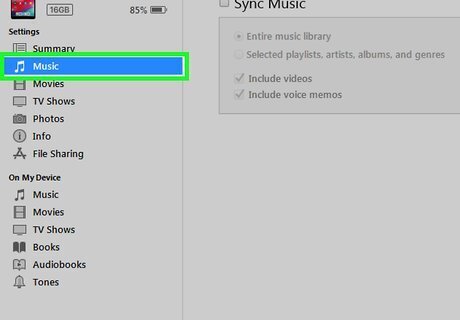
Click the type of content you want to sync. The options appear under the “Settings” header at the top of the left column. For example, if you want to sync music, click Music to open the Music settings in the main panel. To further tune your preferences, click Summary in the left column, and then select (or deselect) items under “Options.”
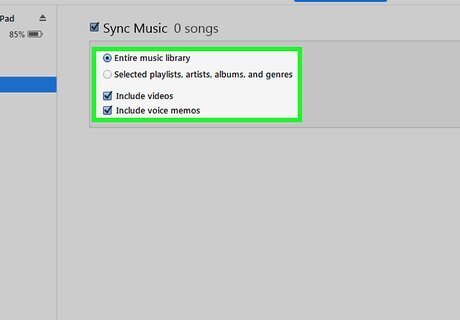
Select your syncing preferences. In the main (right) panel, check the boxes next to your desired preferences, and/or remove the checks from content you don’t want to sync.

Click Apply after making changes. If you changed your syncing preferences, click this button at the bottom-right corner of iTunes to sync. If you didn’t make changes, click Sync (also at the bottom-right corner) instead.

Click Done when you’re ready to disconnect. It’s at the bottom-right corner.
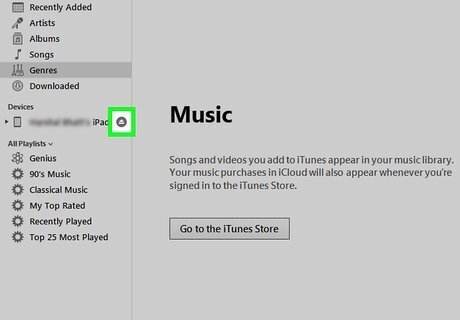
Click Eject Mac Eject. It’s next to the name of your iPad near the top-left corner of iTunes. The left panel will collapse and you can safely disconnect your iPad from the computer.
Setting Up Wireless Syncing
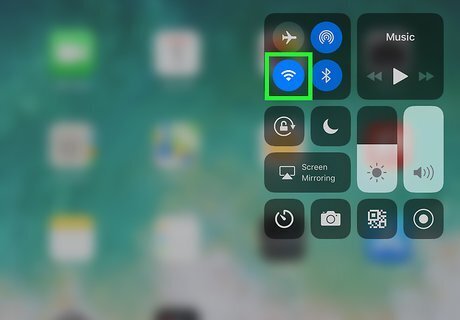
Connect your iPad to the same Wi-Fi network as the computer running iTunes. As long as your iPad and the computer with iTunes are connected to the same wireless network, you can use that network to sync content between devices without a USB cable. Here’s how to connect your iPad to a Wi-Fi network: Open Settings iPhone Settings App Icon. Tap Wi-Fi. Tap the network you want to join and enter the passcode if prompted. Once connected, a blue check mark will appear next to the network’s name.
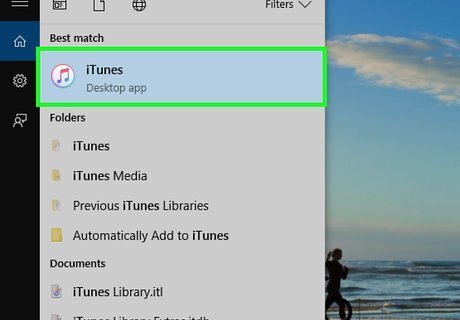
Open iTunes on your PC or Mac. If you’re using Windows, you’ll find iTunes in the Start menu (sometimes in a folder called All Apps). If you’re using macOS, click the music note icon in the Dock that runs along the bottom of the screen. If you don’t have iTunes on your computer, you can download the latest version for free from https://www.apple.com/itunes/download.
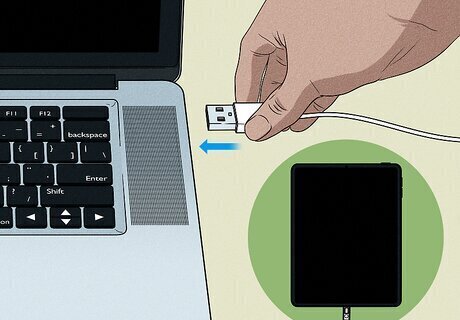
Connect the iPad to the computer using a USB cable. Use the cable that came with your iPad or a compatible replacement. You might be using a USB-C cable or USB to Lightning cable, depending on your iPad model. After a few moments, a button that looks like an iPhone or iPad will appear near the top-left corner of iTunes (to the right of the drop-down menu).
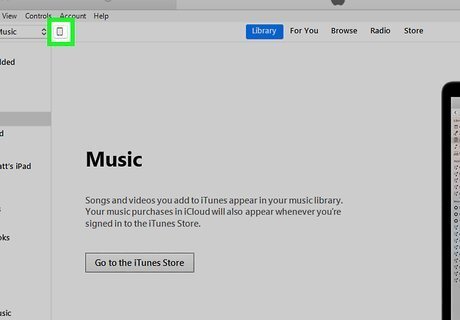
Click the iPad button. It’s the button near the top-left corner of iTunes next to the drop-down menu. Your iPad's name will appear at the top of the left panel. If you don’t see the button, make sure the iPad is turned on, unlocked, and open to the Home screen. If you see an alert on your iPad that says “Trust this Computer,” tap Trust, and then follow the on-screen instructions.
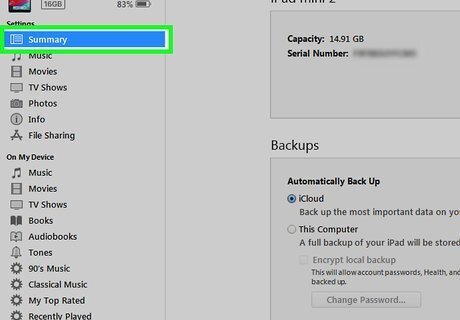
Click Summary. It’s the first option in the left panel (below the name of your iPad) under “Settings.”
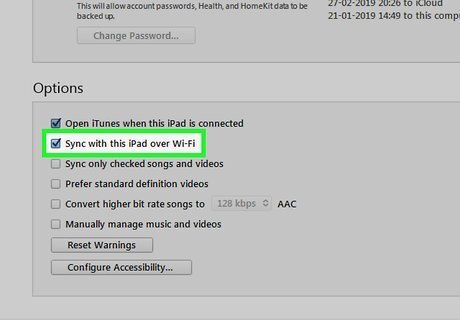
Check the box next to “Sync with this iPad over Wi-Fi.” It’s under the “Options” header near the bottom of the right panel.
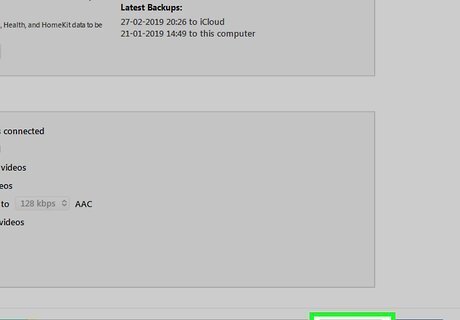
Click Apply. It’s near the bottom-right corner of iTunes (next to the “Done” button). Your iPad is now set up to sync to iTunes on this wireless network.
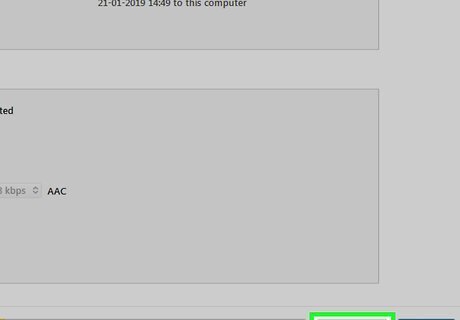
Click Sync if you'd like to sync now. It's near the bottom-right corner of the screen.

Click Done. It’s at the bottom-right corner. To disconnect your iPad from iTunes, click Mac Eject next to the iPad’s name near the top-left corner of iTunes.
Sync over Wi-Fi. When you're ready to sync over Wi-Fi, simply connect both devices to the same Wi-Fi network, click the iPad button in iTunes, and then click Sync.
Troubleshooting
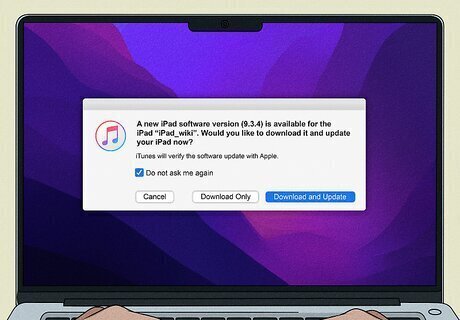
Check for an iTunes update. If iTunes isn't working, or nothing happens when you plug in your iPad, check if iTunes needs to be updated. iTunes will usually prompt you to update the software when it detects a new update, but you can always double-check manually as well. To check for updates, click Help in the menu bar, then click Check for updates. Download and install any pending updates.
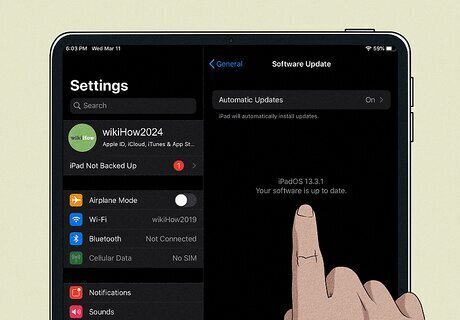
Check for an iPadOS update. Similarly, if your iPad isn't showing up in iTunes when you plug it in, it may need an update. Your iPad will usually prompt you to update when a new version is available, but you can check manually as well. To get the latest iPadOS update, go to the Settings app, then tap on General > Software Update. If a new update is available, download and install it before trying again.
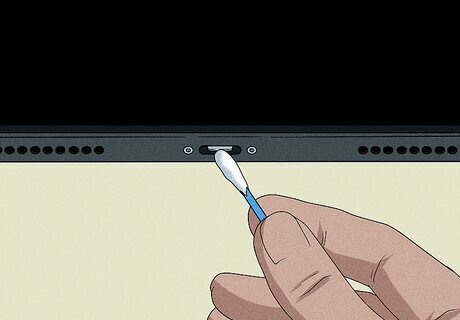
Clean your charging port. If your iPad doesn't show that it's charging when you plug it into your computer, there's a good chance something in the charging port is blocking the connection. Use a can of condensed air and a toothpick or soft-bristled toothbrush to carefully clean out any debris from the charging port before trying again.


Comments
0 comment