views
Replacing a Propane Tank
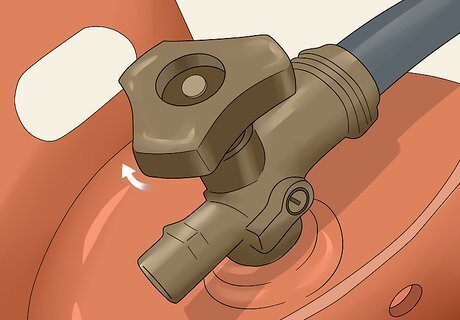
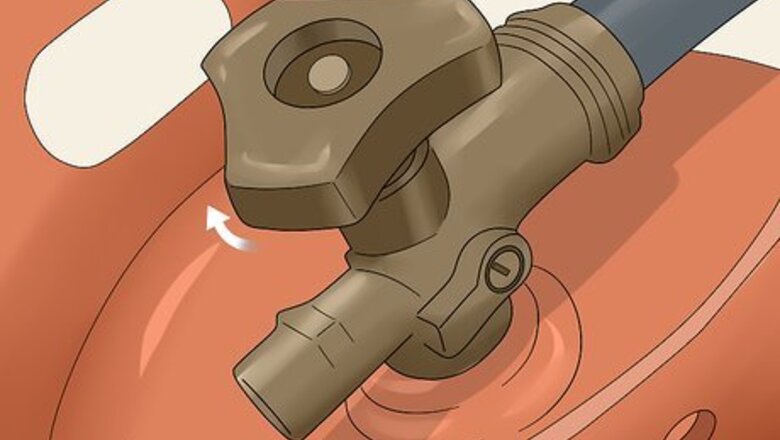
Rotate the valve on the tank clockwise to turn it off. Look for a circular or gear-shaped valve on top of the propane tank, which is usually labeled with arrows. Turn the valve clockwise as far as you’re able to so gas doesn’t start leaking out when you disconnect it. Turn the valve off even if you think the propane tank is empty since it may still contain small amounts of gas. Propane is extremely flammable, so even a small amount could ignite and cause damage. Avoid forcing the valve any further than it’s able to go since you could damage the tank.
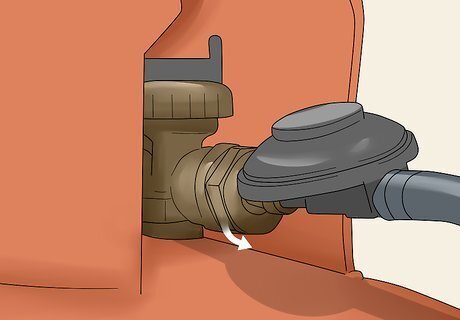
Unscrew the regulator from the propane tank. Look for the large circular or rectangular regulator attached to the side of the tank’s valve and locate the nut holding it in place. Try turning the nut by hand first to see if it comes loose. If you’re unable to loosen it by hand, use a spanner wrench to turn the nut clockwise. Pull the regulator off of the tank and set it aside for now. You may smell a small amount of propane when you remove the regulator since there could have been gas trapped inside it. Wear safety glasses while disconnecting the tank since the small amount of gas left inside may irritate your eyes. Contact your city’s local government to find out how to properly dispose of your old tank.Tip: Check local hardware stores to see if they allow you to exchange empty propane tanks with ones that are full. As long as there isn’t any physical damage on the tank, you should be able to exchange it.
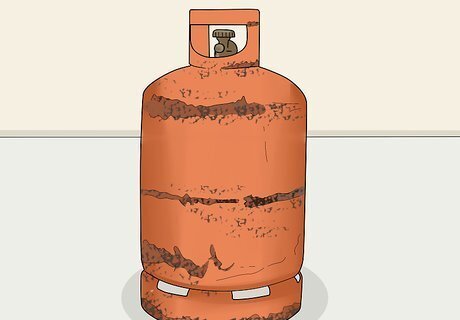
Check the new propane tank for damage before breaking its seal. Make sure the new propane tank doesn’t have any exterior damage, such as dents or bulges, and ensure that the printed date on the bottle is less than 12 years old. If everything looks okay, unscrew the plastic cap on the side of the tank’s valve to expose the gasket, which is where you’ll reattach the regulator. Avoid using any tanks that are older than 12 years or have exterior damage since they’re more likely to break and could be dangerous. Wear closed-toed shoes if you’re transporting or carrying the tank so you’re less likely to injure yourself.
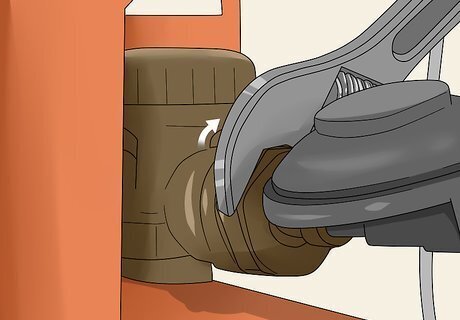
Secure the regulator onto the gasket with a wrench. Hold the end of the regulator against the gasket so the nut lines up with the threading. Turn the nut counterclockwise by hand as tight as you can. Then, try turning the nut a half-turn further with a spanner wrench to ensure a tight seal on the tank. If you meet resistance while tightening the regulator nut, avoid forcing it any tighter since you could damage the gasket. If the regulator doesn’t fit on the gasket well, try unscrewing it and checking it for damage. Replace the regulator if it has any damage since it could leak otherwise. Avoid using a propane tank without a regulator since it will release gas quickly and make it difficult to control flames.
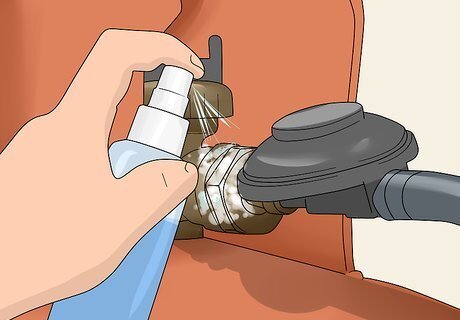
Spray the connection with soapy water while the gas is on to check for leaks. Turn the valve counterclockwise so gas flows out of the tank and through the regulator. Fill a spray bottle with water and add 1–2 teaspoons (4.9–9.9 ml) of liquid dish soap. Shake the solution so it’s thoroughly mixed before spraying a stream directly on the connection between the gasket and the regulator. If you notice any bubbles forming, the connection may be leaking. If the connection has a gas leak, try unscrewing it and checking for damage before attempting to reattach it. If there’s damage on either the regulator or the tank, get a replacement. You can also buy gas leak detection fluid from your local hardware store if you don’t want to use soapy water. Keep your propane tank turned off whenever you aren’t using it to conserve gas and prevent any harmful leaks.
Connecting a Butane Tank
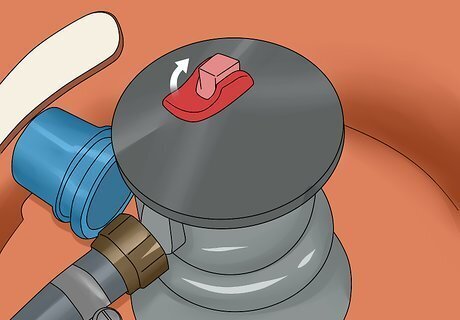
Switch the tank’s regulator to the Off position. Look for the cylindrical or circular regulator connected to a metal stem sticking up from the top of the tank. If the switch on the regulator says “On” or shows an image of a red flame, then turn it to the Off position so any residual gas doesn’t leak out when you remove it. The regulator controls the gas flow coming out of the tank so it maintains a steady and constant stream. Butane is extremely flammable, so make sure you're not working by an open flame or other ignition sources.
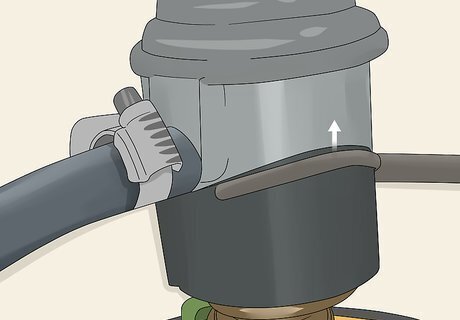
Pull up on the regulator’s locking ring to take it off of the tank. Locate the black plastic ring on the bottom of the regulator and lift it up until you hear a clicking noise. Lift the regulator straight up from the tank so you don’t damage its stem. Set the regulator aside for now and remove the tank from where it’s mounted. Don’t remove the regulator at an angle since you could bend or damage the valve on the butane tank. Wear safety glasses to prevent eye irritation since a small amount of gas could escape from the regulator. Reach out to your city’s local government or waste management facility to find out how to properly throw away the old tank.Variation: If the regulator doesn’t have a ring on the bottom, there may be a locking button or dial on the side. Push the button or dial in to release the regulator from the valve.
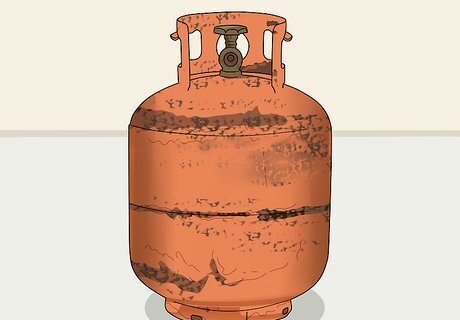
Inspect the new butane tank for damage before removing the valve’s seal. Make sure the butane tank doesn’t have any dents, welds, or cracks in the body, or else it can be unsafe to use. If it doesn’t have any damage, locate the plastic seal covering the valve at the top of the tank. Push down on the seal and rotate it counterclockwise to unscrew it from the valve. Never use a propane tank that has exterior damage since it could be more likely to break. If you need to transport or carry the new butane tank, put on closed-toed shoes to protect yourself from injuries.
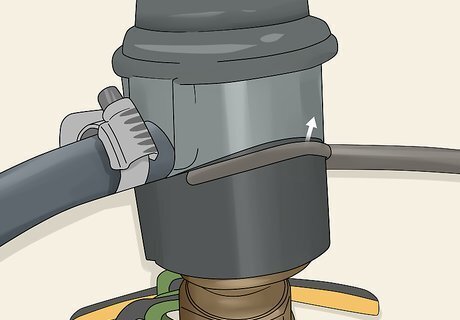
Hold the locking ring up as you push the regulator onto the valve. Grab the regulator with both hands so it’s perfectly vertical and the locking ring is on the bottom. Use your fingers to pull the locking ring up so it’s tight against the regulator’s body. Push the regulator down onto the valve until you hear it click into place. Let go of the locking ring to secure the regulator. If you used a button to remove the regulator, simply push the regulator onto the valve without holding the button down. The regulator will click once it’s secured to the valve.
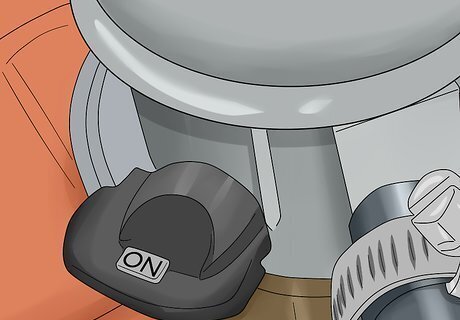
Turn on the regulator to start the gas flow and test the connection. Use the switch or dial on the regulator and change it to the On position, which is usually labeled with the word “On” or a picture of a red flame. Use the burner or torch that you attached to the tank to ensure gas flows through it properly. If the gas doesn’t work properly, turn off the regulator before removing it from the tank. Inspect the valve and regulator for damage and replace them as needed. Turn off the regulator whenever you’re finished using butane so it doesn’t leak afterward.
Changing a SodaStream Gas Bottle
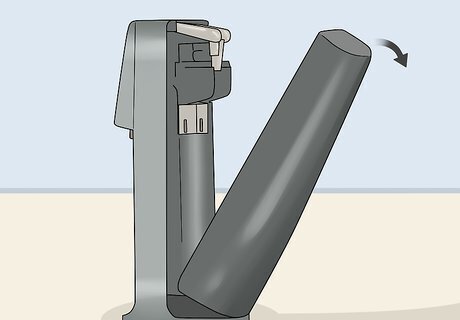
Take off the back cover from your SodaStream machine. Turn the SodaStream machine around to locate a black or grey button on the back side. Press down on the button until you hear it click, which means it’s released the back cover. Pull the back cover up and set it aside while you’re working. You will see the CO2 bottle in the middle of the machine.Variation: If the back cover doesn’t come off, try holding the button down and lifting the top of the SodaStream machine. If that still doesn’t work, check the owner’s manual to see how to properly access the CO2 bottle.
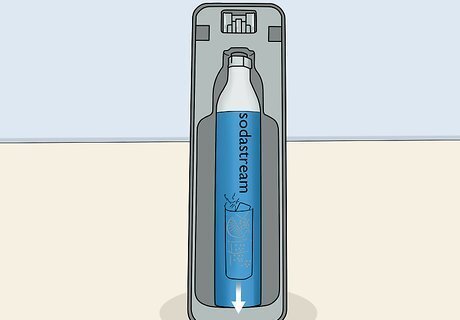
Unscrew the CO2 bottle from the machine to remove it. Grab the bottle and carefully turn it counterclockwise to loosen it. Keep spinning it until it comes loose from the port at the top of the machine. Pull the bottle out of the machine at a slight angle and throw it away with your regular trash. Check on the SodaStream website to see if there are any CO2 exchange programs in your area. Sometimes, you may be able to turn in your empty bottle in exchange for a full one at a discount.
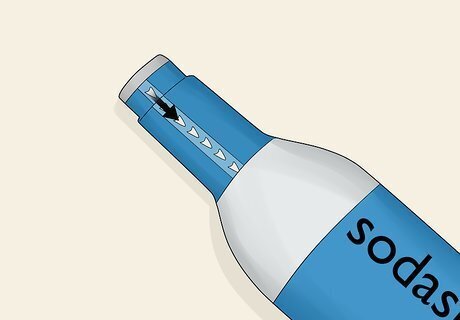
Remove the seal from the new CO2 bottle. Make sure the CO2 bottle you buy is compatible with the SodaStream model you own, or else it may not fit in the machine properly. Tear the plastic cap off the end of the bottle and inspect it for any damage. If the seal cap was already broken, avoid using the bottle since it may be damaged or contaminated. You can buy SodaStream CO2 bottles from kitchen supply stores or online. Avoid using off-brand CO2 bottles since they may not fit in the machine properly.
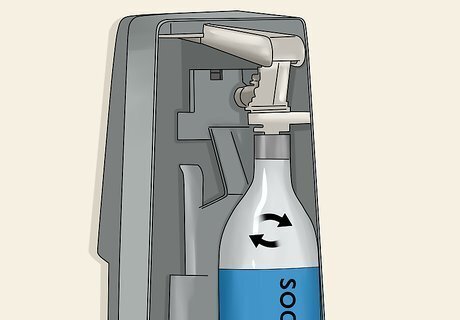
Turn the bottle clockwise in the port to tighten it. Slide the CO2 bottle into the machine so the top of the bottle lines up with the port near the top of the machine. Push the bottle against the port and screw it in clockwise until it’s hand-tight. Avoid over-tightening the bottle since you could damage the machine. Don’t use tools to tighten the bottle, or else you could break the bottle or the machine.
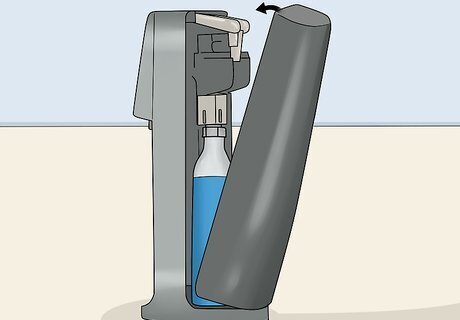
Slide the back cover into place until it clicks. Position the back cover over the bottle so the latches on the side line up. Carefully push the cover straight down until you hear it click into place to ensure it’s secure. After that, you can use the SodaStream like normal to carbonate your drinks. Don’t force the back cover onto the machine since you could cause it to break.




Comments
0 comment