views
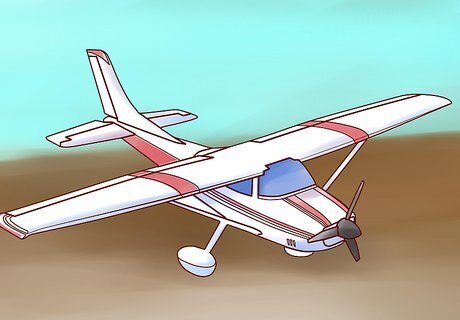
There are 4 basic stages to building a plastic model airplane from a kit, and they are planning, assembly, painting, and finishing.
Planning
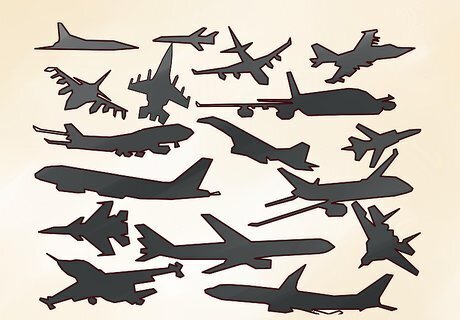
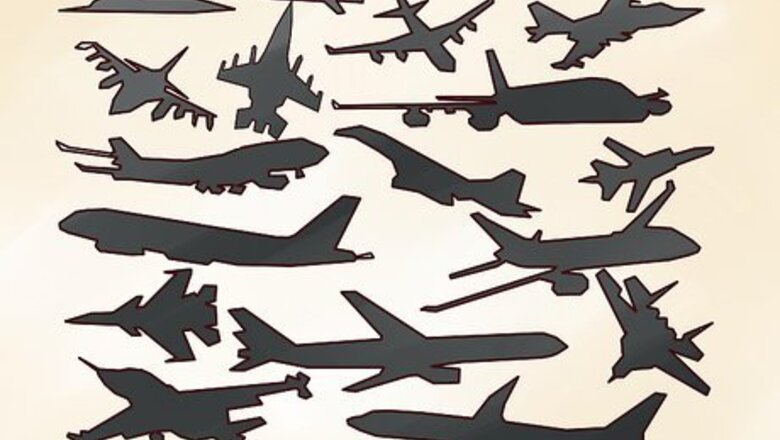
Before starting, you must decide on the model you wish to build. Among the model airplane categories there includes fighter, transport, military transport, private, ultra-light, airliner, glider, and others. Choosing what type of model you build is usually as easy as picking your favourite, but some models are easier to build than others. For example, combat aircraft are usually more difficult, often requiring complex camouflage patterns and a familiarity with the proper use of an airbrush. The model you end up choosing should be the result of a balance between your interest and your abilities.
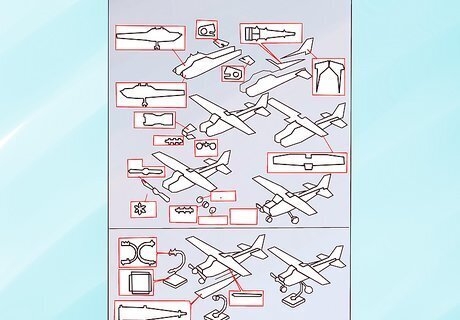
Do research. Building a model is not as easy as opening the instructions and following them step-by-step. The first thing you must do before assembling any parts is to read the instructions thoroughly, from the introductions, steps and paint list, all the way to the parts list. Most model airplanes will be packaged with an alternate set of paint schemes and sometimes even parts. Choosing which paint scheme and aircraft variant must be done before any assembly takes place. Background knowledge of the aircraft may help you choose which type you want to build.
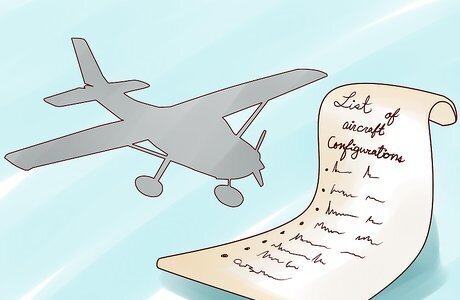
Choose what configuration you want your aircraft to have. The configuration may include whether the landing gear is up or down, the doors open or closed, the air-brakes or thrust reversers extended or retracted. In the case of combat aircraft, you must also choose whether to include the weapons and drop-tanks. If the kit you are planning to build includes a pilot or passengers, you must choose whether to install them as well. Finally, choose whether you wish to “weather” your aircraft. Weathering may include soot trailing from the engine exhaust, gun ports, engine cowl, etc… consider the type of aircraft you wish to build and base your choices on the situations that aircraft may find itself in. For example, combat aircraft usually appear more weathered than commercial aircraft. Write down all configuration choices you have made so as to keep a picture of the aircraft fresh in your mind, or at least close at hand.
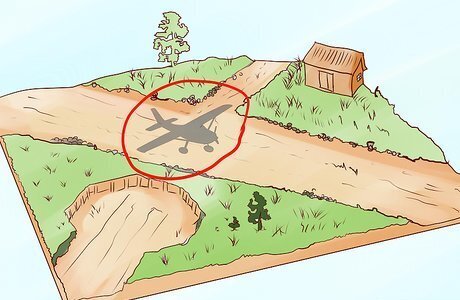
Decide whether you wish to expound on your model by including it in a diorama or building separate elements to supplement it. Some kits come with weapons racks, vehicles for maneuvering the aircraft on the ground, and/or ground personnel. These objects may be useful to set the place of your model, but may also be inappropriate based on your aircraft configuration (for example, an aircraft in flight on a stand will seem out of place next to a toiling maintenance team). If you are ambitious enough, you may choose to build a diorama or separate elements from scratch. Such a diorama should be sketched out to aid in building it, and a clear materials list must be kept in preparation for its assembly.
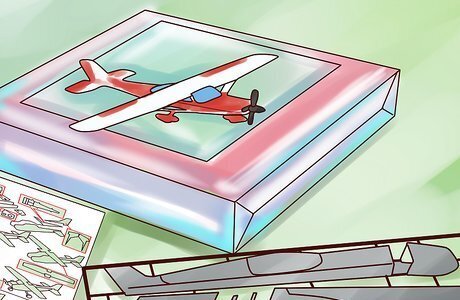
Choose the order of assembly. While the paper instructions included with the kit will have a beginning and an end, it may not be advisable to follow the order of assembly step by step. The installation of some parts may inhibit the installation of other parts further along, and if you must paint one part but not the part next to it, you may also have some difficulty. Assembling the aircraft in your head before opening your tube of glue is imperative, and must be clearly defined and recorded to make the assembly as fun and as easy as possible.
Assembly
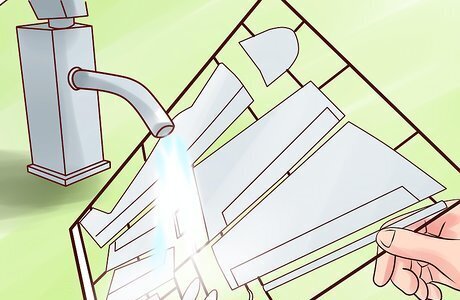
Ensure all parts are clean. Dust and oil may inhibit the adhesion of paints and glues, as well as detract from the authenticity and “look” of the model. You can remove dust and oil with warm water and a very small amount of detergent. Bathe the parts, still on their sprues, in a shallow basin for several minutes, agitating them occasionally. After that, rinse them thoroughly before drying them with a clean paper towel. No detergent or water must be allowed on the parts as they are assembled.
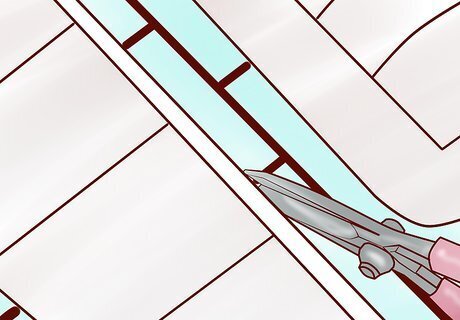
Use a small pair of scissors or shears to remove the parts from their respective sprues. Using a knife to remove parts is difficult, dangerous, and may damage the part. Only when the part is removed may you use a fine knife to remove any flash or excess sprue still attached.
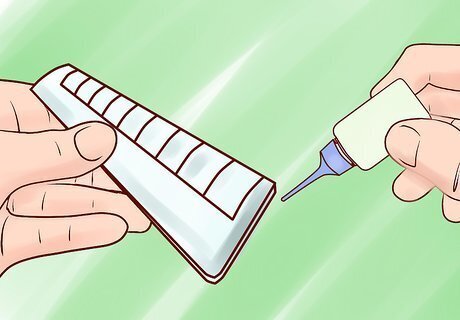
Before gluing parts together, always ensure that the contact points are clean and that the parts fit well. When applying the plastic cement, only apply to one of the parts. An excessive amount of plastic cement will not only prolong or prevent proper adhesion, but may also melt and deform the parts. Plastic cement must always be used as conservatively as possible. When gluing clear parts, such as windows or canopies, try to avoid plastic cement. This is because plastic cement can “fog” clear plastic even in areas where not directly applied. For clear parts, use white glue. Gaps between parts may become apparent after assembly. To remove a gap that is too large to overlook, it may become necessary to separate the parts, adjust their fit, and re-adhere. Another option is to fill the gap with modeling putty or another substance that dries to hardness and can be smoothed and painted over. When applying putty, only the smallest amount is required. An excessive amount will be difficult to remove later and in the case of clear parts, may be impossible to remove without evident damage to the part beneath. Follow the instructions on the packaging and use a plastic tool to apply the putty, so as not to scratch the model. If an assembled part is not adhering properly in some places, it may not be necessary to separate the parts and re-adhere. Another option is to use liquid plastic cement to re-adhere the parts. By applying a small amount of liquid glue to the outside of the gap, the glue is drawn into the gap by capillary action. It is important not to apply too much glue, for the reasons above, but also because too much glue may remain outside the gap and dry to hard, malformed bubbles. In general, less than a drop will suffice. When the glue has been applied, hold the parts firmly together until proper adhesion is assured.
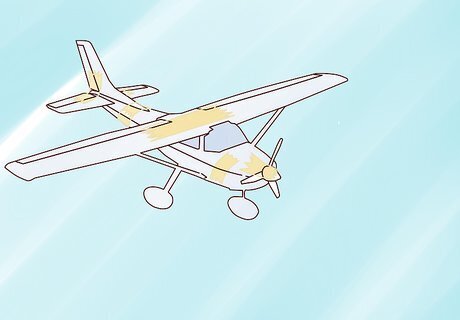
Once two parts are glued together, it may be necessary to clamp them together until the glue sets. This may be done by holding the two parts firmly together with your hands, but you may also use a variety of tools to do the same job. Elastic bands, clothespins, plastic clamps, tape, and wire are all suitable materials. When applying the clamps, make sure that the pressure exerted on the parts is great enough to keep the parts together, but not nearly enough to deform or break them. Also make sure that whatever clamp you choose to use will not scratch the plastic.
Painting
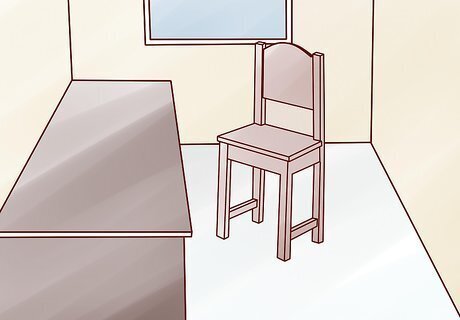
Choose a suitable place to paint. You should not paint where dust or other airborne particles may adhere to your work. Choose a clean, dry place, between 5 and 30 degrees Celsius to apply and dry paint.
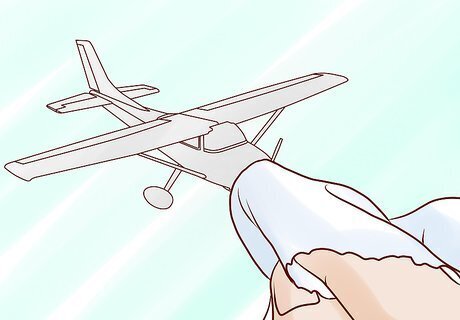
Before painting a part, make sure it is clean and dry. Painting over particles will not remove or hide them, but trap them in place.
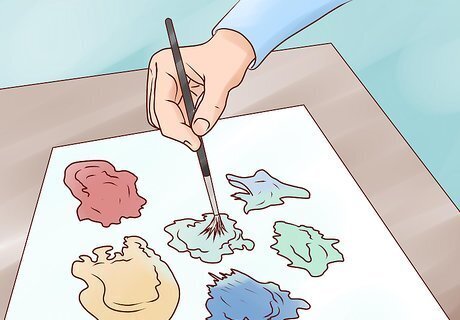
Ensure that the paint you are about to use is mixed to a thorough consistency. Start by striking the closed container of paint sharply and repeatedly against the palm of your hand. After about 20 strikes, open the container and mix the paint thoroughly with a stir stick. A piece of sprue shortened to length makes an excellent and accessible stir-stick.
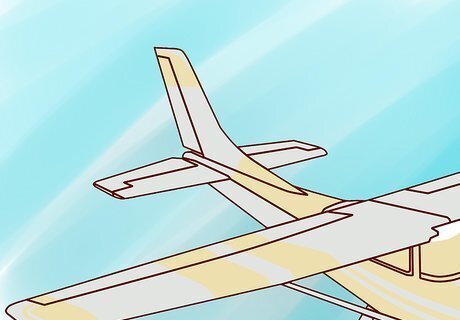
It may become necessary to mask adjacent parts from the part you wish to paint, so as not to accidentally get paint on that part. Masking can be in the form of masking tape or liquid masker. With masking tape, it is necessary to cut the tape to the size of the area you wish to mask. Before applying the tape, it is good practice to remove some of its “stickiness” by applying it to another material and removing it again. This makes the tape easier to remove once painting is complete. When applying masking tape to the part, ensure that no gaps are present along the edges of the tape. The other method of masking, using liquid masker, may be preferred for smaller or awkwardly-shaped parts. To apply a liquid masker simply use an old, clean brush, and wait for it to dry. Once the part is painted it should be allowed to partially but not completely dry before the masker is removed. Completely dry paint runs the risk of “tearing” if the mask is removed, whereas paint that is too thin may flow to the masked part once the mask is removed.
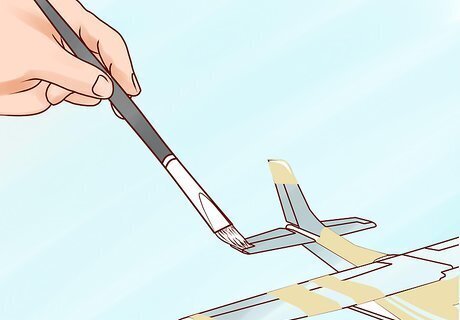
When painting with a brush, always ensure that it is of appropriate size and that there are no loose or stray bristles. Brush painting should be reserved for small or isolated parts or parts that require a certain finish to them. Applying paint with a brush leaves striations in the direction of brush travel, and must not be used for exteriors or large surfaces.
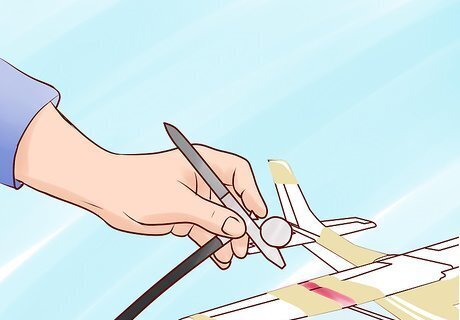
You should always follow the published instructions included with your airbrush, but some key points to especially remember are to keep you airbrush perpendicular and of fixed distance from your work, and to paint in one direction only (unless painting camouflage patterns). Airbrushing provides an even coat of paint, and while being better suited for large surfaces, may be used on smaller parts whose surroundings are properly masked.
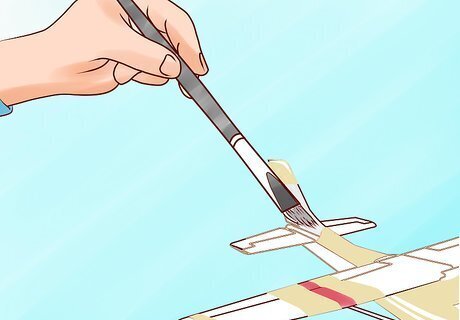
Dry brushing is a technique that employs only a small amount of paint, usually to achieve the effect of weathering. To dry brush, take a dry paintbrush and apply a small amount of paint to it. Next, brush off any excess paint on a piece of paper until the result is an inconsistent streak of paint which resembles the weathering you are trying to achieve. Paint the weathering onto the model before the paint dries further. It may be necessary to reapply the paint and remove the excess several times before the level of weathering you want is reached.
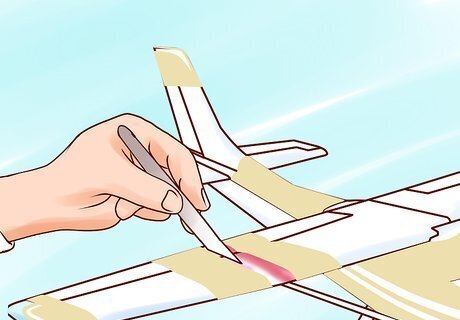
After painting, it may become apparent that some paint needs to be removed, whether it holds dust, has found its way onto an adjacent part, or simply is the wrong colour. To remove paint you may either scrape it off or use a solvent. Scraping is appropriate for small, flat parts and may be performed easily with a small, sharp knife. Solvents can range from specially designed paint removers to brake-fluid, but the method of application usually remains consistent. Using a brush, apply a small amount of solvent to the part you wish to remove paint from. After the designated amount of time, remove it carefully with a clean paper towel. Not only will the solvent come off on the towel, but a portion of the paint will, too. Repeat this process until all the paint has been removed. For large parts, it may be practical to submerge the entire part in a solvent to effectively remove the paint.
Finishing
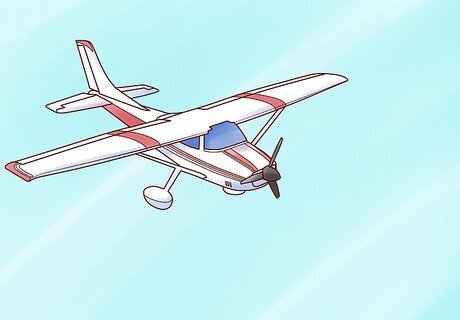
Ensure that all paint and glue on your model is perfectly dry. It is good practice to start applying decals the day after you finish assembly and painting. Ensure also that your model is free of contaminants and dust, so nothing may be trapped underneath a decal.
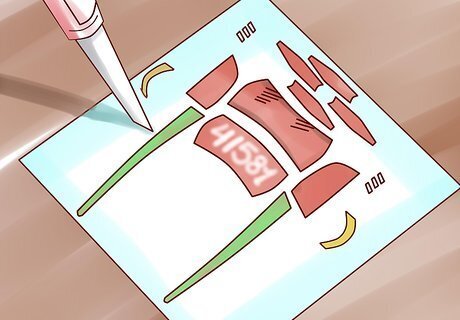
Cut out all the decals you wish to apply with a sharp knife. It is not necessary to cut out the decals perfectly; rather you should leave a few millimeters around each decal to avoid cutting it accidentally.
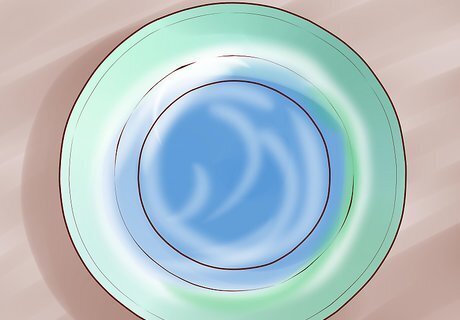
Fill a bowl or shallow cup with warm water. The water should be at least lukewarm to remove the decals from the paper they are printed on, but not scalding hot. Never use boiling water to apply decals.
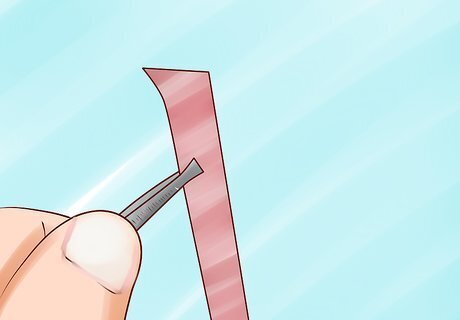
Hold the paper the decals are printed on with a pair of tweezers. Make sure you are not gripping a part of the decal itself under the tweezers.
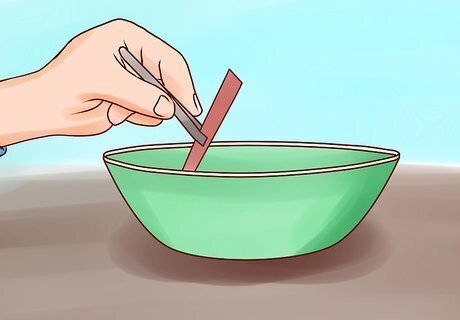
Submerge the decal in the warm water for approximately twenty seconds. At this time the decal will lose most of its adhesion to the paper and is ready to be applied to the model.
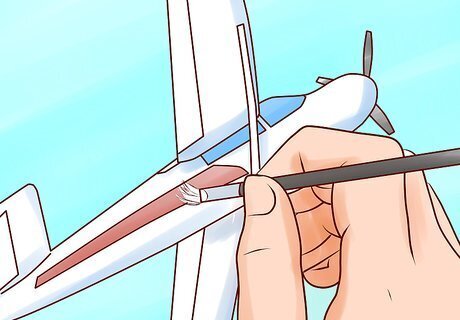
Hold the paper the decal is printed on close to the part you are applying the decal to. The edge of the paper must be lying on the edge of the part, so the decal is transferred immediately from paper to part. Using a clean, wet brush, maneuver the decal onto the part and position it accordingly. Ensure that all air bubbles and creases are removed from the decal by pushing them out with the brush.
Dry the decal by very gently by dabbing it with a clean paper towel. The decal should be left alone for an hour to allow it to dry completely. Until then, it may be accidentally repositioned. To reposition a partially dry decal, simply apply some warm water with the brush and maneuver it back into position.





Comments
0 comment