views
Adjusting the Height
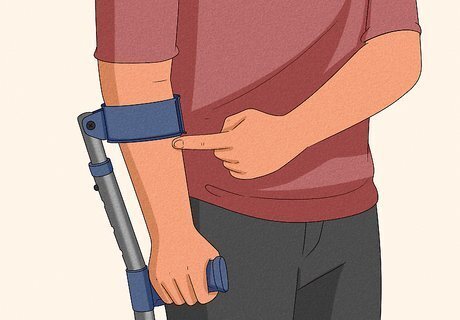
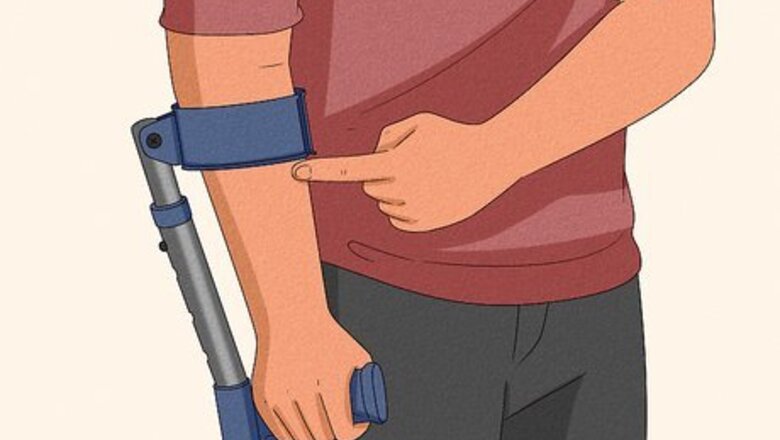
Check the height of the handgrip. The first thing to do when you are adjusting crutches is to measure where the handgrip is in relation to your height. Stand up straight, relax your shoulders, and let your arms hang down loosely at your sides. Ask someone to help you balance if necessary, and place one crutch at your side. Check to see where the handgrip is in relation to your arm. It should be level with your wrist. Make sure you keep your arm hanging down at your side, fully extended. If the handgrip is not level with the crease of your wrist you will need to adjust it.
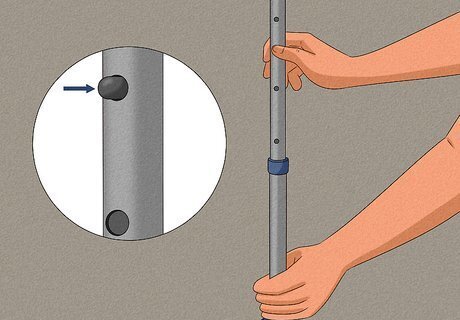
Adjust the height of the handgrip. If, after checking the height, you discover that you need to adjust the height of the handgrip, you will need to locate the spring buttons on the leg extensions of your crutches. There will be a small button or protruding metal knob along a series of small holes on the side of each crutch. To adjust the height you simply have to push in this button and shorten or lengthen the leg extension by pushing it up or pulling it down. If it doesn't move, the spring button is probably not completely pushed in.
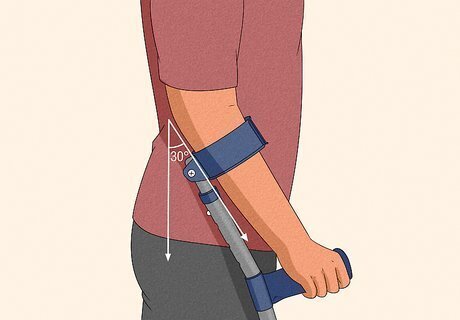
Check the adjusted height. Once you think you have the crutches at the right height you can do a quick test to check. Stand normally and take hold of the handgrips as you would if you were using the crutches. Now look at the angle of your elbow. Your elbow should be bent somewhere between 15 and 30 degrees. You can look in a mirror or ask someone to judge the angle for you if you can't see it. Be sure you check that both crutches are the same height.
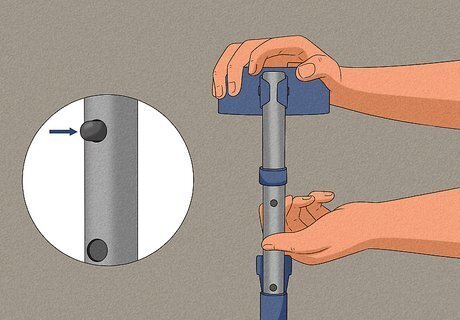
Fix the crutches at the right height. Once you have successfully adjusted the height of the crutches you need to fix them in place so they don't shift around. The first thing to do is ensure that the spring button is securely in place in the hole you have moved it to. It should be firm and you should not be able to move the leg extension up or down. After checking this, tighten the ring you can find below all the adjustment holes. This ring is called the collar, and you can tighten it like you would a screw or a jar lid.
Adjusting the Cuffs
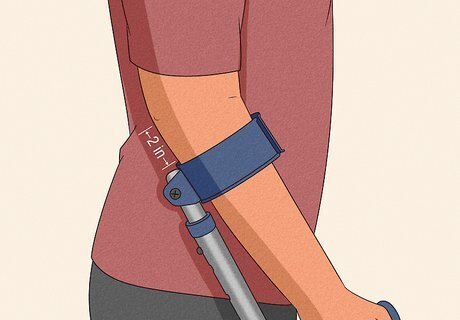
Check the position of the cuffs. After adjusting the height of the crutches you can go ahead any make any necessary adjustments to the cuffs. The cuffs are the ring-shaped pieces of plastic which you place your arm through when you are using the crutches. When you put your arm through and stand up, the cuffs should be situated around your forearm, just below your elbow. Or, more precisely, one or two inches below the bend in your elbow. They should not restrict your ability to bend your elbow.
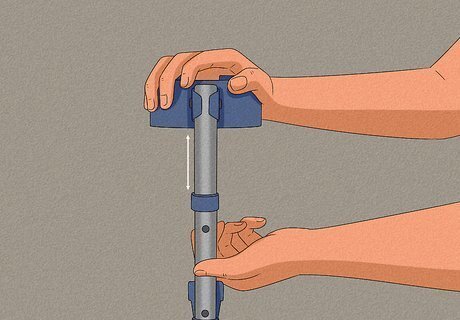
Adjust the cuff position. If the cuffs are not in right place, you will need to make some adjustments to enable you to use the crutches easily and safely. Adjusting the cuffs is much like adjusting the height of the handgrip. Find the spring button in each cuff. The button will be at the back of the cuff, where it is attached to the crutch itself. Push the button in and shift the cuffs up or down according to your requirements. You will see that the cuffs move up and down a series of adjustment holes that are visible along the side of your crutch. If your cuff is more of a horseshoe shape and has an opening, the opening should be facing forward, the way you are facing.
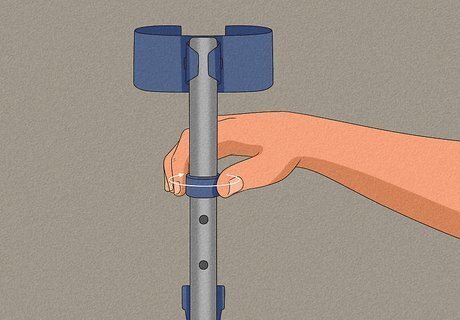
Secure the cuffs in position. When you have the cuffs at the right height and they are comfortable, you can fix them in place. First, check that the spring button is secure and not too easy to push in. Next you just need to tighten the collars below the cuff on each crutch. You should also check that the collar you tightened after adjusting the height is still secure. Sometimes with forearm crutches you can widen or narrow the width of the cuffs so you get a good fit around your arm. You want to be able to move freely, but with a secure fit.




Comments
0 comment