
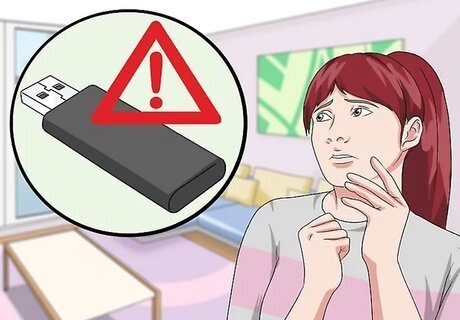
Scanning and Repairing a Flash Drive on Windows
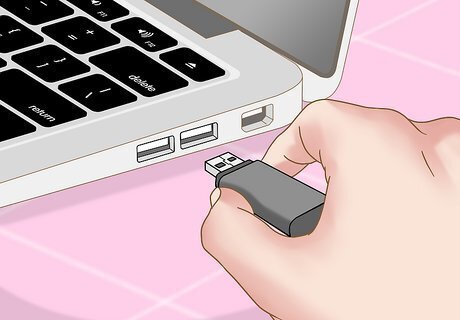
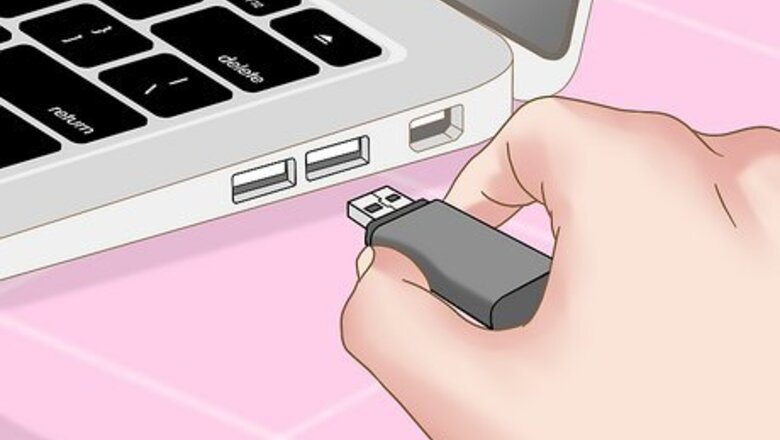
Plug your flash drive into your computer. The flash drive should fit into one of the rectangular USB ports on your computer's monitor, tower, or laptop's casing.
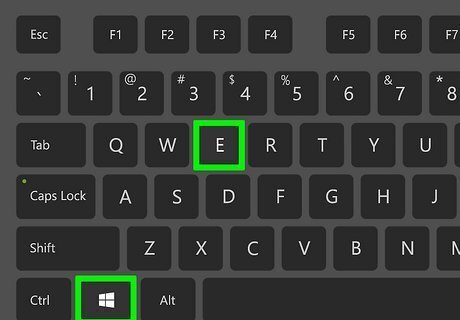
Press ⊞ Win+E to open File Explorer Windows File Explorer. This opens File Explorer on Windows, and you can use File Explorer to navigate to your flash drive.
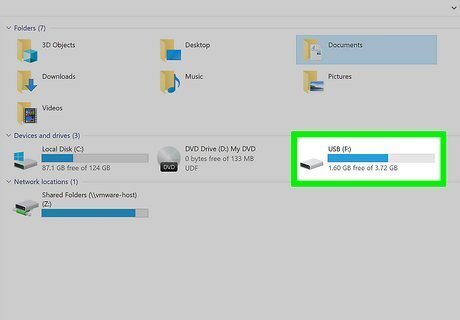
Right-click your flash drive's icon. Doing so prompts a menu to appear to the right of the drive. You may need to click > next to This PC first in order to view the flash drive.
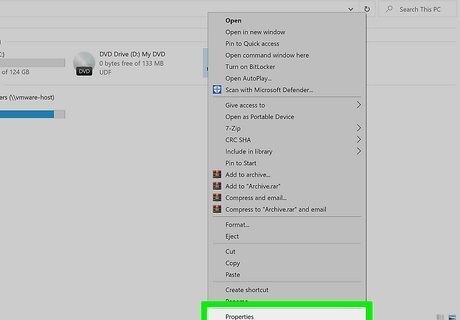
Click Properties. It's at the bottom of the menu that appears when you right-click a drive.
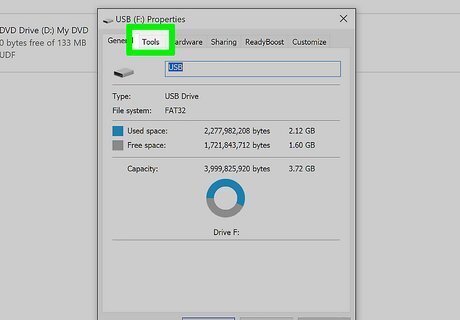
Click the Tools tab. This option is at the top of the Properties window.
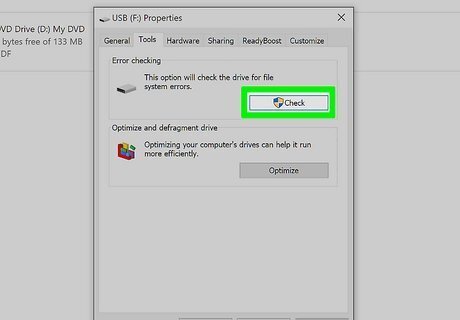
Click Check. You'll see this button at the top of the Tools tab in the "Error checking" section.
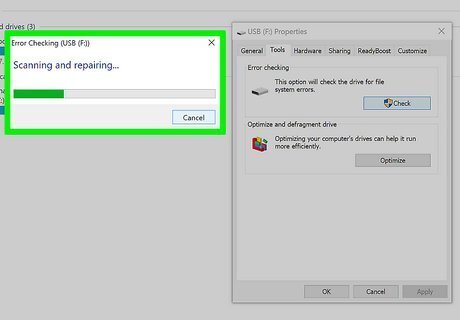
Wait for Windows to repair your drive. You may also need to follow some on-screen instructions during the repair process. For example, you might need to confirm that you want to repair the drive by clicking Scan & Repair.
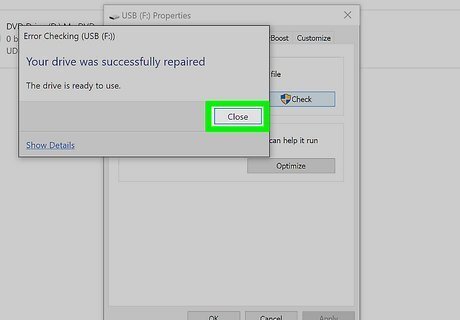
Click Close when prompted. If your flash drive's problems were driver- or software-based, it should work now.
Scanning and Repairing a Flash Drive on Mac
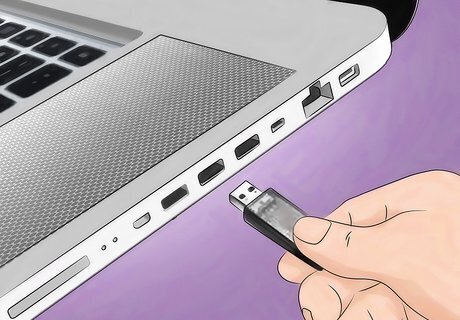
Plug your flash drive into your computer. The flash drive should fit into one of the rectangular USB ports on your Mac's monitor.
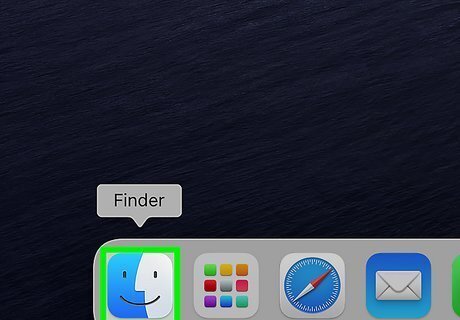
Open Finder Mac Finder. You'll find it in the Dock.
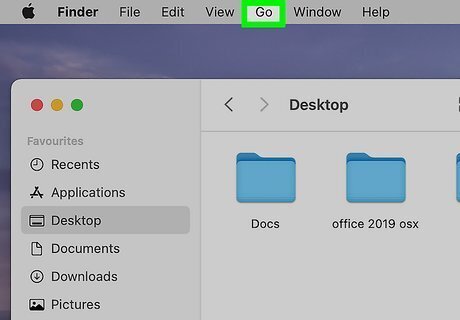
Click the Go menu item. It's in the menu bar that runs along the top of your screen with the Apple logo.
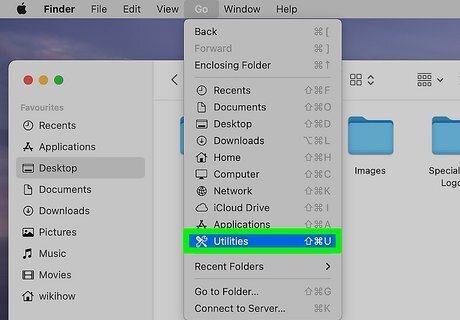
Click Utilities. It's an option near the bottom of the Go drop-down menu. Alternatively, you can press the keyboard shortcut Shift + Cmd + U to open Utilities.
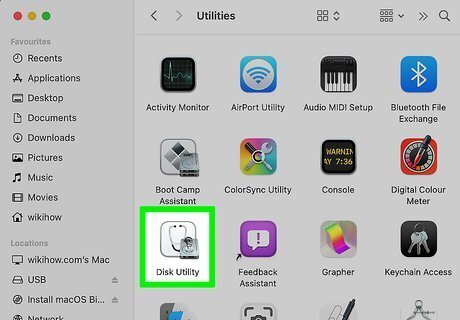
Double-click Disk Utility. It resembles a stethoscope on top of a hard drive icon.
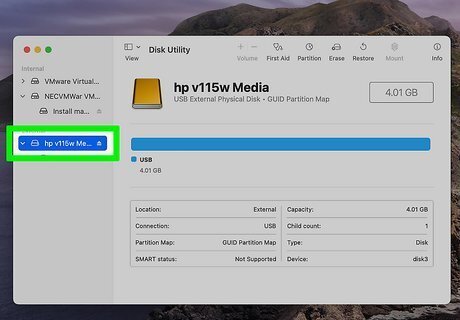
Select your flash drive. This is the indented icon below the "External" heading.
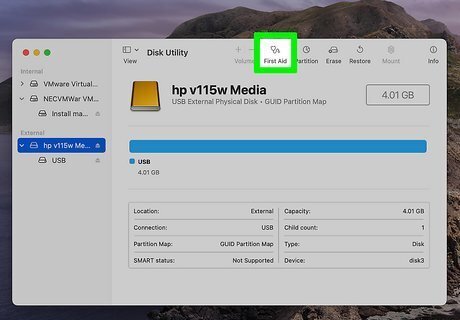
Click First Aid. It's at the top of the Disk Utility window.
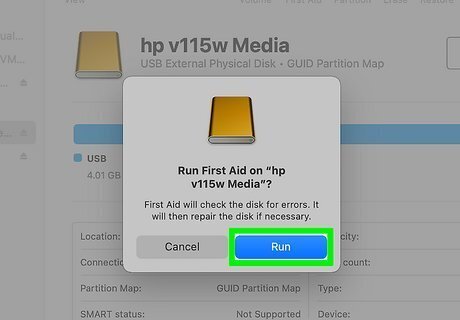
Click Run when prompted. It's the blue button on the pop-up window.
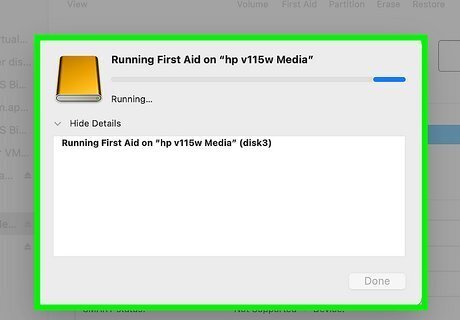
Wait for the scan to complete. Disk Utility will repair any software- or driver-related problems.
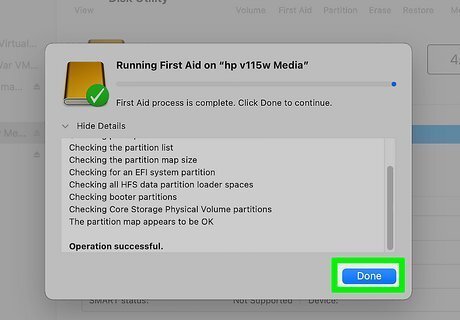
Click Done when prompted. If your flash drive's problems were driver- or software-based, it should work now.
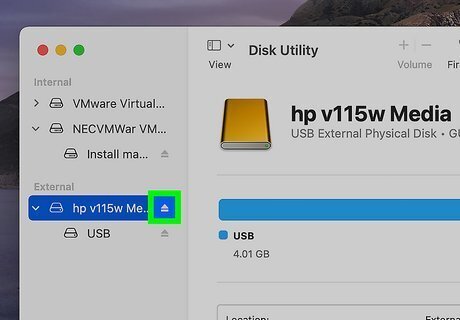
Click Mac Eject. When you are finished using a flash drive on a Mac, always eject it before removing it. This prevents damage from being done to your flash drive. To eject it, click the eject icon next to the drive in the Finder, or click and drag it to the Eject icon in the Dock when on your desktop.
Repairing Physical Damage
Understand that physically repairing a flash drive is unlikely to work. Unless you have professional experience in repairing physically damaged flash drives, do not try to open it. If the flash drive's internal storage is damaged, your only viable option is to take the drive into a professional repair service. The prices for data recovery can vary from $20 - $850 based on the severity of damage to the drive, and the type of recovery required.

Look for grit or foreign objects in the USB drive's mouth and your computer's USB port. It may not be able to connect because of an easily removed blockage. If you see something inside of the USB drive's mouth or the USB port on your computer, gently swab it out with a toothpick or a q-tip.

Try testing the flash drive on another USB port or computer. It may be the USB port on your computer that isn't working rather than the USB drive itself.


Comments
0 comment