views
Using the HP Smart App
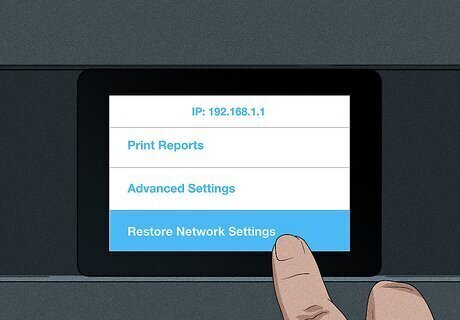
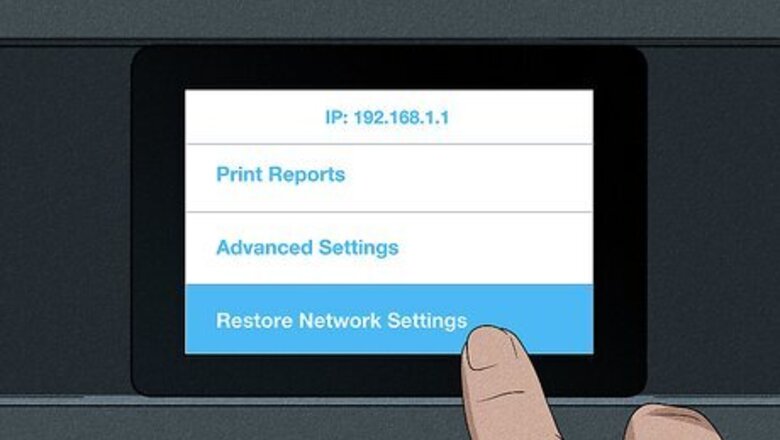
Enable Setup Mode on your HP printer. This allows the HP Smart app to connect your printer to a Wi-Fi network. If your printer was previously connected to a different Wi-Fi network, enabling setup mode will reset those settings. To enable setup mode: If the printer has a touchscreen, tap the Wireless or Setup menu, then go to Network setup/Settings > Restore Network Settings. If there is no touchscreen, press and hold the Wi-Fi and X buttons for 5 seconds until you see the Power light blink. Release the buttons and wait at least 60 seconds for the Wireless light to blink blue. If you're using the printer with a guest network, like in a college dorm room or hotel, this method won't work, and you'll need to connect with the Wi-Fi direct connection instead.
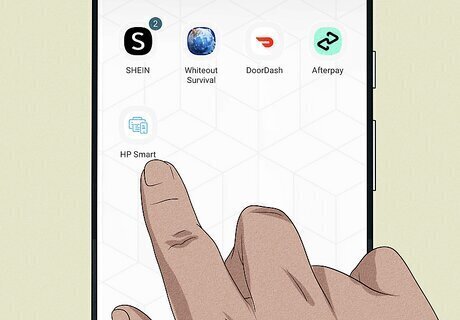
Open the HP Smart app on your computer or phone. If you don't already have it, you can get it for free from the Microsoft Store (for Windows computers and mobile devices), App Store (for Macs), iOS App Store (for iPads and iPhones), and the [https://play.google.com/store/apps/details?id=com.hp.printercontrol&hl=en_US&gl=US Google Play Store (for Android tablets and phones). Turn on Bluetooth on your computer or mobile device using the HP Smart app so it can find the printer. Click or tap Accept All if you see a "Welcome to HP Smart" window when you open the app.
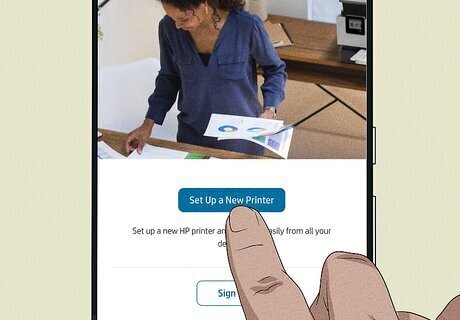
Select Set Up a New Printer or Add Printer. Exactly what's on the screen varies depending on your device. If the printer you're using has an "e" after the model name (like HP OfficeJet Pro 9020e or ENVY Inspire 7200e), you have an HP+ printer, meaning more features are tied to your account. At this point in the app, click or tap Sign In and sign in with your HP account name and password. Return to your printer and tap either the check icon or the information button to continue.
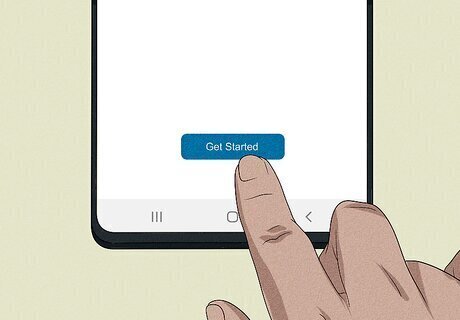
Select Get Started. It's generally the first option you see. You must do this within 2 hours of putting your printer in Restore Network Settings.
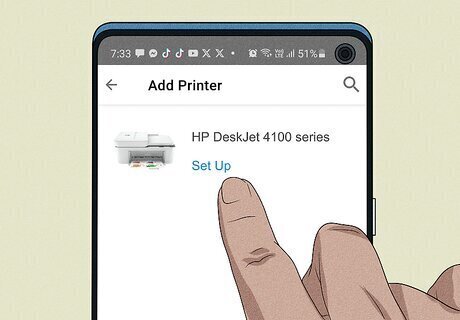
Click or tap Set Up next to your printer's icon. Once you opt to Get Started setting up a new printer, your app will scan for printers that are ready to connect. If you don't see your printer, turn it off, turn it back on, and re-enable Setup Mode so the Wireless light is blue again. Proceed following on-screen instructions to complete the connection. It might take a few minutes before the printer appears in the app for you to use it. If you have an HP+ printer, tap Continue and either Activate HP+ or Confirm. Sign into your account again, then follow the on-screen instructions to claim your free ink.
Using Wireless Setup Wizard (Touchscreen)
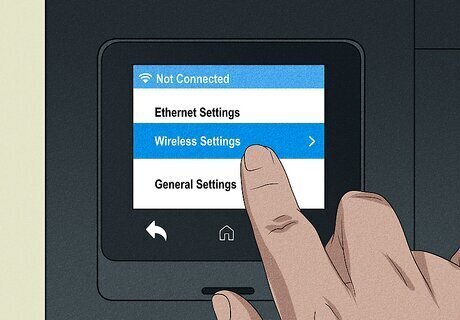
Open the Setup, Network, or Wireless settings menu on your printer. The name of this menu varies depending on your printer type. Use this method if the printer has a touchscreen.
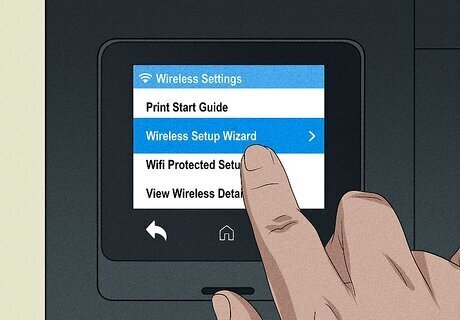
Select Wireless Setup Wizard. If you don't see this option, select Wi-Fi Protected Setup, WPS, or Push Button. Look at Easy Ways to Find the WPS PIN for Printers: Common + Specific Models for help getting your WPS PIN. EXPERT TIP Brandon Phipps Brandon Phipps Technology Specialist Brandon Phipps is a Technology Specialist based in Bakersfield, CA. He is the owner of Second Star Technologies and specializes in Managed IT Services for small and mid-sized businesses in Bakersfield, CA. With over 23 years of experience, he offers expert cloud computing, cybersecurity, and network management solutions. Brandon is a committed community member and coach who leads and innovates in tech and sports coaching. His dedication to local businesses and communities is evident in his hands-on, tailored approach to IT solutions. Brandon Phipps Brandon Phipps Technology Specialist Wi-Fi Protected Setup (WPS) enables wireless connectivity between your printer and router. This feature connects your printer to a wireless network without using a computer or network name and password. Instead, you will use the WPS button or the WPS pin (unique code used for device connection).
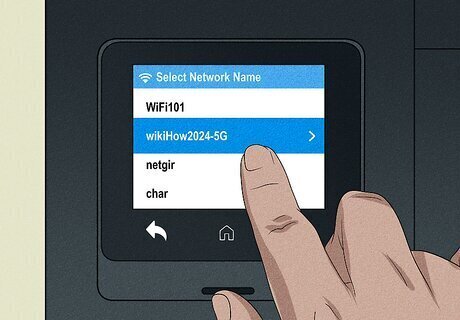
Connect to your Wi-Fi network. Select the network from the list, then enter the password. Once connected, use HP Smart to print, scan, and copy from your printer wirelessly!
Using Wireless Setup Wizard (No Touchscreen)
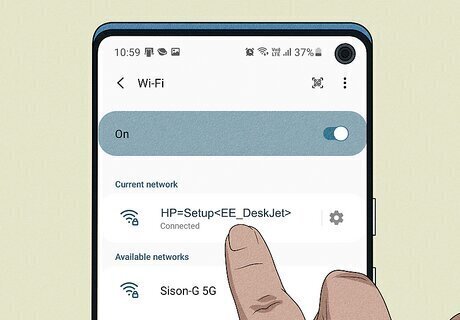
Connect to your printer's private Wi-Fi from your computer, tablet, or phone. It'll be called something like like "HP=Setup
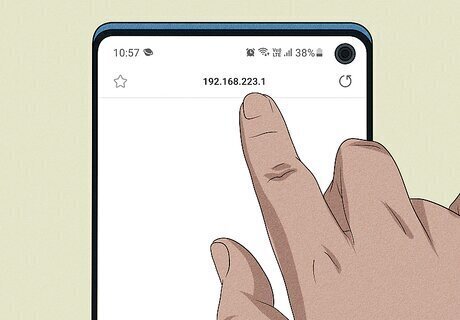
Go to https://192.168.223.1 in a web browser. If you see an error message, continue to the page. You might need to select Show Advanced > Proceed. You'll see the printer's Embedded Web Server (EWS).
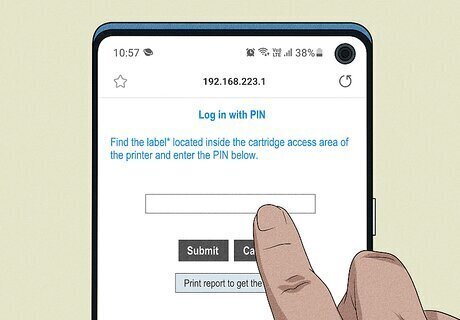
Enter the PIN. You'll find it in the printer's cartridge access area.
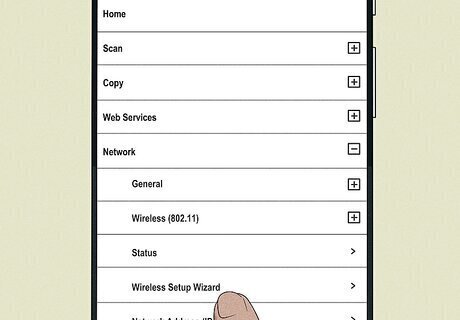
Start the Wireless Setup Wizard. To do this, go to Network > Wireless > Wireless Setup Wizard > Next. Select your Wi-Fi network and enter the password to continue. If you are using a VPN, disable it temporarily. Once you add your Wi-Fi network, the EWS will connect the printer to Wi-Fi, and you can add the printer to your HP Smart app.
Using Wi-Fi Protected Setup
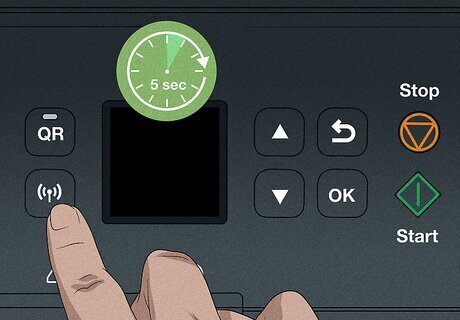
Press and hold the Wi-Fi button on your printer for 5 seconds. The light should start flashing. For HP Deskjet 6000, 6400, ENVY 6000, 6400, and Tango printers, press and hold the Wi-Fi and Power buttons on the back of the printer for 3 seconds until the Edge or Wireless light starts flashing. This method only works if you don't have a touchscreen.
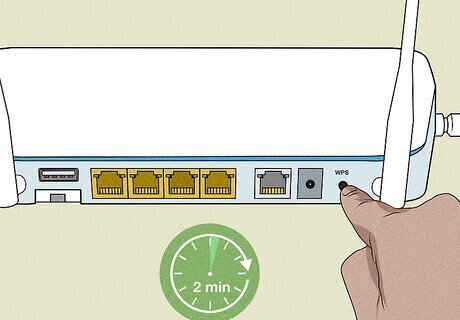
Press the WPS button on your router. You must do this within 2 minutes of putting your printer in Wi-Fi Protected Setup Mode or the mode will deactivate. When the light next to the "Wireless" button on your printer stops flashing, it's connected to your Wi-Fi network, and you can connect it to the HP Smart app to use it.




Comments
0 comment