
Printing Questions and Responses

Go to https://docs.google.com/forms on your computer. If you're not already signed in, follow the on-screen instructions to sign in now. Make sure you use the same login info you used to create the form. You can also access Forms from the Google Docs home page by clicking on the 3 horizontal lines in the top left and selecting Forms. Use this method if you want to print the questions and bubbled responses from every responder. For more concise data in table-form, see the Google Sheets method.
Click on your Google form. Look for it under Recent forms, or select from a folder that you created.

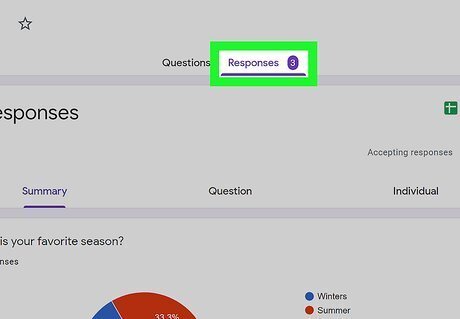
Click Responses. This is at the top next to Questions.

Click ⋮. You can find this in the first tile, next to the Sheets icon.
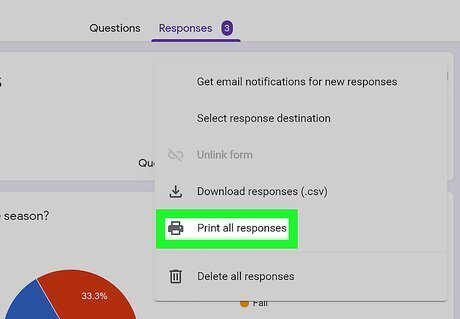
Select Print all responses. This will open the Print window. If you want to print individual responses, click Individual in the first tile instead. Then, click the print icon.
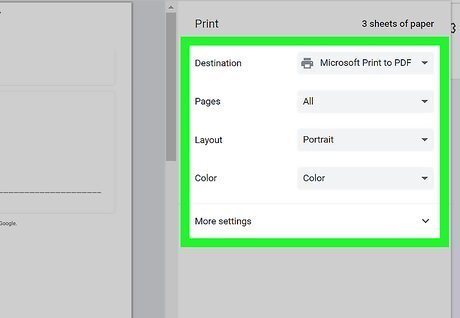
Click the "Destination" drop-down menu and select a printer. If you have any printers connected, you'll see them listed here. Be sure to set any page, layout, or color settings. To save the responses as a PDF, select Save as PDF and choose a save destination. Microsoft devices will also have the Microsoft Print to PDF option.
Click Print. The document will be sent to your printer or saved as a PDF in the designated save location.
Printing Data in Google Sheets
Go to https://docs.google.com/forms on your computer. If you're not already signed in, follow the on-screen instructions to sign in now. Make sure you use the same login info you used to create the form.

Click on your Google form. Look for it under Recent forms, or select from a folder that you created.

Click Responses. This is at the top next to Questions.
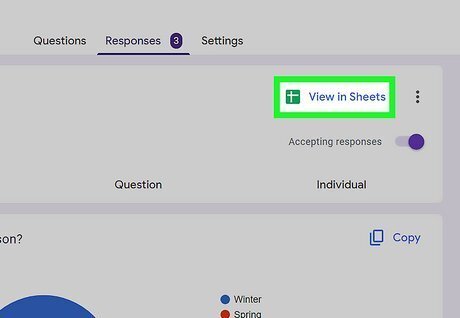
Click View in Sheets. This is on the right side of the first tile. Google Sheets will open in a new tab or window with the form's raw data.
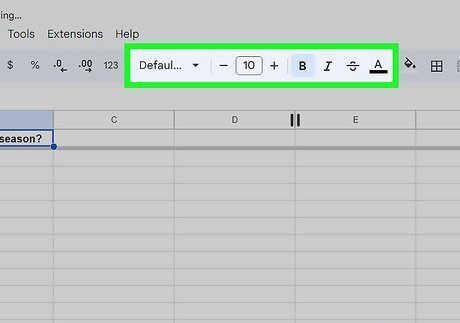
Format the table if desired. Use the settings at the top to change the way that your table looks. For instance, you can change the font style, font color, or draw borders around the table.
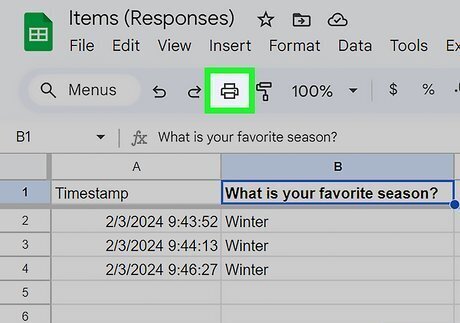
Click on the print Android 7 Print icon. It's in the top-left area next to the redo button. You can also press CTRL + P or CMD + P to print.
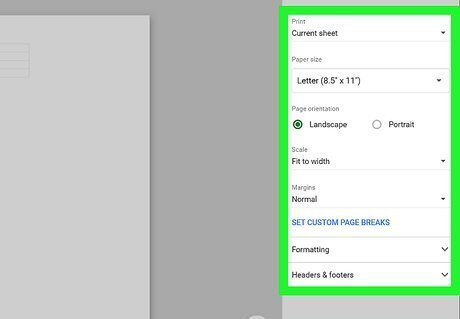
Edit any desired settings. For instance, change the scale to "Fit to width" to fit all columns on the page, or select "Normal" to view it larger.
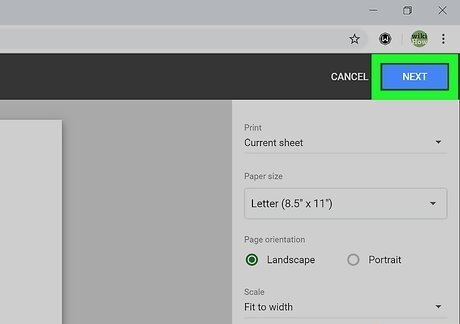
Click Next. This is a blue button in the top right corner.
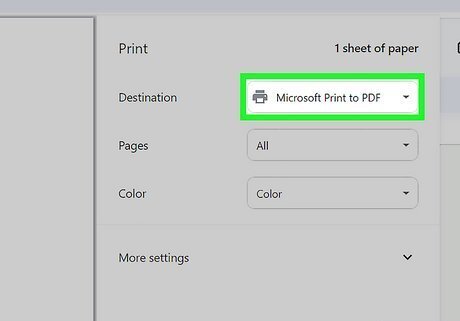
Click the "Destination" drop-down menu and select a printer. If you have any printers connected, you'll see them listed here. Be sure to set any page, layout, or color settings. To save the responses as a PDF, select Save as PDF and choose a save destination. Microsoft devices will also have the Microsoft Print to PDF option.
Click Print. The document will be sent to your printer or saved as a PDF in the designated save location.
Printing a .CSV File

Go to https://docs.google.com/forms on your computer. If you're not already signed in, follow the on-screen instructions to sign in now. Make sure you use the same login info you used to create the form.

Click on your Google form. Look for it under Recent forms, or select from a folder that you created.
Click Responses. This is at the top next to Questions.
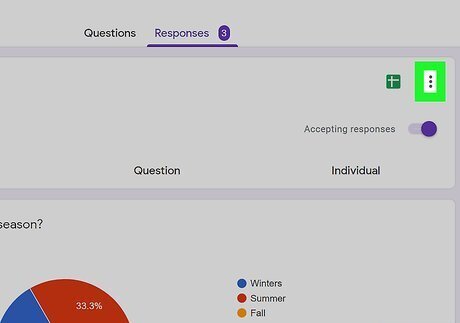
Click ⋮. You can find this in the first tile, next to the Sheets icon.
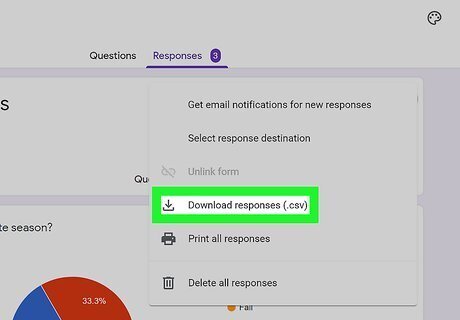
Select Download responses. This will download the table as a .CSV file, which can be read and opened by Microsoft Excel. This file should automatically download into your computer's Downloads folder. If it doesn't, specify a save location.
Open the ZIP file. You can find this in your computer's Downloads folder, unless you specified a different location.
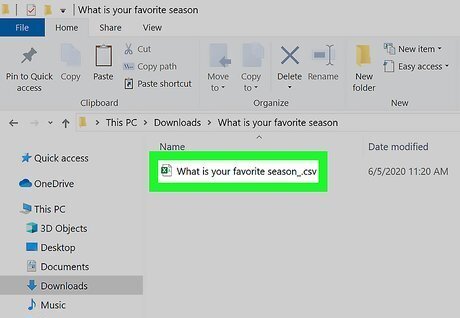
Double-click on the CSV to open it. This will launch the file in Microsoft Excel if set as your default program. Otherwise, you may need to specify a program.
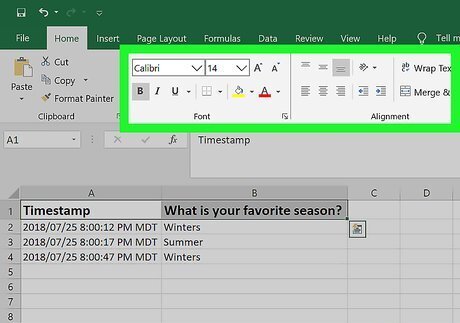
Format the table if desired. Use the settings at the top to change the way that your table looks. For instance, you can change the font style, font color, or draw borders around the table. Select the table and click Format as table in the Home tab to choose a preset table design.
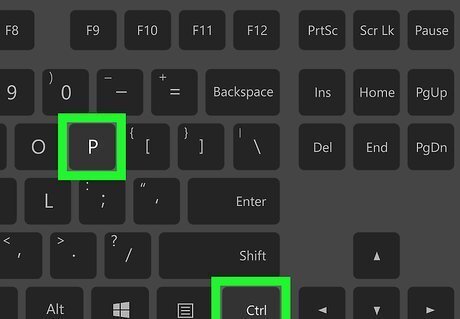
Select File, and then Print. This is at the top-right corner. You can also press CTRL + P or CMD + P to print.
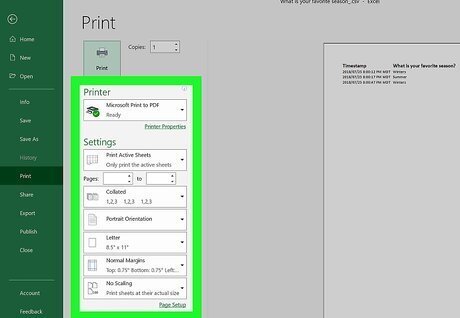
Change any desired print settings. Make sure the right printer is specified at the top and change any color or copies settings if required.
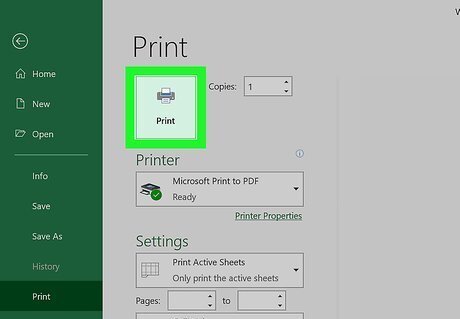
Click Print. The document will be sent to your printer. If you want to save the newly formatted table, you have to save the file as an .xls or .xlsx file instead of a CSV, since CSV files do not preserve formatting. Go to File → Save as and choose a location. In the file type drop-down, change CSV to Excel Workbook.


Comments
0 comment