
- Make sure the printer is off before you clean it and that it has had time to cool down.
- Open the printer according to the manual. If you don't have the manual, you can find instructions for opening your printer by make and model online.
- Use rubbing alcohol, a clean brush, cotton swabs, and microfiber cloths to clean your printer.
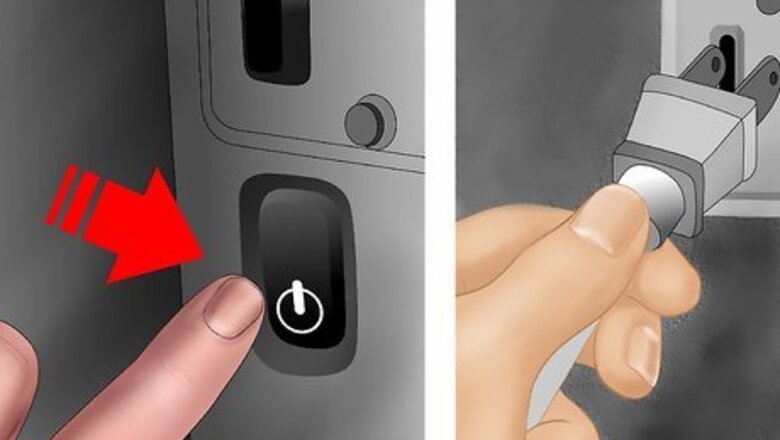
Turn off and unplug the printer.

Leave the printer unplugged for at least 1 hour prior to cleaning. This gives the parts time to cool down and helps prevent electrical shocks.
Open the printer.
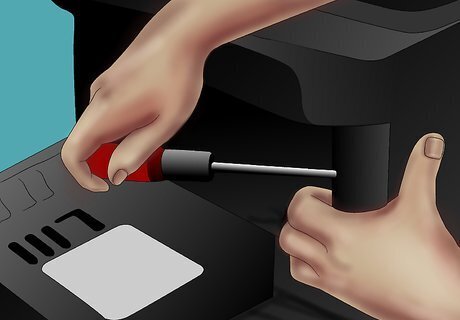
Review your owner's manual to determine how the printer should be opened. Some printers have latches; some open on a hinge; and others might require a screwdriver.
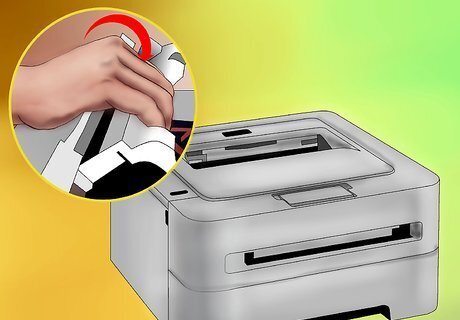
Remove all detachable components from the printer.
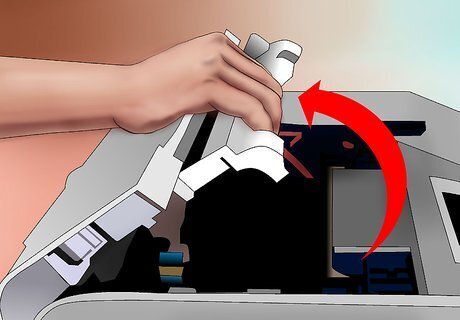
To properly clean the printer, you'll want to remove all parts that can be removed. The removable parts will vary depending on your model. Find and lift out the all-in-one toner cartridge if your laser printer is newer and relatively inexpensive. Take out the imaging drum. It is usually a bright green or blue color. Grab each side of the drum; do not touch the surface of the drum. Carefully lift out the imaging drum and place it in an area with no light.
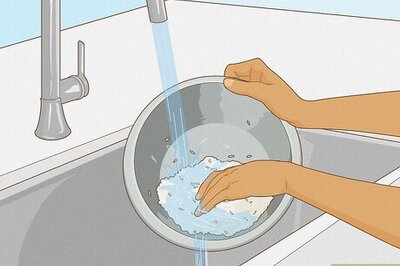
Clean the toner cartridge.
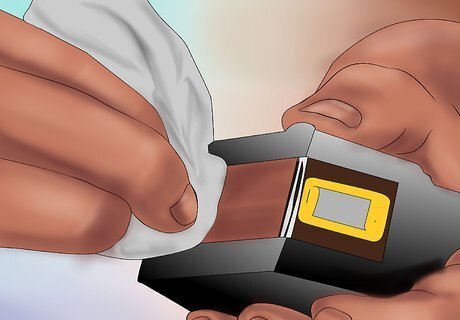
Wipe the toner cartridge or bottle with an activated toner cloth. Toner cloth is specially designed to attract and catch toner particles that other cloths would leave behind. Rest the cartridge on another toner cloth.
Vacuum the toner out of the chassis.
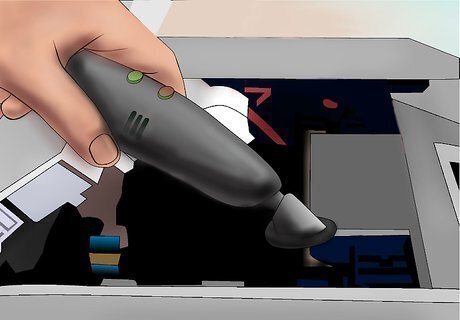
Position a toner vacuum into the printer chassis. Move the vacuum nozzle around slowly, lingering for at least 3 seconds for each crevice. This sucks out any spilled toner you see in the interior.
Clean the hard-to-reach nooks.
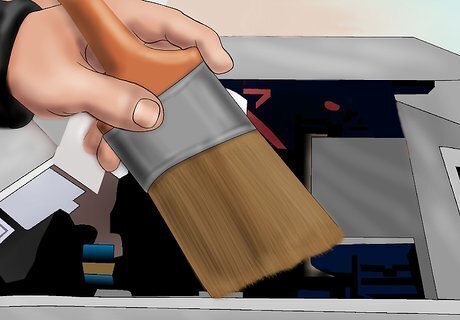
Use a clean paintbrush to reach tight areas. Scrub the corners gently to loosen any built-up toner. Vacuum out the debris the paintbrush loosens.
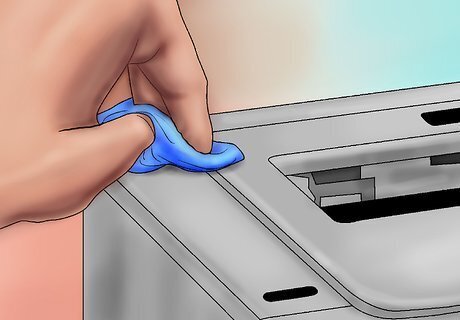
Clean the corona wires.
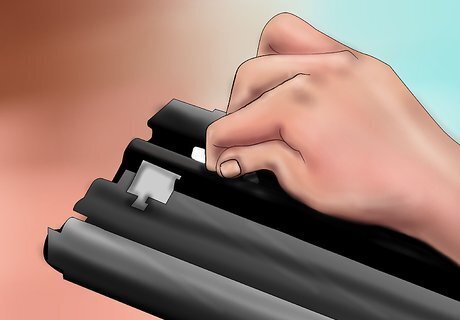
You'll want to use a cotton swab dipped in rubbing alcohol. Dip a cotton swab into rubbing alcohol, and then: Find the exposed fine wires inside the printer. They are usually near the paper rollers. Their purpose is to attract toner by transferring a static charge to the paper. Rub the swab across the wires, twisting the swab when one side becomes soiled.
Remove dust from the internal fan.
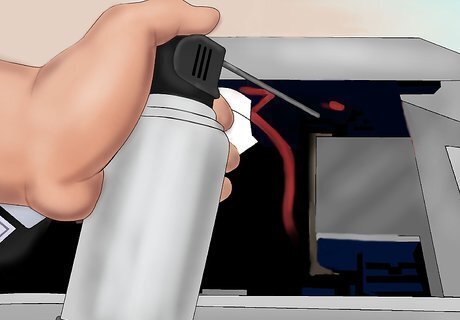
It's best to do this with a can of compressed air. Spray compressed air in short quick bursts near the internal fan from several inches away.
Wash the paper feed roller.
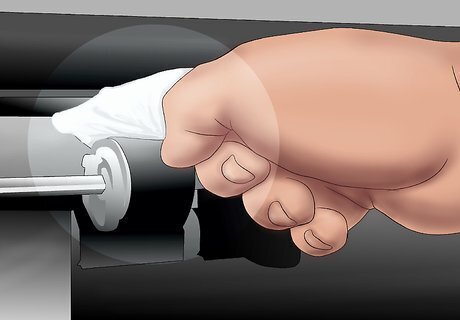
Remove toner that has gathered on the roller. You can do this by pouring rubbing alcohol on a cotton swab and scrubbing the roller in a circular motion.
Disinfect the exterior
Use a micro-fiber cloth and rubbing alcohol to clean the outer parts. This gives the external surface a nice clean look.
Replace the inner components.
Allow any parts that are damp to fully dry before replacing the parts. Once you've reassembled your nice-and-clean printer, you can turn it back on and start printing.


Comments
0 comment