views
Packing a Space Saver Bag
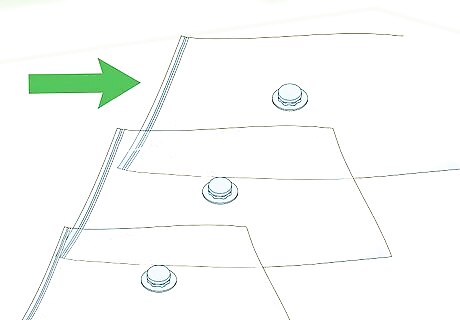
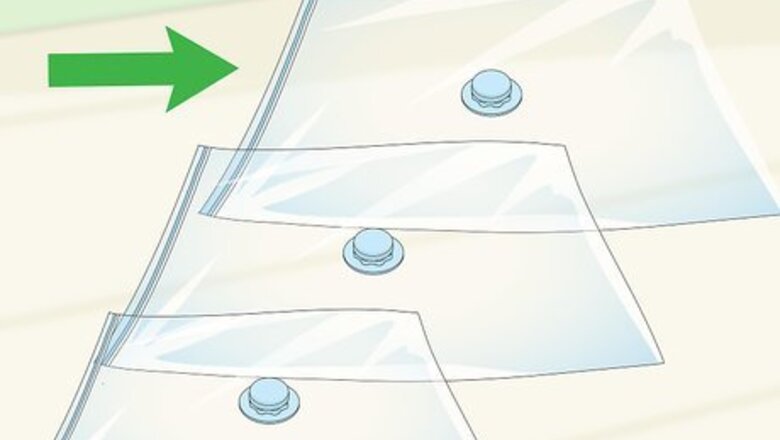
Choose a type of space saver vacuum bag. These bags come in a variety of different shapes and sizes, most notably the flat storage bag, the cube bag with a flat bottom, and the storage tote. Which bag you choose will likely depend on the items being stored. For instance, flat bags are excellent for clothing, whereas cubes and totes are best for larger items, such as blankets.
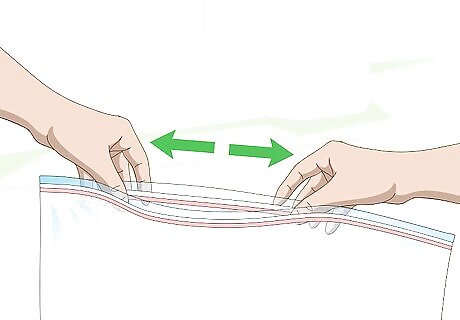
Open the bag. In order to open the bag, grab each side of the zipper. Place one hand on the one side of the zipper, and the other hand on the opposite side. Then, pull the sides apart. Try not to pull so hard that the zipper comes off.
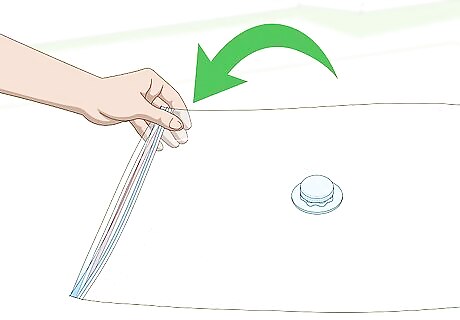
Place the open bag face-up on a flat surface. To pack the bag, you should place it on a bed, sofa, floor, or table. The bag should be kept upright with the fill line facing upwards.
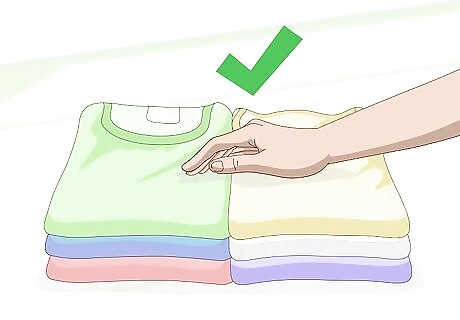
Choose the items to be stored. Space saver vacuum bags can store a variety of soft items, but are most commonly used for clothing and linens. Don't store food, leather, or fur items in these bags. Don’t store items with sharp corners or ridges because these may puncture the bag. Make sure that all items are dry before packing them into space saver bags.
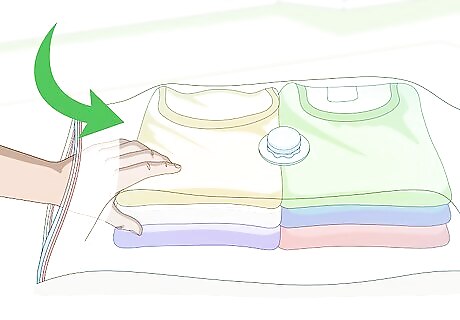
Place the items in the bag. Be sure not to overfill the bag. Only place items to the fill line. To maximize the amount of available space, you can fold your items.
Sealing the Bag
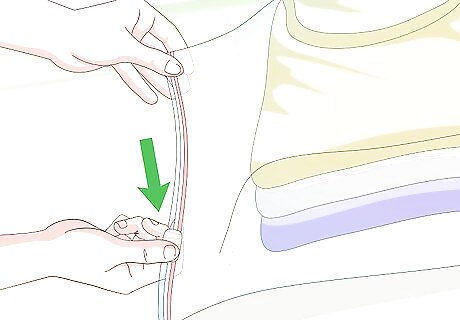
Close the bag. Firmly grasp the sure-zip slider using your thumb and index finger. Then, slide the zipper across the top of the bag. Make sure to slide the zipper back and forth at least twice. Press down a little harder to ensure a tight seal has been made, and no air will leak out. If the sure-zip slider piece comes off while closing the bag, simply slide it back onto the bag. Press it back onto the zipper track over the top of the bag. You should hear it click twice.
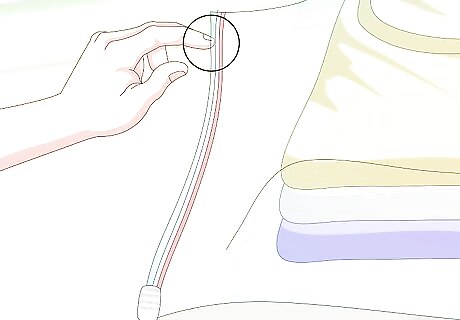
Run your fingers along the zipper. To ensure that the zipper is completely sealed, slide your fingers along the zipper track and press down. You should be able to feel if any areas are not sealed.
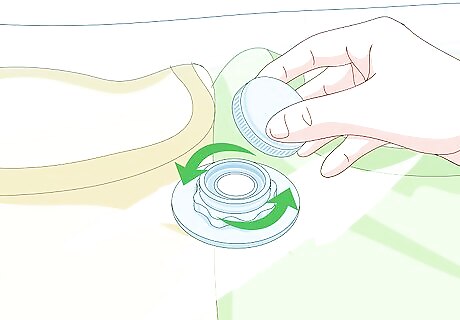
Open the valve cap. Space saver vacuum bags have a valve located on the top of the bag. To open the valve cap, place one hand around the base of the valve and use your other to lift open the cap. If you pull the cap too hard it may come off. You can put it back on by placing the rubber flapper inside the valve base. Then, snap the cap back onto the base.
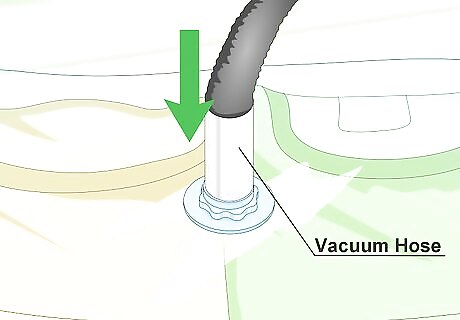
Place the vacuum hose into the valve. Remove all attachments from your vacuum and place the circular hose onto the valve. Make sure to place the hose in the center of the valve. The circular end of the hose should completely fill the valve. Dust-buster style vacuums will not work.
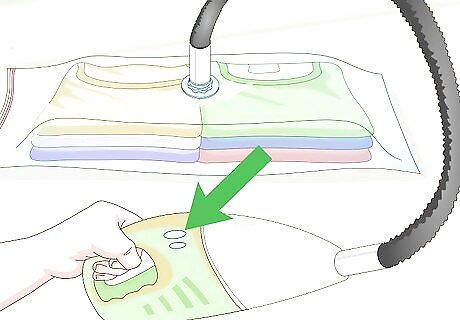
Turn on the vacuum. Once the vacuum is turned on, you will see the bag begin to shrink as air is removed. When the bag stops shrinking, this signals that you have completed the sealing process. At this point you can turn off the vacuum. When placing down-pillows or down-comforters into the bag, don't empty all of the air from the bag. Only compress the air in the bag to fifty percent its original size, as further compression will damage the down feathers.
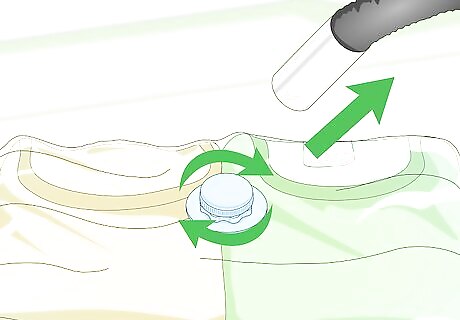
Remove the hose and close the lid. Once you have finished vacuum sealing the bag, remove the vacuum hose from the valve and close the lid on the bag. This will prevent any air from escaping the bag.
Storing the Space Saver Bag
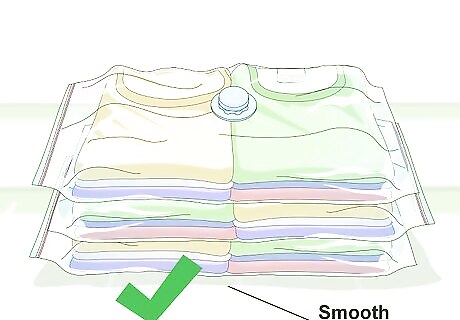
Store on a smooth surface. You can store space saver vacuum bags on a smooth and flat surface, such as a closet, cupboard, or under a bed. This way the bag is less likely to get punctured and ruined. Make sure there are no sharp objects placed near the bags.
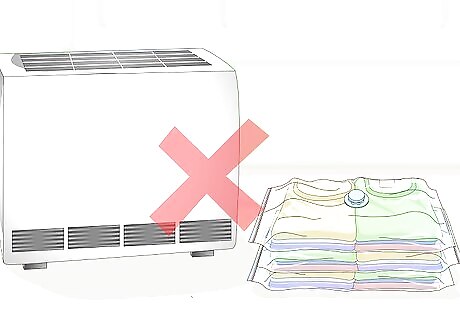
Don’t store near a heat source. Heat can melt the plastic bag and/or valve. Even if the bag does not completely melt, heat can weaken the plastic making it more susceptible to punctures and leaks. As a result, you should not store bags outside, or near vents or active electrical outlets.
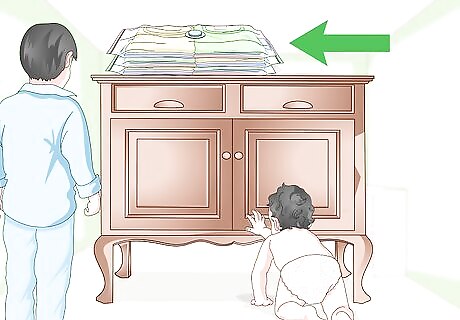
Keep away from children. Space saver bags are made from plastic and could become hazardous to children, if left unsupervised. Make sure these bags are stored up high and out of the reach of young children.







Comments
0 comment