views
- For Excel on Windows, navigate to File > Account > Update Options > Update Now.
- On macOS, go to Help > Check for Updates > check “Automatically Download and Install” > click “Check for Updates.”
- If you installed Excel via the Mac App Store, it’ll update automatically unless you've disabled automatic updates.
- If you don’t have an Update Options button, your Excel might be a volume license install or managed by your company.
On Windows
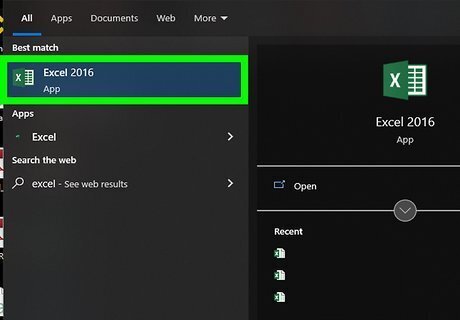
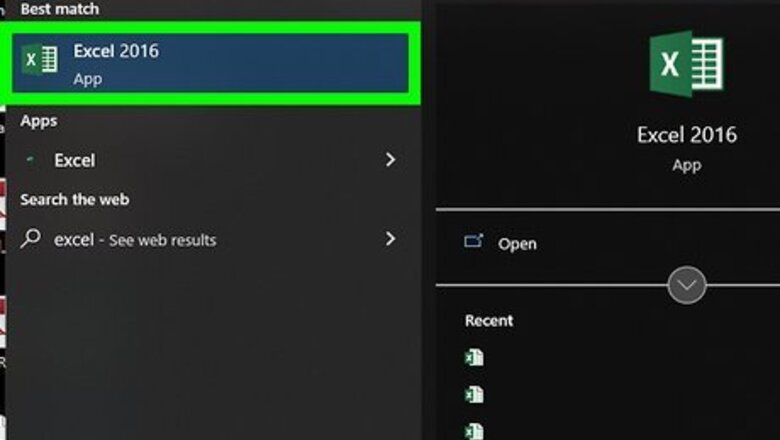
Open Excel. Click or double-click the Excel app icon, which resembles a green box with a white "X" on it. This will open the Excel launch page. If you already had Excel open, make sure you save your work by pressing Ctrl+S. You can then skip the next step.
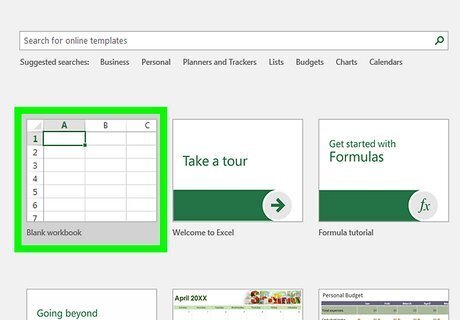
Click Blank document. It's in the upper-left side of the launch page.
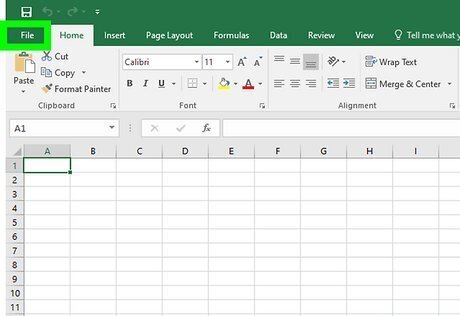
Click File. This option is in the top-left corner of the Excel window. Doing so brings up a menu on the left side of the window.
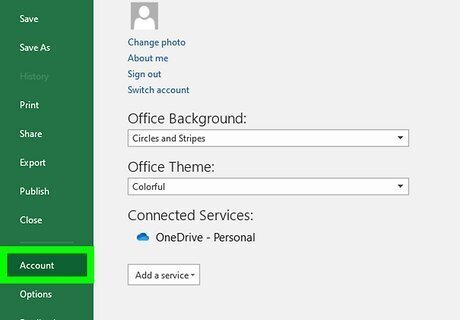
Click Account. You'll find this in the left-hand column of options.
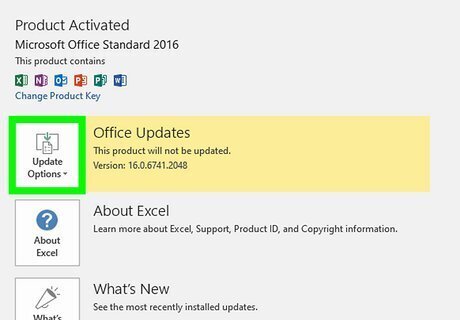
Click Update Options. It's in the middle of the window. Clicking it prompts a pop-up menu.
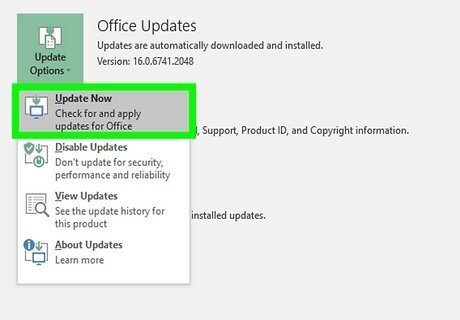
Click Update Now. This option is in the pop-up menu. If you don't see this option, first click Enable Updates in the pop-up menu. You should then be able to find the Update Now option in the pop-up menu.
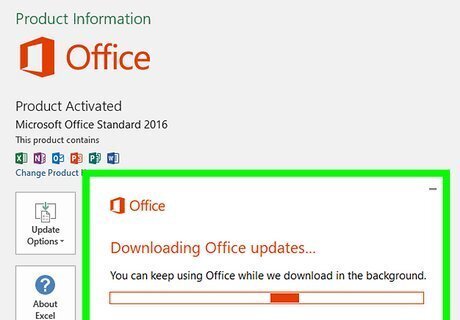
Allow the updates to install. This may involve following some on-screen instructions or prompts (e.g., closing Excel). Once the updates finish installing, the update window will close and Excel will re-open. If no updates are available, you won't see an update progress window appear.
On a Mac
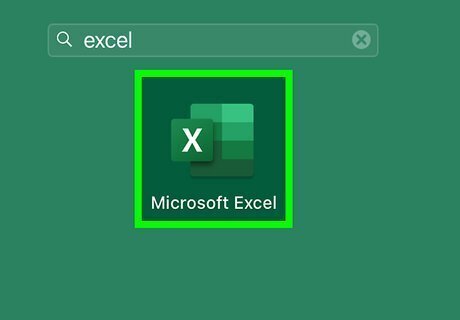
Open Excel. Click or double-click the Excel app icon, which resembles a green box with a white "X" on it. If you already had Excel open, make sure you save your work by pressing ⌘ Command+S before proceeding. Note: If you downloaded Office/Excel from the Mac App Store and have automatic app updates enabled, they’ll update automatically. You can manually update by opening the Mac App Store, going to the Updates section, and clicking “Update” next to Excel.
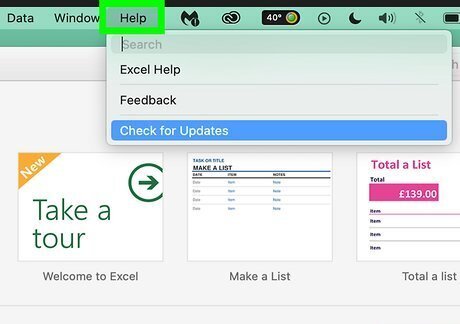
Click the Help menu item. It's in the menu bar at the top of the screen. A drop-down menu will appear.
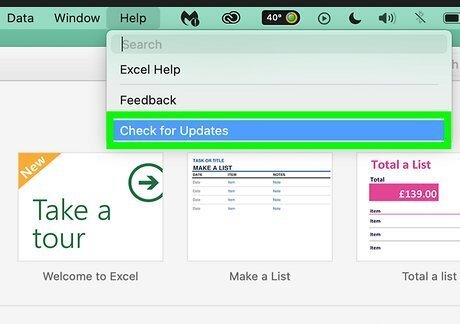
Click Check for Updates. This option is in the Help drop-down menu. Clicking it opens the update window.
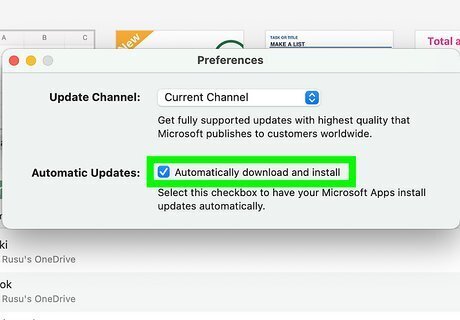
Check the "Automatically Download and Install" box. It's in the middle of the update window.
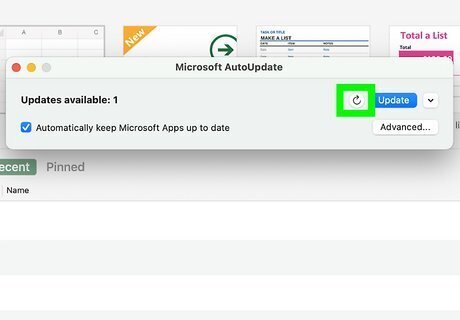
Click Check for Updates. This blue button is in the bottom-right corner of the window.
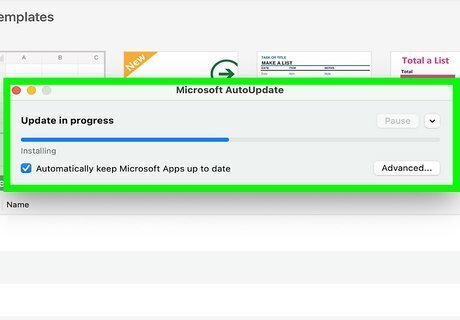
Allow the updates to install. This may involve following some on-screen instructions or prompts (e.g., closing Excel). Once the updates finish installing, the update window will close and Excel will re-open. If no updates are available, you won't see an update progress window appear.
Troubleshooting
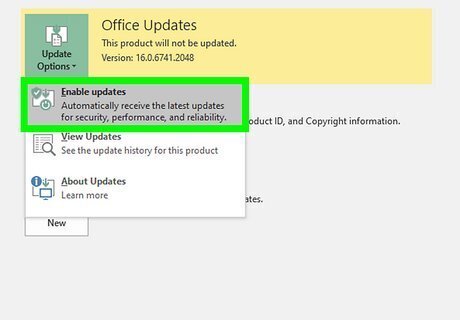
If there isn’t an Update Options button, you might not have a version of Excel you can update manually. You might have a volume license install or your company is managing Office updates. You can try turning on automatic updates to update Office with Microsoft Update. Navigate to Settings > Update and security > Advanced options > Choose how updates are installed. Then, click the checkbox for “Give me updates for other Microsoft products when I update Windows.” Check out our guide on updating Windows for more info.
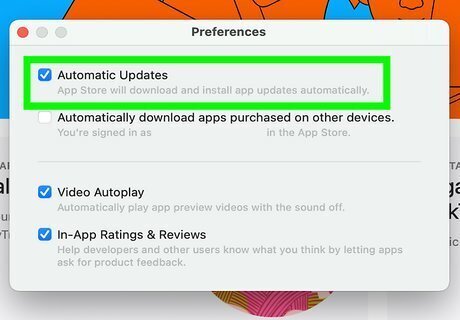
If your Mac App Store version of Excel isn’t updating automatically, turn on automatic updates. Follow these steps to get this feature up and running: Open the App Store. It’s the blue “A” icon. Go to “App Store” in the menu bar. Select “Preferences” from the drop-down menu. Select “Automatic Updates” in the preferences menu. For more ways to install updates, see our guide on checking for updates on a Mac.








Comments
0 comment