
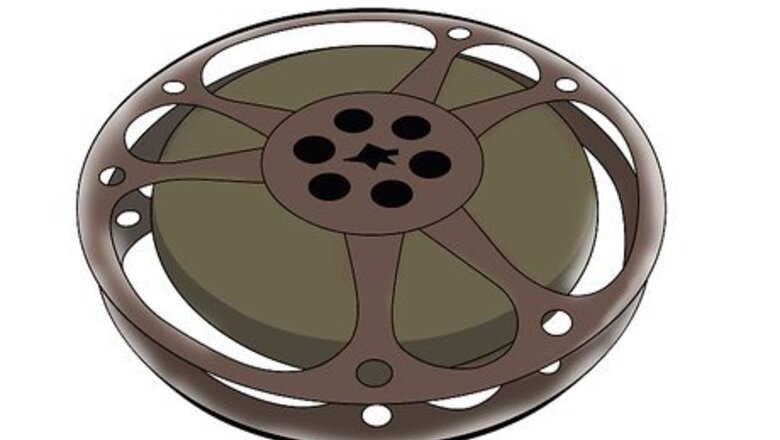
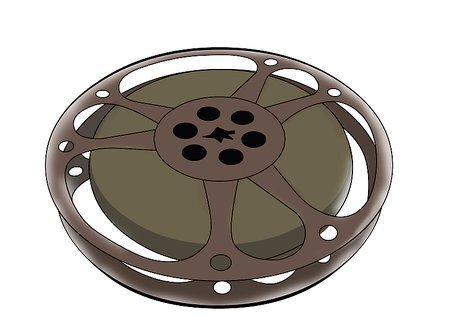
Determine whether your films are 8mm or Super 8. 8mm sprocket holes are larger, perhaps one third of the width of the film, and they are on the edge of the film between two frames. Super 8 films have sprocket holes the size of the head of a pin and the holes are located on the edge but bisecting the middle of each frame.
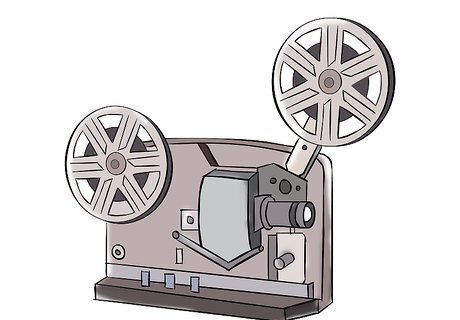
Find a projector designed to project the type of film you have. You may discover that you have some reels of 8mm and some reels of Super 8. Some projectors (Dual 8) can handle both kinds. If you don't own a projector, check out your local Goodwill, eBay or vintage camera store. You will likely experience flicker in your transfer unless you can find a variable speed projector. Newer, more expensive projectors might have a special mode for video transfer.
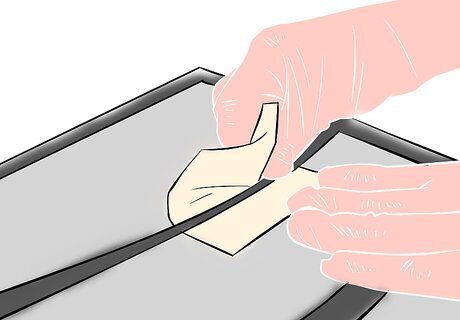
If possible, gently clean your films using rewind spindles and pulling the film slowly through a soft, lint-free cloth dampened with a little film cleaner.
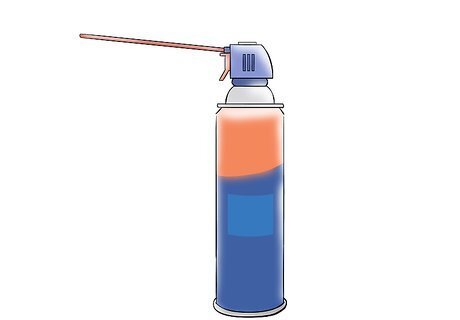
Use canned air and an alcohol swab to clean the tape path on the projector. Ideally, you will run the film just once and remove any dirt that might scratch the film or blow away any dust bunny that might hop into the frame during transfer.
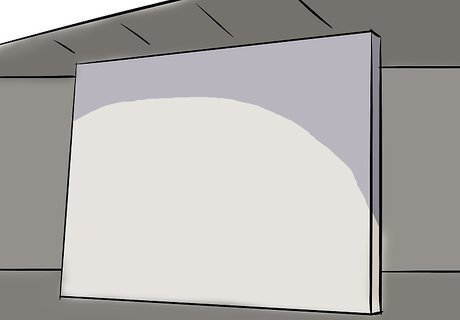
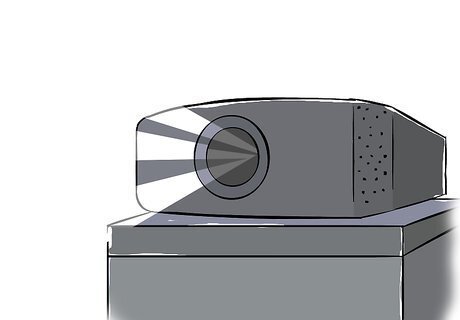
Find a piece of bright white paper with no discernible texture to use as a screen. Place the projector on the edge of a table projecting perhaps 24 inches (61.0 cm) to your paper screen taped to the wall. Make the projected rectangle as small and sharp as possible. Turn on the projector with no film in it to define that rectangle.
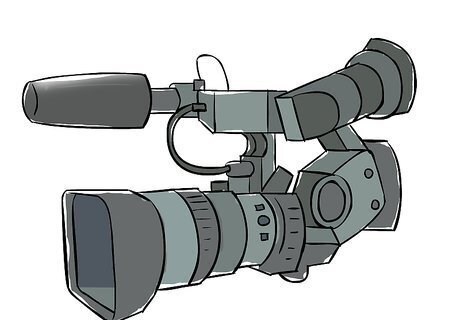
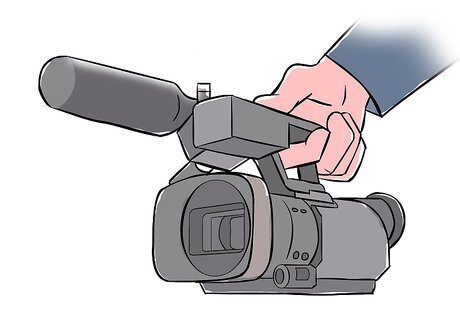
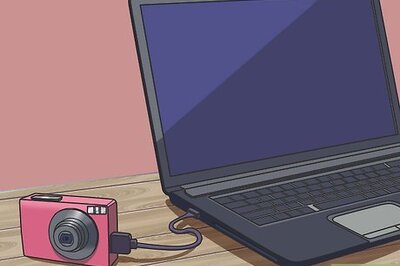
Use a camera or camcorder that records to a digital format like DV or Digital 8. Newer cameras have better low light capturing properties. Best results will come from a camera that has manual iris and white balance settings.
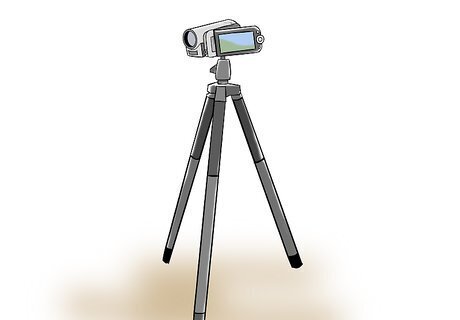
Place the camcorder on a tripod next to and behind the projector and using zoom and focus, find a position where you can frame up the white rectangle on the screen with as little keystoning as possible. If you can hook up a video out of the camera to a monitor, it will make your framing and exposure correction easier.
Do a manual white balance on the camera with that white light on screen filling your frame and set your manual iris so it is bright without blooming. A zebra feature on the camcorder set to 100% will help you do this. If the camera does not have these features, the automatic settings may do an adequate job.
If the projector has a variable speed adjustment, you should be able to tweak out the flicker on this white screen.
Load the sturdiest looking film onto the projector. Start your camera recording first and then start your projector. This first pass is your chance to make any adjustments. If you are very lucky, you could get it on your first try. More than likely, you will have to run this first film two or more passes to optimize the image with your manual controls.
With a digital video master, you can now edit or transfer to DVD or VHS.


Comments
0 comment