
views
X
Research source
Forcing the Ellipse Tool to Draw Circles

Open Microsoft Paint. This program is located in “Start Menu > Programs > Windows Accessories”.
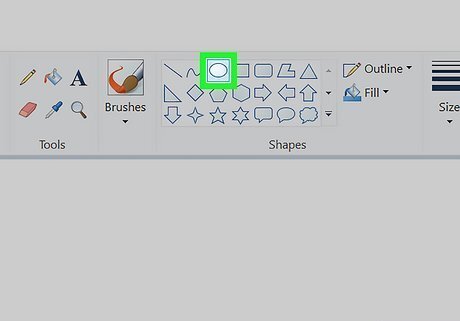
Select the Ellipse tool. This tool is the oval button in the toolbar in the “Shapes” section.

Press and hold ⇧ Shift.
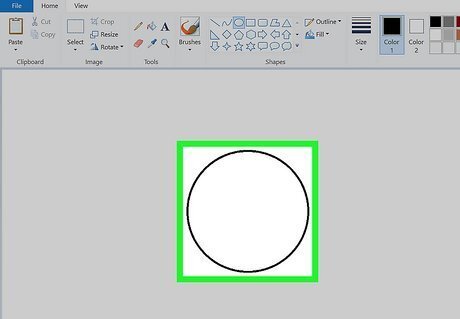
Click and drag with the mouse in the drawing area. Starting from where you click, the Ellipse tool will make a perfect circle instead of the normal ellipse. Before you release the mouse button, you can drag the mouse to adjust the size of the circle.
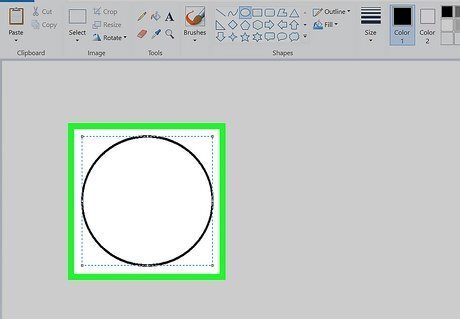
Release the mouse button. You now have a perfect circle! This method is great for creating concentric circles, because you can see the size of the circle as you draw it.
Making a Circle from an Ellipse

Open Microsoft Paint. This program is located in “Start Menu > Programs > Windows Accessories”.
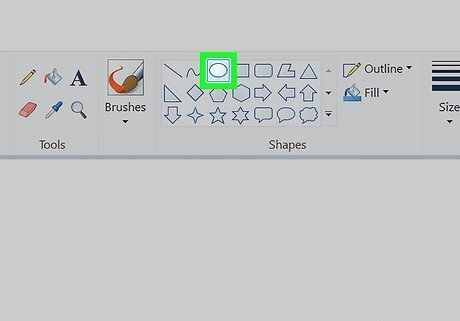
Select the Ellipse tool. This tool is the oval button in the toolbar in the “Shapes” section.
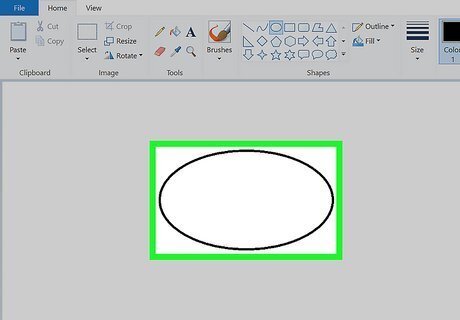
Click and drag with the mouse in the drawing space to make an ellipse. Do not release the mouse press.

Press and hold ⇧ Shift.
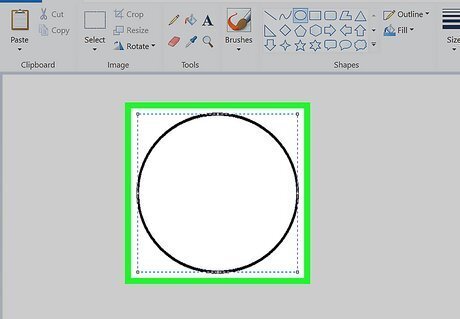
Release the mouse button. If you release the mouse button before pressing ⇧ Shift the ellipse will be drawn and you cannot turn it into a circle. You can undo the ellipse by pressing Ctrl + Z and try again.

Release ⇧ Shift. The ellipse will snap into a circle shape matching the height of the ellipse.


Comments
0 comment