
Selecting the Beads, Needle, and Thread

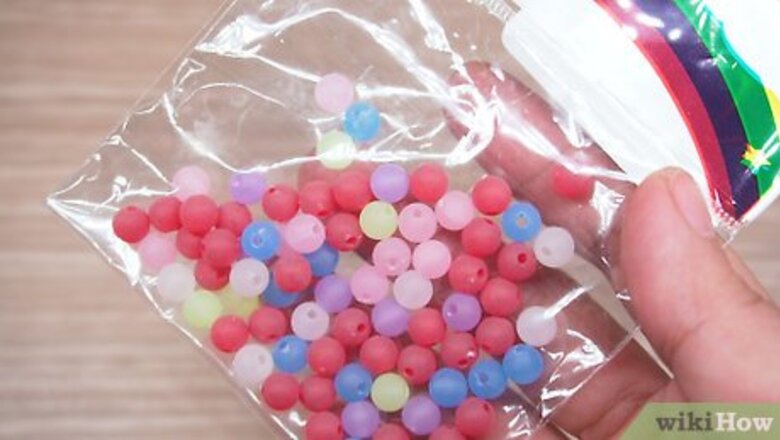
Select the beads you want to use. You can sew any kind of beads you like onto a piece of fabric, but make sure to consider how the beads and fabric will look together. Choose beads that will compliment the fabric’s color, print, and/or texture. For example, if you want to sew beads onto a little black dress, then you might go with something simple, such as some black pearls or dark red crystal beads. If you want to embellish a teal blue pillow, then you could offset the color with some yellow and purple seed beads.
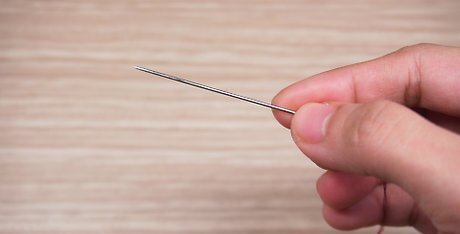
Select a needle that is small enough to fit through the beads. Before threading the needle, insert the needle through the hole in each of the beads you will be sewing. Make sure that the needle and its eye are small enough to go all the way through each of your beads. For very small beads, you may need to use a fine tapestry needle, such as a size 28. In some cases, you might need a specialized beading needle.
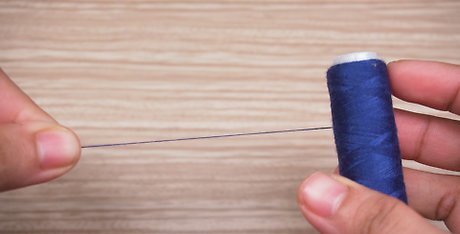
Choose a durable thread that will blend in with the fabric and beads. To ensure that your beads will stay put, use a strong polyester thread. If you are using beads that are a different color than your fabric, then choose thread in a color that will blend in with the beads. For example, if the beads are white and the fabric is black, go with a white thread. However, if you are using red beads with red fabric, then choose a red thread as well.
Locking Thread in the Fabric
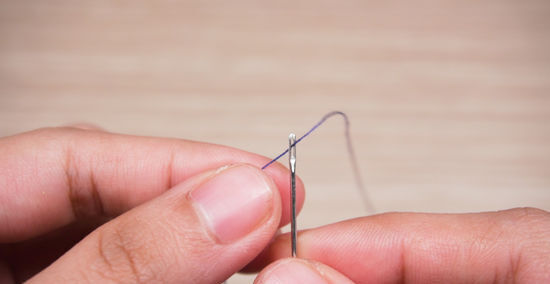
Thread a needle with 18 in (46 cm) of thread and tie a knot in the end. Insert the end of your thread through the eye of the needle and pull until half of the strand is through the eye and the ends are even. Then, tie a knot in the ends of the thread. To make threading the needle a little easier, cut the thread and moisten the end of it with spit, beeswax, or water. This will help to stiffen the end of the thread.
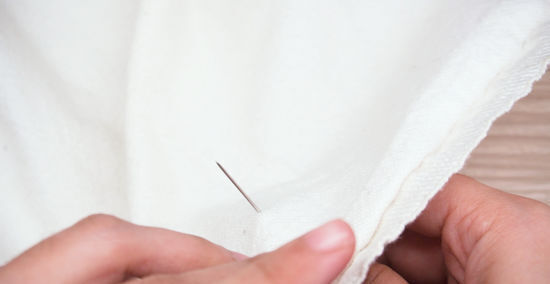
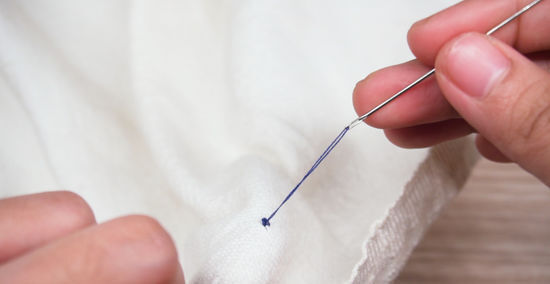
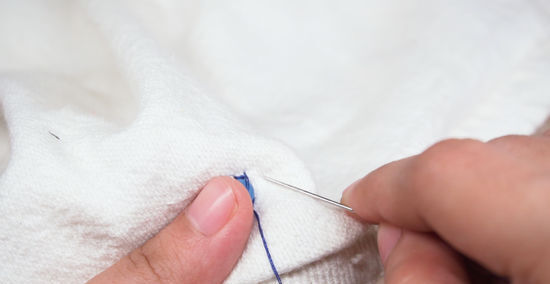
Insert the needle through the back or inside of your fabric. To start the stitch, push the tip of the needle into the thread where you want the first bead to go and start pulling the thread through. You can position the bead on the edge of your fabric or somewhere in the center. Just make sure you consider how you want the beads to be arranged and how much you’re your will need to create this arrangement. For example, if you want to create a beaded edge on the neckline of a shirt, then you might start adding beads in the center of the neckline and work outwards, or you might start halfway up the neckline and work down and around.
Pull the thread until the knot is 1 in (2.5 cm) from the back of the fabric. Don’t pull the thread all the way through when you make the first stitch. Pull until the knot at the end of the thread is about 1 in (2.5 cm) from the fabric, and then stop. It is important to leave the end of the thread a bit loose for this first stitch so that you can secure the thread on your next pass. This will help to ensure that your beads will not come undone.
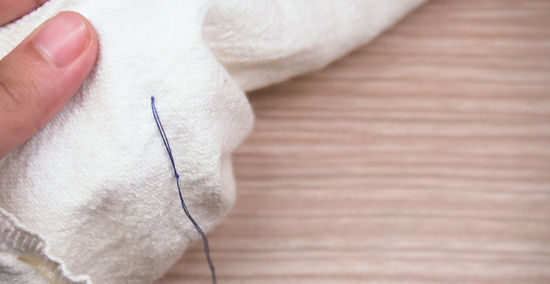
Push the needle through the fabric again right next to the first stitch. Pull until the thread is taut, but do not pull so much that the slack you left for the previous stitch gets pulled through. Place the next stitch so it is right next to where you brought the thread up and through the fabric. The stitch should look like a tiny dash on your fabric and it should only be about 0.1 in (0.25 cm) wide. The stitches need to be very small on the outer part of the fabric. This will make it easier to cover them up with the beads that you sew onto the fabric.
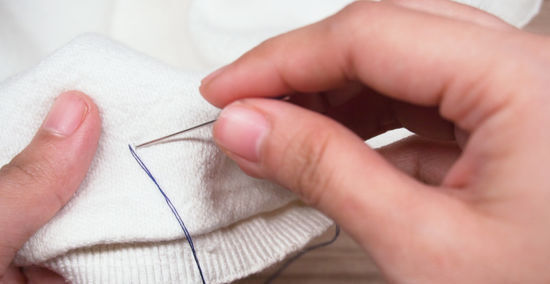
Insert the needle through the 2 threads above the knot and pull it taut. To lock the thread in place, insert the thread through the 2 strands that are above the knot. This is the section of thread you left hanging loose when you made the first stitch. After you insert the needle through this area, pull until the knot comes up to the back of the fabric and the stitch is taut. Creating the first stitch this way will help to ensure that your beads will not come undone.
Sewing Beads onto Fabric
Bring the needle back up and through the fabric. When you are ready to add the first bead, insert the needle up through the same hole you made for the first stitch. This will help to reduce the amount of holes you create in the fabric, which can damage the fabric and look sloppy. If you cannot locate the exact hole, it is okay to insert the needle through the fabric as close to the hole as possible.
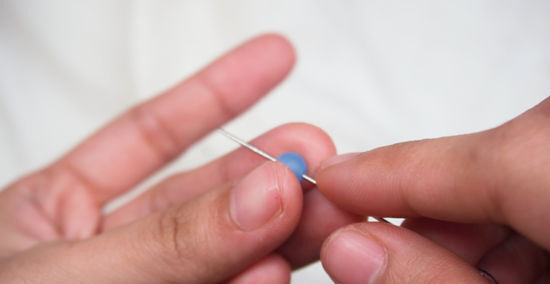
Insert the needle through the bead. Hold the bead with your index finger and thumb so that the hole is completely exposed. Then, insert the needle through the hole in the bead completely. Slide the bead down the length of the thread until it is right up against the fabric. If you are sewing multiple beads on at once, then insert the needle through each bead 1 at a time until they are all on the thread, and then pull the thread taut so the beads lay against the fabric. Be careful not to stick yourself with the needle when you thread it through the bead.
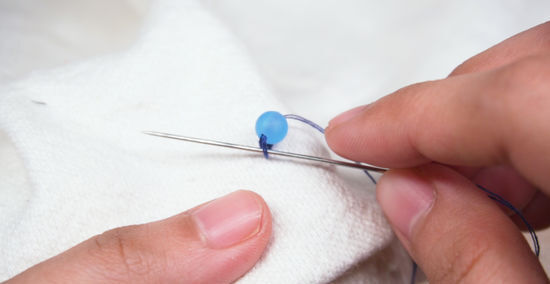
Stitch back down through the fabric on the other side of the bead. Insert the needle back through the fabric on the other side of the bead. This will ensure that your stitch will span the length of the bead and the bead will lay flat against the fabric. Then, pull the thread taut after you bring it through the fabric. If you want the stitches to be closer together, then another option is to insert the needle right next to your last stitch. If you are sewing multiple beads onto the fabric at once, then you can gather them to form a straight line, or keep the thread slightly loose to that they will be able to move on the fabric.

Sew back through the fabric and bead again to secure it. If desired, you can make another pass through the fabric and the bead to ensure that the bead will stay put. Bring the needle up through the same spot in the fabric as you did for the first stitch, insert the needle through the bead again, then bring the needle back down through the fabric again in the same location. This is a good idea if you plan to wash the item often. You may even want to make 1 more pass (total of 3) for an extra secure bead. If you are sewing multiple beads on a strand, then make sure to sew through all of them just as you did the first time.
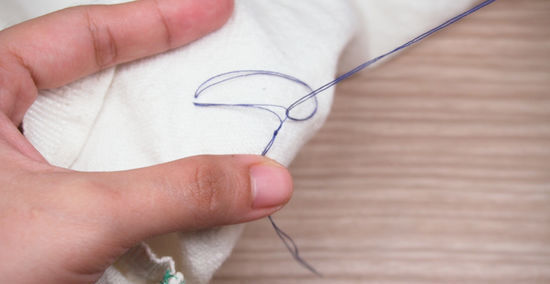
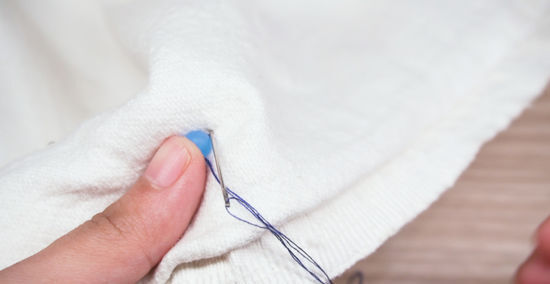
Sew through the threads under the bead and make a knot to secure it. To lock the stitches in place after sewing on a bead, push your needle through the thread under the bead on the backside of the fabric, but leave about 1 in (2.5 cm) of slack behind the bead. This will form a small loop. Insert the needle through the loop and then pull it taut to lock the thread. You can do this once or 2 or 3 times to ensure that the bead is secured. If you are sewing multiple beads onto the fabric at once, you can also sew once or twice through the last bead in the strand to lock them into place.
Move the needle under the fabric to where you want the next bead. To add more beads, move the needle to a new location on the underside of the fabric. You can add another bead right next to the first 1 or add 1 a few inches away. Follow the same process for sewing additional beads onto the fabric. For example, you could continue clustering beads in the same area of your fabric, or you could move the needle 2 inches (5.1 cm) away from the first bead and continue adding beads that are 2 inches (5.1 cm) away from each other to spread them out.


Comments
0 comment