views
- Make a tube- or burrito-style pillowcase by folding a 44 in × 36 in (112 cm × 91 cm) piece of fabric in half to form a large rectangle.
- Sew straight stitches along 1 short side and the long side opposite of the fabric's fold to create seams.
- Fold back, iron, and sew the other short side to form a hem around the pillowcase’s opening.
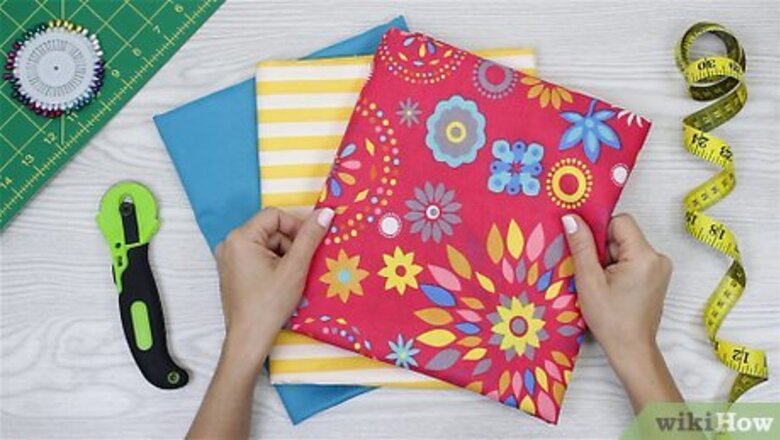
Pick out 2 yards (1.8 m) of fabric for your pillowcase.
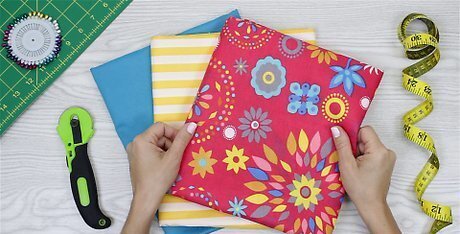
Choose cotton, satin, or flannel fabric that matches your personality. The best fabrics for pillowcases are those that don’t stretch, as any extra stretch could cause the pillowcase to sag after sewing. Cotton, satin, and flannel are perfect for this project because of their non-stretch material. Make sure to wash and dry your fabric before you start sewing. This will preshrink the fabric, so the size of your pillowcase doesn’t change.
Cut your piece of fabric so it's 44 in × 36 in (112 cm × 91 cm).
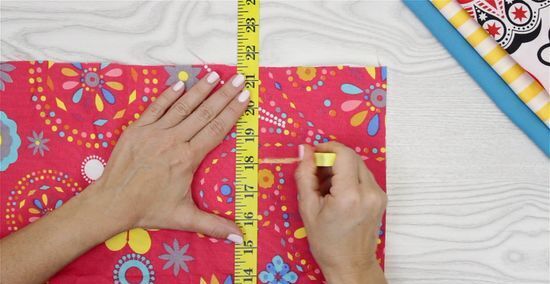
Measure and cut your fabric scissors or a rotary cutter. Mark where you want to cut your fabric with a fabric marker or pencil first to ensure your cut is straight. Standard pillows are about 26 in × 20 in (66 cm × 51 cm), but you need extra fabric to fold, create a seam allowance, and hem the opening. Seam allowance is the space between your stitch and the edge of the fabric. Most patterns generally call for an allowance of ⁄4 in (0.64 cm) to ⁄2 in (1.3 cm). Pillowcases can be any size. The measurements we’ve included in this article are for a standard pillow, but you can alter the measurements as you’d like by measuring the size of your specific pillow.
Fold the fabric in half length-wise.
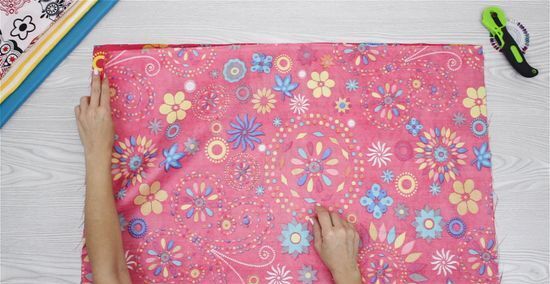
The folded crease will act as one of the pillowcase’s seams. Place the “right” or patterned side of the fabric face up on your work surface. Then, fold the fabric in half, so the “wrong” side or underside of the fabric now faces up. Now the fabric is 22 in × 18 in (56 cm × 46 cm). Think of it like this, the “right” side of the fabric is the side of the fabric that will be the outside of your pillowcase, and the “wrong” side will be the inside of the pillowcase. The extra 2 in (5.1 cm) in width (after folding the fabric in half) gives you plenty of seam allowance, and the added 4 in (10 cm) in length allows for seam allowance and a folded hem.
Stitch along the open long side of the fabric.
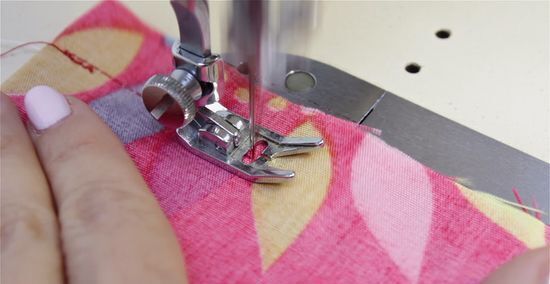
Use a sewing machine to sew the long side of the 2 fabric pieces shut. Pick a thread that matches the color of your fabric, as the thread may be visible once you hem the opening. Guide the fabric through the sewing machine, placing the needle ⁄2 in (1.3 cm) away from the edge. Start with a backstitch and then continue down the length of the fabric with a straight stitch. Try pinning the 2 pieces of fabric together with straight pins to help guide your stitching. Place a pin horizontally into the fabric, and then bring it back out of the fabric, so the top and end of the pin pierce through it. If you’re using your sewing machine for the first time, check the manual—there are tons of handy tips and tricks and instructions on how to do specific stitches.
Stitch the bottom of the pillowcase closed.
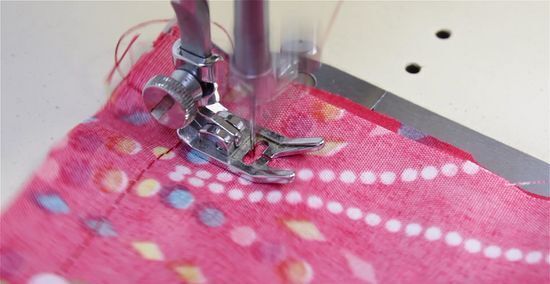
Sew along a short side of the fabric to close the pillowcase. Whether you choose the left or right side is up to you; just keep in mind that whatever side you don’t sew will be the opening of your pillowcase. Start with a backstitch and then continue along the width with a straight stitch, making sure to leave a ⁄2 in (1.3 cm) seam allowance. Hold the 2 pieces of fabric together with your hands as you sew or use straight pins.
Hem the pillowcase’s opening.
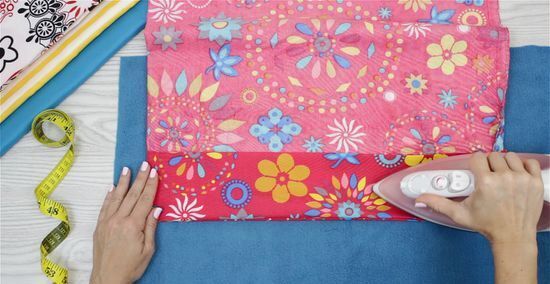
A folded hem gives your DIY pillowcase a polished and finished look. Simply fold the opening’s edge over 4 in (10 cm) on either side of the fabric. Use an iron to press the fold in place. Then, stitch around the base of the fold on either side using a sewing machine. Make sure you’re only stitching each fold to one side of the fabric; otherwise, you’ll accidentally sew your pillowcase shut.
Turn the pillowcase inside out.
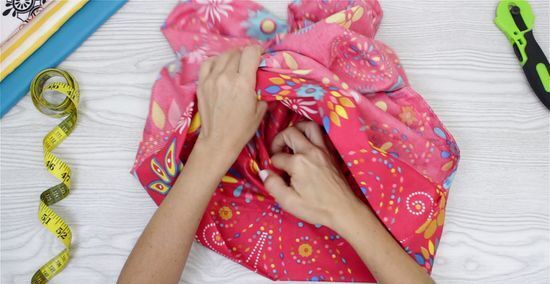
Now, all that’s left to do is turn the fabric “right” side out again. This hides your seam allowance and displays the beautiful fabric you picked out. And just like that, you’ve made your very own pillowcase!
Decorate your pillowcase if you’d like.
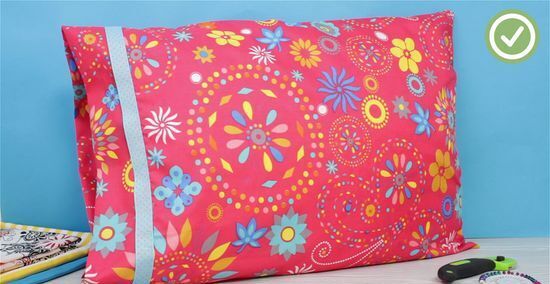
Ribbon, lace, or lettering can add a personal touch to your pillowcase. While decorating your DIY pillowcase isn’t necessary, putting even more personal touches on it can be fun! Check out these decoration ideas: Sew a colorful or patterned ribbon over the opening’s folded hem. Simply pin the ribbon to the edge of the hem, and attach it to the fabric using a similar colored thread and straight stitches. Use fabric glue to attach lace around the border or opening. Decide where you’d like the lace to be, dab glue along the lace’s edge, and then press it against the fabric. Try stitching your name or a quote across the body of the pillowcase sewing by hand or with a sewing machine. Sketch your design on the fabric, and then guide your needle along it.







Comments
0 comment